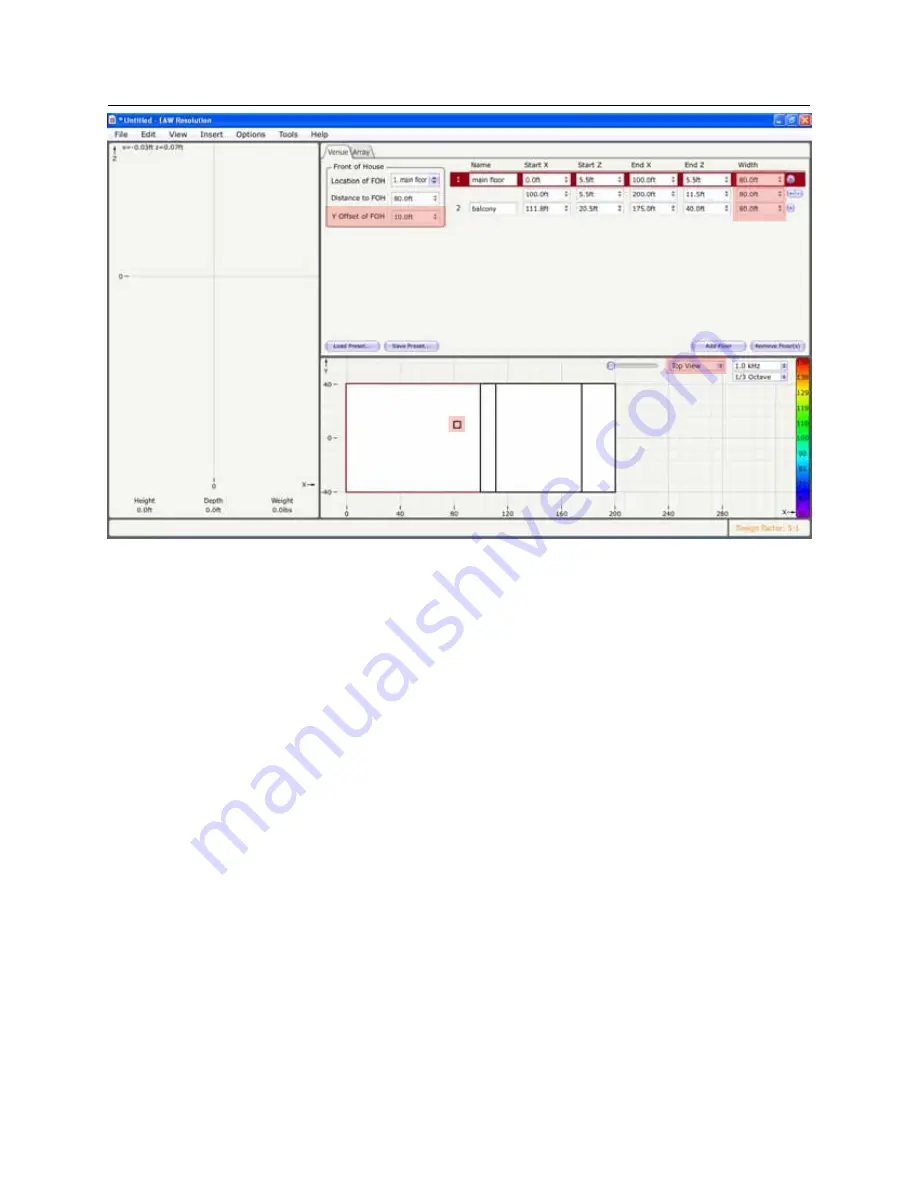
Width (Plan View)
Now is the time when we should switch over to the “Top View” in the design to set the Y coordinates
(width) of the venue.
1) Located in the mapping area is a drop-down box that allows the user to switch views from side
view to top view. Let’s select top view.
2) Now that we can see the venue from above, go back to the Venue tab above and to the far
right of each floor surface we have entered, you will see the cell for entering the Width of the
venue. Enter the width of each surface here. (Currently, Resolution is limited to absolute width
measurements. Fan-shaped and asymmetrically shaped rooms are not currently possible but
we are working on it.)
3) As in the side view, there are numerous click and drags that you can do to the surface if a
coarse design is all you are looking for. Absolute measurements should always be refined in
the cells of the Venue tab.
4) Also note that I have offset the FOH location. It can be seen clearly in the Plan View but will
disappear in the side view as we may not be on the axis of the FOH location. We can change
that later once we have entered some loudspeaker data.


