J F
N T
a n d K F
S E R I E S
O W N E R ’ S M A N U A L
F U L L - R A N G E L O U D S P E A K E R S
Страница 1: ...J F N T a n d K F N T S E R I E S O W N E R S M A N U A L F U L L R A N G E L O U D S P E A K E R S ...
Страница 2: ...es prises secteur de votre région faites appel à un électricien agréé pour modifier le cordon secteur en fonction du format local Vérifiez que la fiche secteur dispose d une mise à la terre Le non respect de la mise à la terre peut entraîner des dommages aux équipements et des accidents aux personnes pouvant être fatals 1 PRECAUZIONI DI SICUREZZA DA LEGGERE PER PRIMO 1 1 Norme di Sicurezza Prima d...
Страница 3: ...tung vor der Benutzung des Produkts Nichtbeachtung dieser Hinweise können möglicherweise zu Schäden am Equipment oder zu Verletzungen bzw zum Tod von Personen führen WARNUNG Der Lautsprecher wird mit einem Netzkabel geliefert Abhängig von der jeweiligen Netzspannung wird das Kabel mit dem für die jeweilige Netzspannung gängigsten Netzstecker ausgeliefert Sollte der Netzstecker nicht in Ihre Netzst...
Страница 4: ...n which case the user will be required to correct the interference at his own expense CAUTION Changes or modifications not expressly approved by LOUD Technologies could void the user s authority to operate the equipment Correct disposal of this product This symbol indicates that this product should not be disposed of with your household waste according to the WEEE Directive 2002 96 EC and your nat...
Страница 5: ... 4 2 1 Models 10 4 2 2 Amplification 10 Section 5 Physical Installation 5 1 Mounting Rigging 11 5 1 1 Mounting Points Working Load Limits WLL 11 5 2 Application Configurations 11 5 2 1 Full Range Loudspeaker 11 5 2 2 Stage Monitor 11 5 3 Configuring Arrays 11 5 3 1 Vertical Array 12 5 3 2 Horizontal Array 12 5 4 Software Program 12 5 4 1 EAWPilot 12 5 4 2 Computer Requirements 12 Section 6 Electri...
Страница 6: ...e 23 8 2 1 AC Mains Fuse 23 8 3 Field Troubleshooting 24 8 4 Driver Service 24 8 4 1 JFNT 24 8 4 2 KF3xxNT 24 8 4 3 KF200NT 25 8 5 Amplifier Service 25 8 5 1 Amplifier Modules 25 8 5 2 Replacing The JFNT KF3XXNT Amplifier Module 25 8 5 3 Replacing The KF200NT Amplifier Module 26 Section 9 Block Diagram 9 1 Block Diagram 27 Section 2 Unpacking 2 1 Contents Qty Item 1 JFNT KFNT Series Product 1 Powe...
Страница 7: ...s Input Connect to AC mains supply as labeled 12 AC Loop Circuit Breaker User resettable 12 A 115 V 6 A 230 V 13 AC Mains Loop Through Loop AC mains for four 4 additional KF200NTs 1450 W max AC MAINS 100 120 V 50 60 Hz 140W ALL ON U NET INPUT INPUT SELECT FLASHING USER DSP ENABLE CONSTANT USER DSP DISABLE AMPLIFIER STATUS GREEN NORMAL RED CONSTANT FAULT RED FLASHING STANDBY HIGH PASS FILTER MODE E...
Страница 8: ...sables rear panel button software controls still active 2 1 AUDIO LOOP THROUGH CONNECTOR 6 U NET I O CONNECTORS 10 AUDIO INPUT CONNECTOR 4 AMPLIFIER STATUS INDICATOR 3 INPUT SELECTOR SWITCH INDICATORS 5 HIGH PASS FILTER SWITCH INDICATORS 7 AC MAINS INPUT 11 MODE SWITCH INDICATORS 8 USB PORT 9 ELECTRONIC STANDBY ENABLE CONTACTS 1 INPUT LEVEL STATUS INDICATORS 2 2 AC LOOP CIRCUIT BREAKER 13 AC LOOP ...
Страница 9: ...ive and possibly damaging sound levels from the loudspeaker when energized 3 3 Audio Connection Connect the output from your line level signal source to the XLR 3F INPUT connector on the rear panel This is an electronically balanced input 3 4 AC Mains Connection Connect the supplied AC mains cord to the Neutrik PowerCon socket on the rear of the loudspeaker Connect the other end to an AC mains sup...
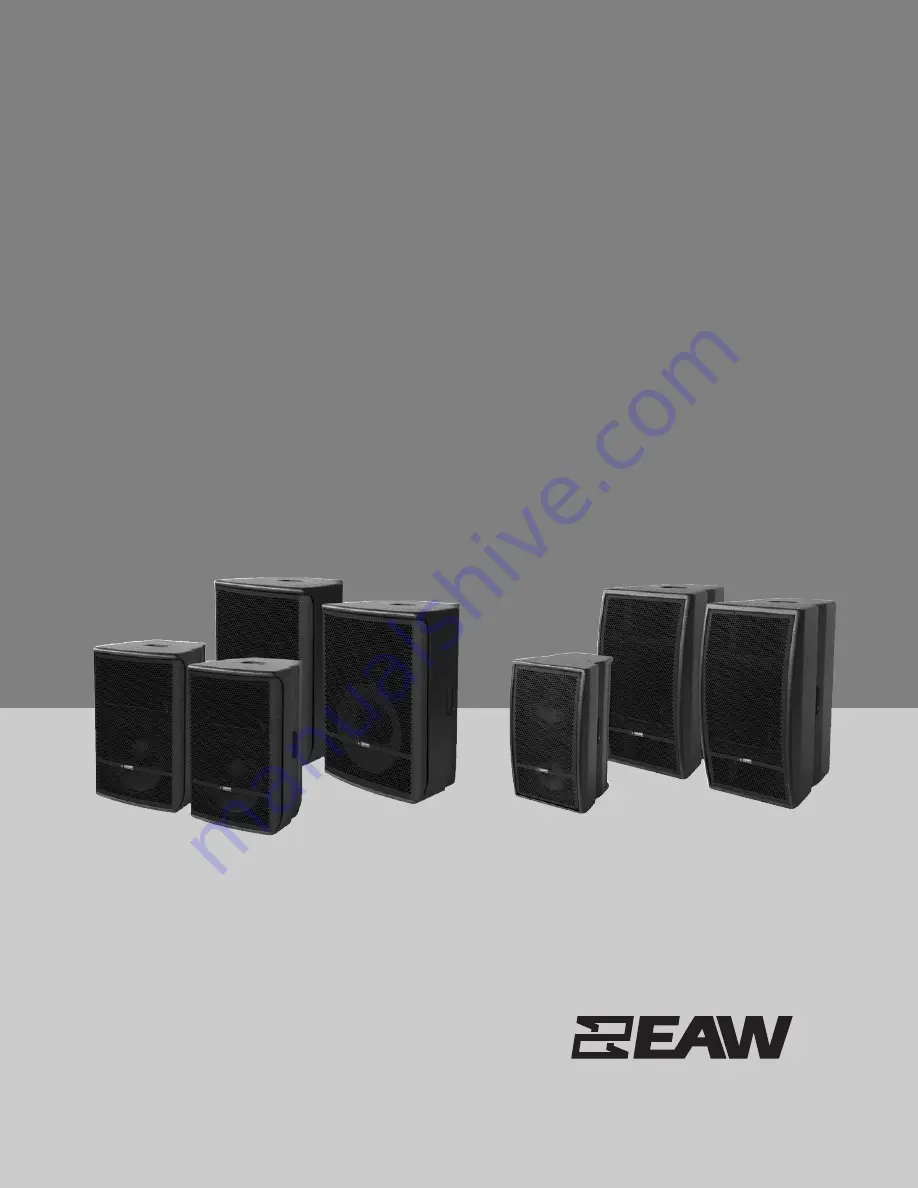
Страница 10: ... JFNT loudspeakers are available in both 12 inch and 15 inch LF driver formats The 3 way KFNT loudspeakers are available in single 10 inch and dual 10 inch formats Different beamwidth are offered to meet typical coverage requirements in their intended applications The trapezoidal design of the enclosures makes them easy to use as a main PA loudspeaker or as a floor wedge for stage monitor applicat...
Страница 11: ...ter poles Suspension using the optional fly track rigging accessory EAW accessory double stud fittings and user supplied external mounting rigging fittings that are suitable for supporting the loudspeaker from structure Wall or ceiling mounted using the integral M10 mounting points on the enclosure bottom and a user supplied Omnimount 120 0 Series Omnimount 60 0 Series for KF200nt or similar mount...
Страница 12: ...ustable signal processing to the overall array The interface provides standard DSP functions including parametric equalization high low shelving low and high pass filtering level and signal delay 5 4 2 COMPUTER REQUIREMENTS EAWPilot requires an IBM compatible PC with the Windows 98 Windows 98SE Windows 2000 Windows ME Windows XP and Windows JFNT and Vista operating systems It is not designed to wo...
Страница 13: ...supplied maximum 15 ft 3 m without active repeaters A 6 ft 2 m USB cable is supplied Mating Connector USB type B connector 6 1 4 U NET NETWORK CONNECTION The two identical locking Neutrik EtherCon connectors on the rear of each JFNT KFNT combine a RJ45 connector with a locking shell They are designed for connecting EAW s audio and control signals between additional JFNT KFNTs and other U Net enabl...
Страница 14: ... mains voltage matches the voltage rating listed on the loudspeaker next to the AC Mains connector DO NOTAPPLY 230 V MAINS POWER IF THE VOLTAGE RATING ON THE LOUDSPEAKER IS 115 V IMMEDIATE AND CATASTROPHIC DAMAGE TO THE LOUDSPEAKER WILL RESULT AND MAY CAUSE A FIRE HAZARD SERIOUS PERSONAL INJURY OR DEATH 6 3 1 ALIMENTATION SECTEUR ATTENTION Lisez toutes les instructions et notes de sécurité sur l a...
Страница 15: ...ins Use the 3 wire grounded AC cord with the Schuko plug CAUTION It is the user s responsibility to provide a proper AC mains plug for any AC mains outlet configuration that differs from those supplied with the product 6 3 3 GROUNDING The chassis of this product is grounded through the grounding conductor of the power cord To avoid electric shock plug the power cord into a properly wired and groun...
Страница 16: ...LA Il connettore del cavo d alimentazione AC fornto in dotazione potrebbe non essere adeguato per le prese di corrente impiegate nell area in cui il diffusore viene utilizzato In questo caso contattare un elettricista qualificato per sostituire la presa di corrente con una dotata di connessione adeguaa Per il cablaggio occorre seguire la codifica corretta utilizzata nell area d utilizzo ATTENZIONE...
Страница 17: ... There is no power switch on the loudspeaker When connected to the AC mains the loudspeaker will be energized and fully operational with the output level controlled by the signal source feeding the loudspeaker Connect the supplied AC mains cord to the PowerCon jack on the rear of the loudspeaker The PowerCon system uses a locking connector To lock twist 1 4 turn clockwise after fully inserting it ...
Страница 18: ...st 7 3 Operating Indicators For the instructions in this section refer to the figures on pages 7 8 7 3 1 LIMITER ACTIVE The limiting parameters set in JFNT KFNTs DSP are engineered to provide a high level of protection for the drivers while maximizing sonic performance and output The LIMITER ACTIVE indicator in the rear input panel illuminates when limiting is occurring If this is flashing occasio...
Страница 19: ...indicator illuminates when an audio signal greater than 30 dBu 25 mV is present at the input connector 7 3 6 GRILLE MOUNTED LED JFNT KFnt loudspeakers include a white LED in their front grilles This LED has a number of functions 1 Blinks three times in response to the Identify function in EAWPilot This behavior is enabled by default 2 Illuminates at power up for a period of 60 seconds then turns o...
Страница 20: ...control program installed Connect one of the U Net ports on the rear panel of the first JFNT KFNT to a U Net port on the next JFNT KFNT Continue daisy chaining the remaining JFNT KFNT U Net ports until they are all connected An analog or digital input signal to the first JFNT KFNT can then be routed over U Net to all subsequent units This is done using EAWPilot control software 7 5 2 CONNECTING ON...
Страница 21: ... is recommended however that the JFNT KFNTs be connected sequentially top down or bottom up in an array 7 6 Operating Controls The operating controls on the JFNT KFNT rear panel are momentary contact soft switches This means that they control software that does the actual switching with status lights indicating the switch position Pressing a switch repeatedly will cycle through its available optio...
Страница 22: ...e more attenuation is applied to the input signal NOTE The recommendations given are general guidelines and cannot address all applications or loudspeaker configurations Use measurements and listening tests to determine the best setting Recommended Use 55 Hz No LED Without Subwoofer Provides normal low frequency response for music or a combination of music and speech With Subwoofer Not recommended...
Страница 23: ...ING Disconnect the AC mains cable before performing any servicing Certain JFNT KFNT loudspeaker components are field replaceable These include the drivers and amplifier module All other service and repair information must be obtained by contacting the EAW Service Department or the service department of the EAW Distributor for your country See the EAW Loudspeaker Manual for contact information This...
Страница 24: ...nect the signal cable from the driver 5 To reinstall or replace the LF driver and or the HF horn driver assembly reverse the above steps Make sure the LF driver is connected with the blue and black signal wires and the HF driver is connected with the red and black signal wires 8 4 2 KF3XXNT The drivers can be field serviced by replacing the entire driver or having the driver repaired such as diaph...
Страница 25: ...When reconnecting the signal wires to the driver connect the colored wire to the plus terminal and the black wire to the minus terminal 8 5 Amplifier Service 8 5 1 AMPLIFIER MODULES Faulty electronics are serviced by replacing the entire amplifier module A replacement module consists of the power amplifiers DSP board power supply connectors and indicators all pre mounted on the amplifier panel 8 5...
Страница 26: ...tion If the new amplifier module does not easily fit in the cabinet rotate the amplifier module 8 5 3 REPLACING THE KF200NT AMPLIFIER MODULE To remove the amplifier module from the loudspeaker 1 Remove the 6 mounting screws Notice there are no corner jack screws 2 Pull the amplifier free from the cabinet 3 Once free carefully lift the amplifier from the loudspeaker and disconnect the electrical le...
Страница 27: ...FNT Full Range with an JFNT KFNT subwoofer A full range input signal is connected to the full range loudspeaker and looped through to the subwoofer as shown Alternately the full range input can be connected to the subwoofer and looped through to the full range loudspeaker 27 ...
Страница 28: ...234 6158 fax 508 234 8251 web www eaw com T h e L a w s o f P h y s i c s T h e A r t o f L i s t e n i n g EAW is the worldwide technological and market leader in the design and manufacture of high performance professional loudspeaker systems RD0513 A SEPT 10 ...