12
1
0
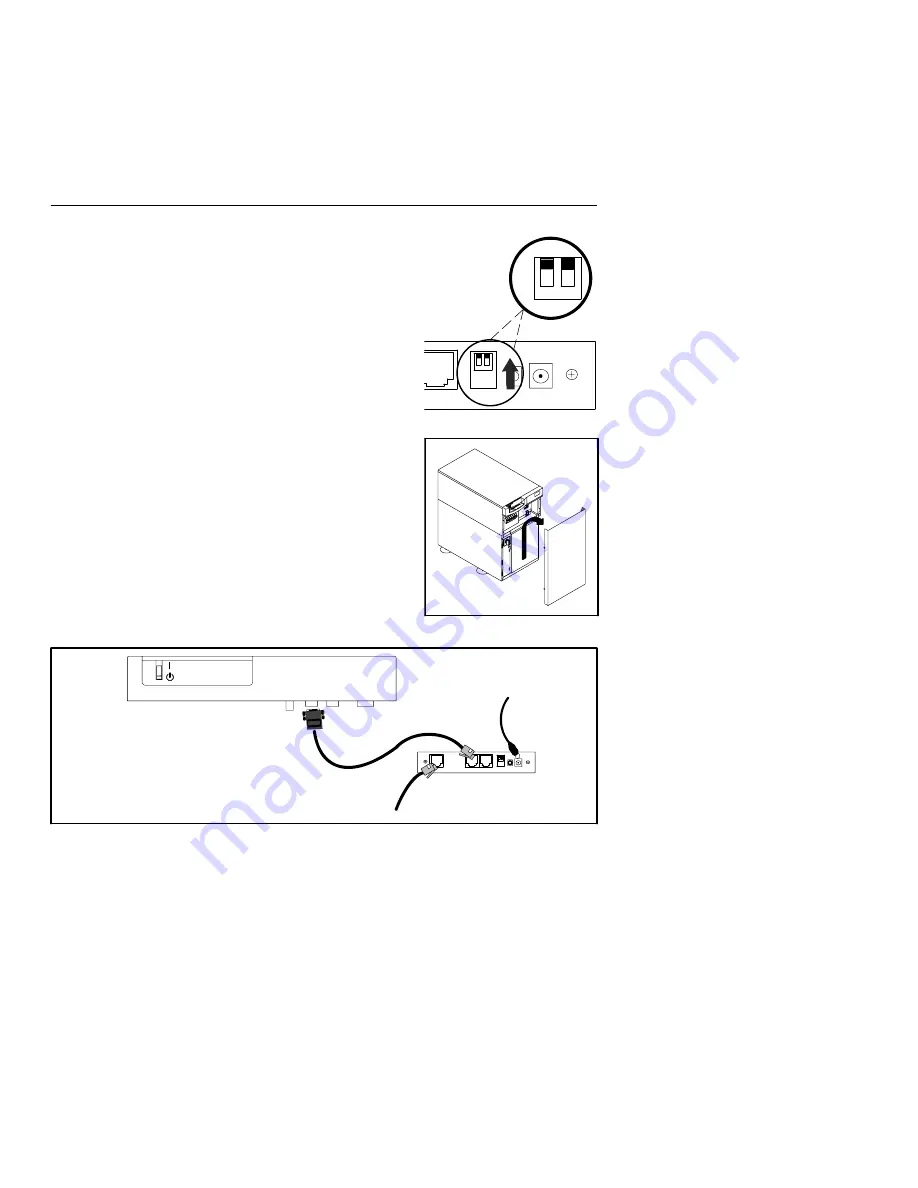
Figure 5.
Verify DIP Switches
Figure 6.
Remove the UPS Front Cover
EATON
Powerware
®
ConnectUPS
t
Web/SNMP Adapter (E Model) Quick Start Instructions 164950186 Rev A
5
Section 2
Install the Adapter—Powerware 9150 UPS
The hot-swappable ConnectUPS-E can be installed without
turning off the UPS or disconnecting the load.
To install the ConnectUPS-E with a Powerware 9150 UPS:
1.
Verify that both DIP switches on the adapter are set to the
0
(off) position (see Figure 5).
NOTE
If you are setting up the ConnectUPS Adapter in a
DHCP environment, set DIP switch 2 to the
1
(on) position.
2.
Remove the UPS front cover and locate the female, 9-pin,
RS-232 port (see Figure 6).
3.
If the female port is available,
use the supplied, unlabeled
serial cable to connect the UPS port on the ConnectUPS-E to
the female, 9-pin, RS-232 port on the UPS (see Figure 7).
Continue to Step 5.
4.
If the female port is not available,
use the supplied serial
cable (labeled “PC”) to connect the UPS port on the
ConnectUPS-E to the male, 9-pin, RS-232 port on the UPS
(see Figure 8).
Female Male
Unlabeled cable to
UPS communication port
and ConnectUPS-E UPS port
To LAN port
External power supply to
ConnectUPS-E power inlet and
UPS-protected receptacle
Powerware 9150 UPS
Figure 7.
Installing the ConnectUPS-E with a Powerware 9150 UPS


