68
User Manual
MN032006EN
Effective December 2017
415U Condor-long-range
wireless I/O and gateway
EATON
www.eaton.com
Troubleshooting
Restoring the factory default settings
Use this procedure to temporarily restore the module’s factory
default settings.
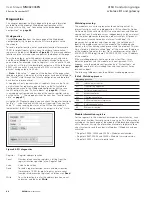
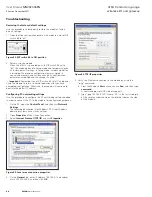
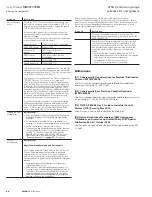
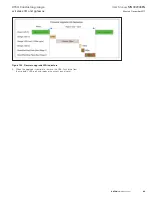
1. Open the side configuration panel on the module, and set DIP
switch #6 to “on.”
Figure 92. DIP switch #6 in ON position
2. Power cycle the module.
When the 415U-2 is powered on with DIP switch #6 set to
“on,” the module goes into Setup mode and temporarily loads
its factory-default settings. In Setup mode, wireless operation
is disabled. The previous configuration remains stored in
non-volatile memory and will only change if a configuration
parameter is modified and the change is saved.
Important
: Remember to set DIP switch #6 to “off” and power
cycle the module to return to normal operation after you have
completed configuration. Otherwise, the module will continue to
boot into the default IP address.
Configuring PC networking settings
Use this procedure to configure the PC networking settings needed
in order to connect the PC to the module for configuration purposes.
1. On the PC, open the
Control Panel
, and then click
Network
Settings
.
The following description is for Windows XP. Other Windows
operating systems have similar settings.
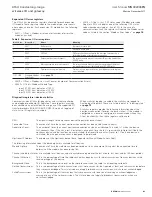
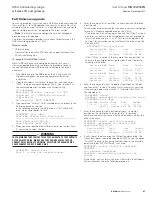
2. Open
Properties
of Local Area Connection.
3. Select
Internet Protocol (TCP/IP)
and click
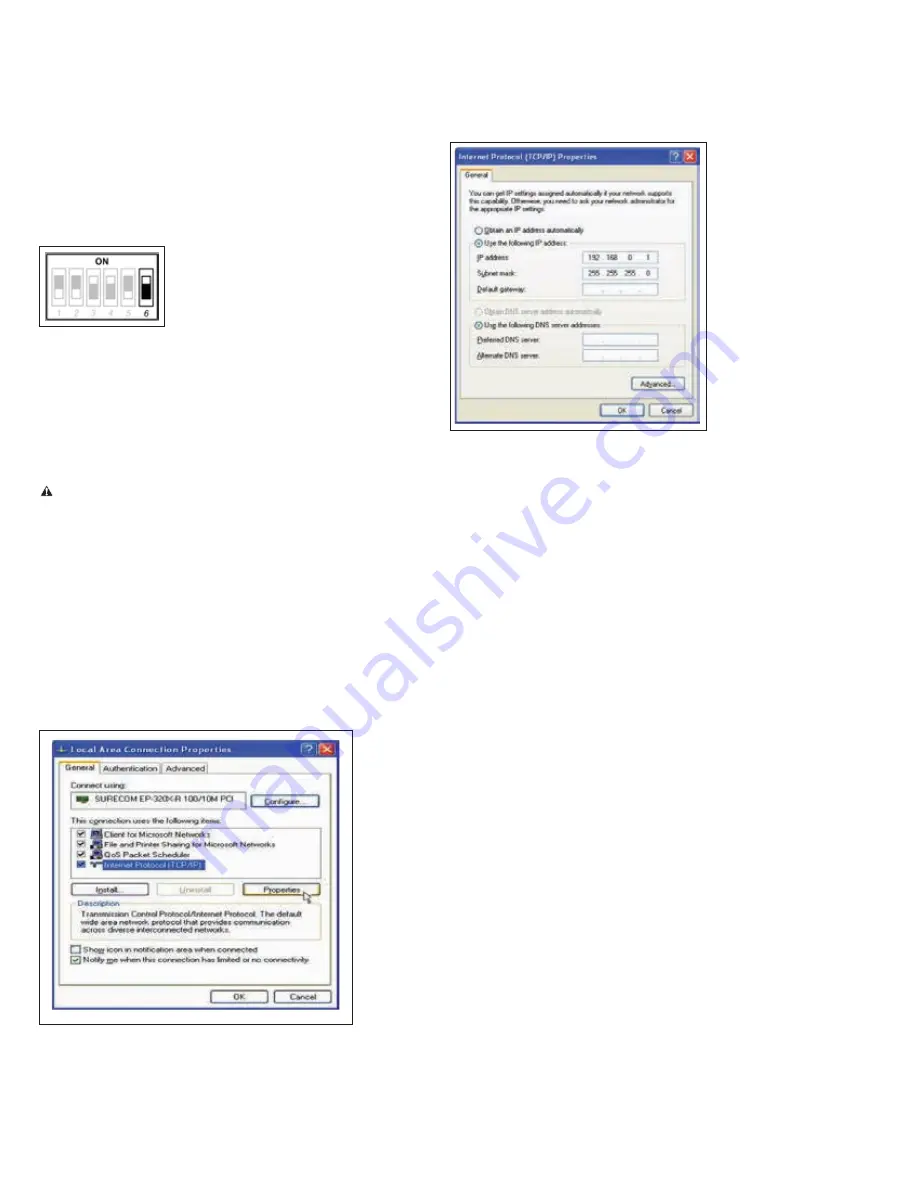
Properties
.
Figure 93. Local area connection properties
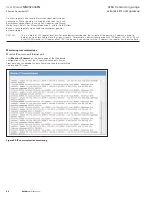
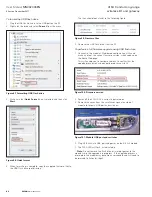
4. On the
General
tab, enter IP address 192.168.0.1 and subnet
mask 255.255.255.0, and then click
OK
.
Figure 94. TCP/IP properties
5. Verify the Ethernet connection to the module by using the
“ping” command:
6. From the Windows
Start
menu, choose
Run
, and then type:
command
A command prompt DOS window appears.
7. Type “ping 192.168.0.1XX”, where “XX” is the last two digits
of the serial number shown on the printed label on the side
of the module.


