


4
EATON CORPORATION Cutler-Hammer
Pow-R-Command 750 LCD Display Instruction Leaflet IL01412018E Effective: February 2009
There are two ways to choose which loads are associated with the
group. Hitting
SEL
on
Select loads for this group indi-
vidually
will present the following screen:
Each load (breaker)
will be listed by panelboard, followed by its
current membership in this group
(YES/NO)
and by its
descrip-
tion
, if one has been entered (
LIGHTING – R102
in the above
example). Use
UP/DOWN
to scroll up and down through the breaker
list and
SEL
to change to membership setting to
YES or NO
. After all
loads have been selected for this group, hit
BACK
twice to return to
the
CONFIGURE GROUP A
screen.
The second option for associating loads is the
Add all loads
method. To use this option, turn ON the primary handle and the
control handle for all loads that will be part of this group. Turn OFF
the primary handle for all loads that will not be part of this group.
Then
UP/DOWN
to move to the
Add all loads
… option. Hit
SEL
to choose
all currently ON breakers
. This may take several
minutes while all breakers are scanned. After all loads have been
selected for this group, hit
BACK
twice to return to the
CONFIGURE
GROUP A
screen.
B. Associate Inputs With the Group
If a switch input will be associated with the group, use
UP/DOWN
to
highlight the
Associate Inputs
. Hit
SEL
to move to the
INPUT
SELECT
screen:
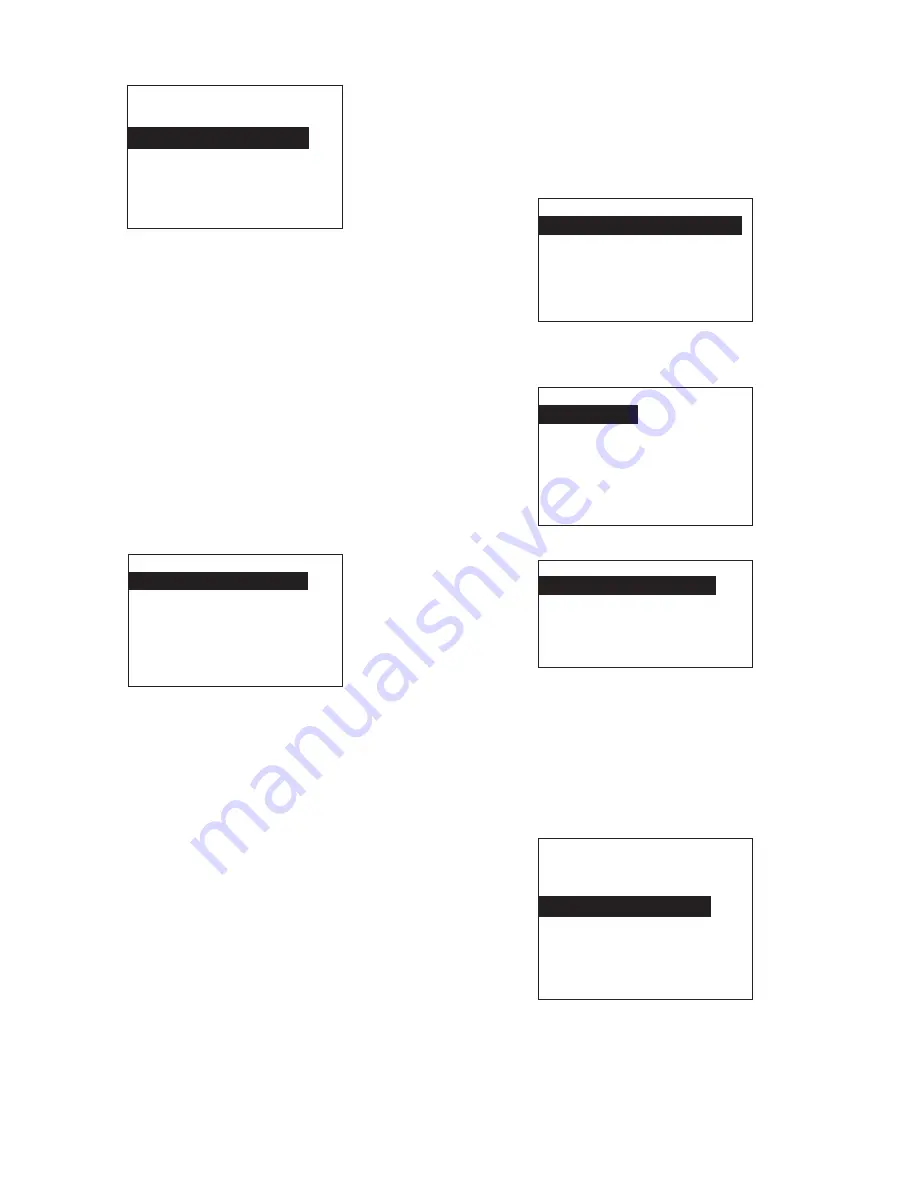
Pick Group A Loads
Sel Toggles Load
PNL1
# 01
B101
NO
PNL1
# 02
B102
YES
PNL1
# 03
B103
YES
Group A Input
Type:
Maint
NO
Input:
DI 1
(OFF)
Delay:
00:00
Up/Down/SEL to Change
Press BACK when Done
The Input Select screen displays the type of input, the input that is
associated, and the Exit time delay. Use the
UP/DOWN
to highlight
TYPE
and press Select. An input type list is displayed. The list of input
types extends beyond one page. Use
UP/DOWN
to scroll through the
list and highlight the correct switch type. Hit Select to choose.
Note: The Momentary 3-wire switch type requires two physical
inputs paired together. One input for ON and one input for OFF. When
choosing this type of input, the controller will ask for an activation
input and a deactivation input.
The
input type
screen will then be displayed.
The
select input
screen should be displayed after the input type.
In this list, choose the input that has been the wires are, or will be,
terminated.
The
delay time
screen will be shown next:
To have the load stay on for a certain number of minutes after the
input has turned off, use
UP/DOWN
and
SEL
to pick a
number of
minutes
. Otherwise, hit
SEL
on the None value. A value other
than
15, 30 or 45
can be entered by choosing the
enter
exact time
.
Hit
BACK
three times to return to the
CONFIGURE GROUP A
screen.
C. Set Group Description
Use
UP/DOWN
to highlight the
MODIFY DESCRIPTION
option and hit
SEL
. The
SELECT DESCRIPTION
screen will be displayed:
Select Input Type
Maintained Nrm
Open
Maintained Nrm
Closed
Maintained ON/OFF
Momentary
ON
Momentary
OFF
Momentary
3-WIRE
Select Input
1:1I
DI 1
1:2I
DI 2
1:3I
DI 3
1:4I
DI 4
1:5I
DI 5
1:6I
DI 6
1:7I
DI 7
Select Exit Delay
None
15 MINUTES
30 MINUTES
45 MINUTES
(ENTER EXACT TIME)
SELECT DESCRIPTION
For Group A
None
Offices_____________
Hallways
Parking
Exterior
Signs