Drivecon Inc. reserves the right to alter or amend the above information without notice.
3.3 Starting-up
Proceed with caution; Incorrect connections may lead to unexpected movements on
starting-up.
Remember that the receiver has several voltage-powered circuits. Even when the
receiver’s power supply has been cut off, there is still a risk of electrical shocks.
Once the receiver has been connected, disconnect the power supply to the motors
(if
possible), for example, by removing the fuses and power on the receiver. The receiver
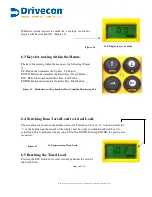
will enter into the SCANNING mode while the transmitter is off. The following receiver
LEDs should now light up:
POWER:
ON, indicating that the power supply is correct.
HARDOK:
ON, indicating the absence of defects on the board.
SIGNAL
:
OFF if all radio channels in the band are free.
Flashing ON if the receiver is finding channels with RF sign
als.
DATA
:
OFF if none of the radio channels contains signals belonging to a
PWRSII 6-2-11 or PWRS 6-2-13 radio remote control system in the
area.
Flashing ON if some do.
ID
:
OFF.
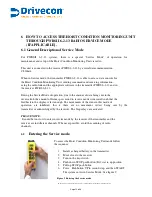
To enter into Normal Working mode follow the sequence:
1. Put a charged battery in the transmitter.
2. Turn on the key-switch
3. Push down STOP pushbutton (if the button was in up position)
4. Pull up STOP pushbutton. The transmitter LED should flash yellow-green for a
second.
5. Press START
The transmitter LED should light up green indicating that
the transmitter is transmitting.
Page 8 of 18


