11
4. Setting Prover Options
4.1 The Set Prover Options Screen
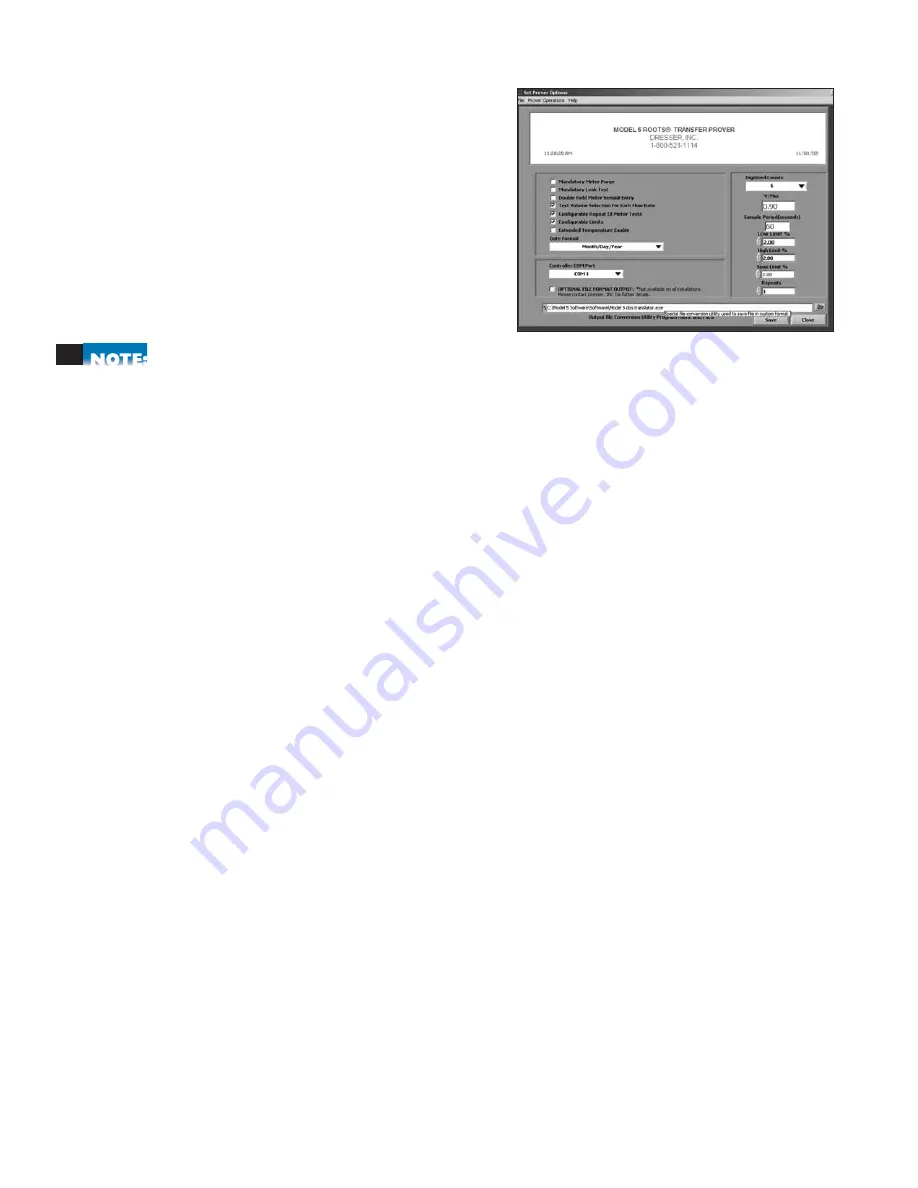
The Set Prover Options screen may be accessed from
the initial Startup screen. At the top left of the window,
click on Prover Operations and select Prover Setup
(<Ctrl+F5>). The Set Prover Options screen is protected
by a Level 1 password. The factory installed password
is ROOTS, in all capital letters. From this 1st level
password-protected menu, you can enable the following
functions by checking the box next to the option.
Leaving a box unchecked will disable that function.
Any changes made must be saved prior to exiting or changes will be lost. Changes made will only affect
test(s) configured after changes are saved. Any previously saved test(s) will be unaffected.
1. Mandatory Meter Purge:
Checking this option will force you to run a meter purge before
initiating an accuracy test (See 10.5 Meter Purge).
2. Mandatory Leak Test:
This option requires a system leak test to pass before an accuracy test
can be initiated (See 10.4 System Leak Test).
3. Double Field Meter Serial# Entry:
This option allows the user to input two meter serial
numbers for each test report.
4. Test Volume Selection for Each Flow Rate:
This enables change of test volume for each
flow rate if desired. If this option is not selected, then the test volume will default to the
volume entered in the Test Volume Box for every flow rate. (See 5.5 Test Volume).
5. Configurable Repeat of Meter Tests:
Check this option to allow the selection of a
different number of repeats for each test point up to a maximum of 2 repeats (3 total tests).
Not selecting this option will default to the entry in the Repeats box on the lower right
portion of the Set Prover Options screen. (See 5.9 Selecting Repeats).
6. Configurable Limits:
This option will allow the limits to be configurable for each flow rate
when the test is being configured. Not selecting this box will cause the limits to default to the
numbers entered in the high limit percent and low limit percent on the left portion of the
Set Prover Options screen.
7. Extended Temperature Enable:
Check this option to allow the Prover system to operate
beyond the standard temperature limitations.
8. Date Format
: Choose between two different date formats that will be shown on the
screens and on test reports.Month/Day/Year or Day/Month/Year.
9. Controller COM Port:
Choose which Controller COM setting will work best with your
computer setup.
10. Digitized Counts and °F/Min:
This configurable value is the maximum allowable temperature
change before the system assumes temperature stability. The greater the number, the greater the
allowable range in temperature fluctuation before the Prover test will initiate.
11. Sample Period:
This is the time span between temperature measurement samples.
12. Low Limit:
This configurable Pass/Fail limit is the maximum allowable deviation below 100%.


