(Bulletin R55/7A continued)
3
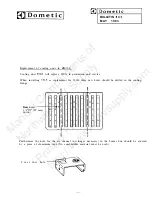
FIG. El
(A)
SEALING
PERMAGUM
(Sealing Tape)
FIG. E2
F. Category #6
3
RM75
RM76 RM77
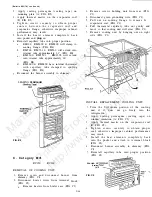
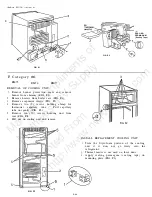
REMOVAL OF COOLING UNIT:
1.
2.
3.
3.
5.
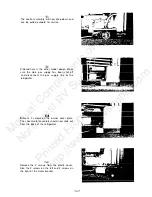
Remove burner protection cover and remove
burner from chimney (FIG. Fl).
Remove heaters from boiler case (FIG. Fl).
Remove evaporator screws (FIG. F2).
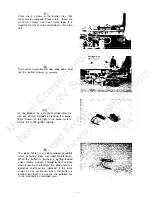
Remove two (2) screws holding clamp for
thermostat capillary tube. Pull capillary
tube out gently (FIG. F2).
Remove ten (10) screws holding unit from
rear (FIG. Fl).
6. Pull out on cooling unit and remove.
5
2
5
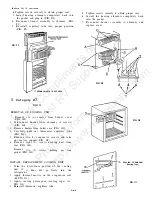
INSTALL REPLACEMENT COOLING UNIT:
1.
3_.
3.
Trim the Styrofoam portion of the cooling
unit if it does not go freely into the
refrigerator.
Thermal mastic is not used on these units.
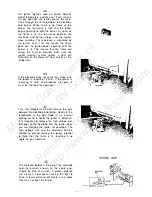
Apply sealing permagum (sealing tape) on
mounting plate (FIG. F3).
FIG. F1
D-9-8
Manual
Compliments
of
Northwest
RV
Supply
Printed
From
http://www.nwrvsupply.com

