Page 4.42
Rev B. January 2010
4. Controlling the projector
Digital Projection
LIGHTNING 1080p, 1080p 3D/UC
User Manual
For important information about how to control the projector when Input 8 is being used, see the final pages of Section 4.
Notes
Setup Menu
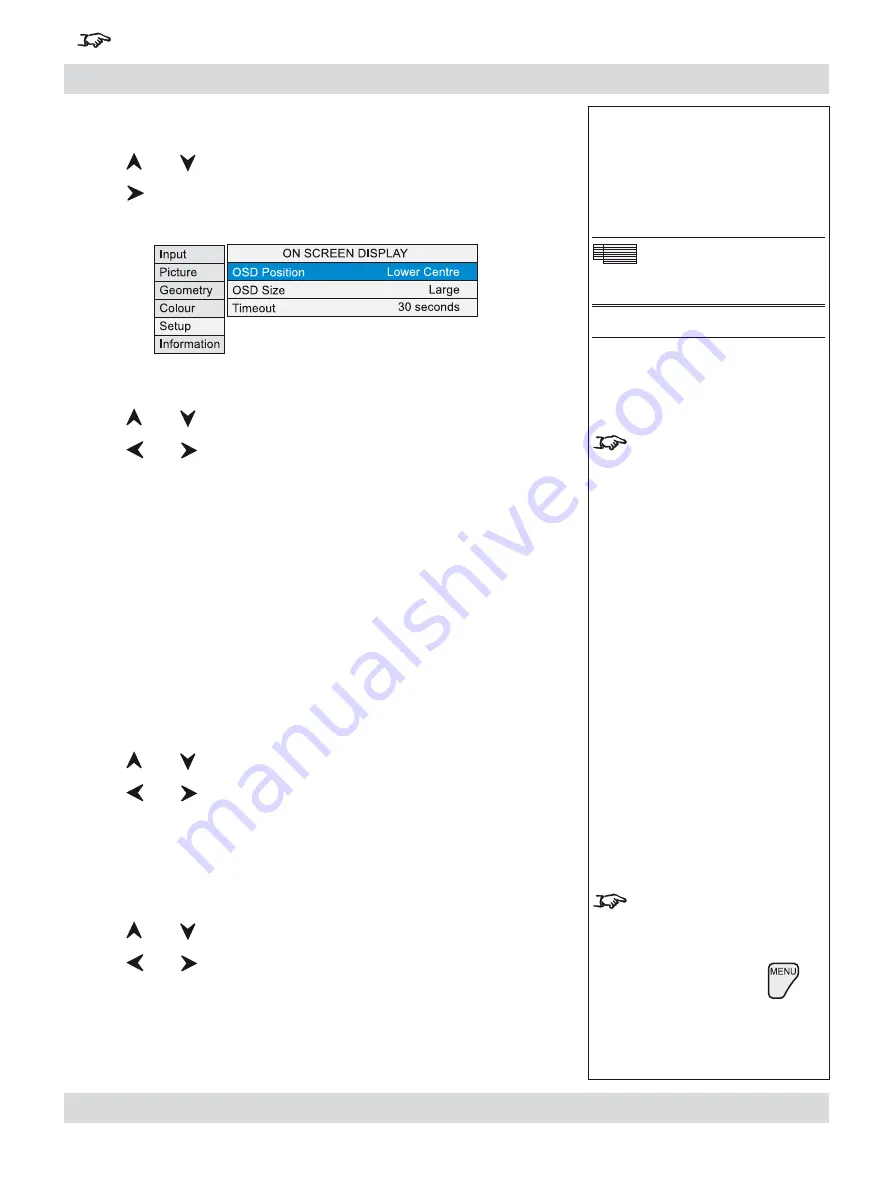
On Screen Display
The
On Screen Display will
move to the centre of the DMD
when
Blanking
is turned
On
.
(see
Geometry menu, earlier in
this section).
If a menu is opened, and no
other key is pressed within the
period set in the
OSD Timeout
menu, then the menus will
disappear. When the
key
is pressed again, the menus will
reopen at the same point they
were last viewed.
On Screen Display
Press
and
to select On Screen Display.
Press
to open the On Screen Display submenu.
OSD Position
Press
and
to select OSD Position
Press
and
to select from:
Upper Left
Upper Centre
Upper Right
Middle Left
Middle Centre
Middle Right
Lower Left
Lower Centre
Lower Right
OSD Size
Press
and
to select OSD Size.
Press
and
to select from:
Large
Small
OSD Timeout
Press
and
to select the length of the On Screen Display Timeout.
Press
and
to select from:
0 to 255
in 1 second steps
(when set to zero, the OSD never times out)
•
•
•
•
Setup menu continued
Содержание LIGHTNING 30/40/45-1080p
Страница 4: ...Digital Projection LIGHTNING 1080p 1080p 3D UC User Manual ...
Страница 10: ...Page Rev B January 2010 Important Information Digital Projection LIGHTNING 1080p 1080p 3D UC User Manual ...
Страница 18: ...Page xviii Rev B January 2010 Table of Contents Digital Projection LIGHTNING 1080p 1080p 3D UC User Manual ...
Страница 110: ...Page 4 58 Rev B January 2010 4 Controlling the projector Digital Projection LIGHTNING 1080p 1080p 3D UC User Manual ...
Страница 167: ...Digital Projection LIGHTNING 1080p 1080p 3D UC User Manual ...
Страница 168: ...Digital Projection LIGHTNING 1080p 1080p 3D UC User Manual ...


