


21
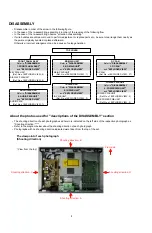
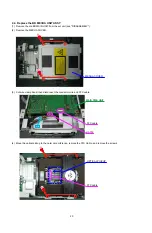
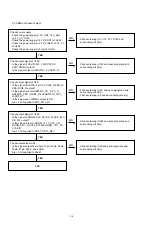
(5) Attach the BD MECHA UNIT ASSY for replacement to the set unit. (When assembling the unit, perform the steps in
reverse order.)
(6) Check that the 45P-FFC, 9P-FFC and 5P-PH connector cords have been connected.
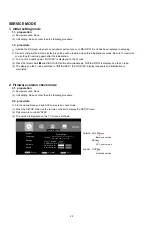
2.4. Con
fi
gure the settings of the set that contains the new BD MECHA UNIT
(1) Check the laser amperage (see laser on/off mode in the test mode (page 25)).
Check that the values are ±6 [mA] from the initial value for BD, and ±12 [mA] from the initial value for DVD/CD.
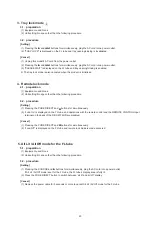
(2) Clear the total laser usage time (see the procedure for clearing the accumulated laser on time in test mode (page
26)).
(3) Check BD, DVD, and CD media playback.
(4) If there are no problems with playback, remove the disc, press the ON/STANDBY button to switch to standby status,
and remove the AC plug from the AC socket.
(5) Attach the top cover, and this completes the replacement procedure.
Содержание DBP-2012UDCI
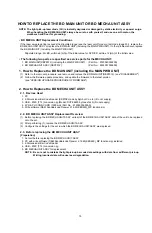
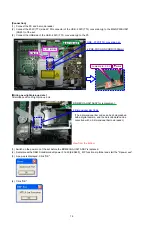
Страница 17: ...17 5 On the screen below select ComPort XX Select the USB 232C TTL conversion jig port 6 Check Directory ...
Страница 40: ...40 Personal notes ...
Страница 76: ...Personal notes Personal notes 76 ...
Страница 80: ...80 PACKING VIEWs 7 8 8 14 15 16 17 19 18 17 16 19 9 13 12 11 10 z 1 3 4 5 6 ...
Страница 86: ...86 LAN8710 MAIN UNIT U901 Block Diagram ...
Страница 87: ...87 NJM2566AV MAIN UNIT U20 Block Diagram ...
Страница 91: ...91 2 FL DISPLAY FL TUBE 15 BT 114GNK Display UNIT U3 ...
Страница 92: ...92 Personal notes ...