About this task
The rails have four adjustment ranges: 18-22", 22-26", 26-30", 30-34". The default length of the rails is 22-26".
Steps
1.
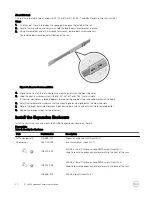
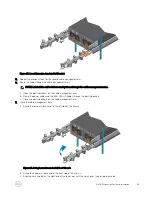
Orient one of the rails to display the spacing markings on the inside of the rail.
2.
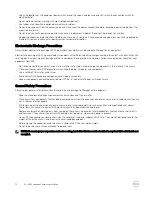
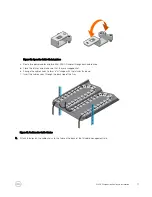
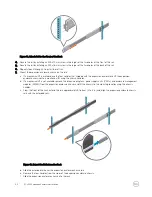
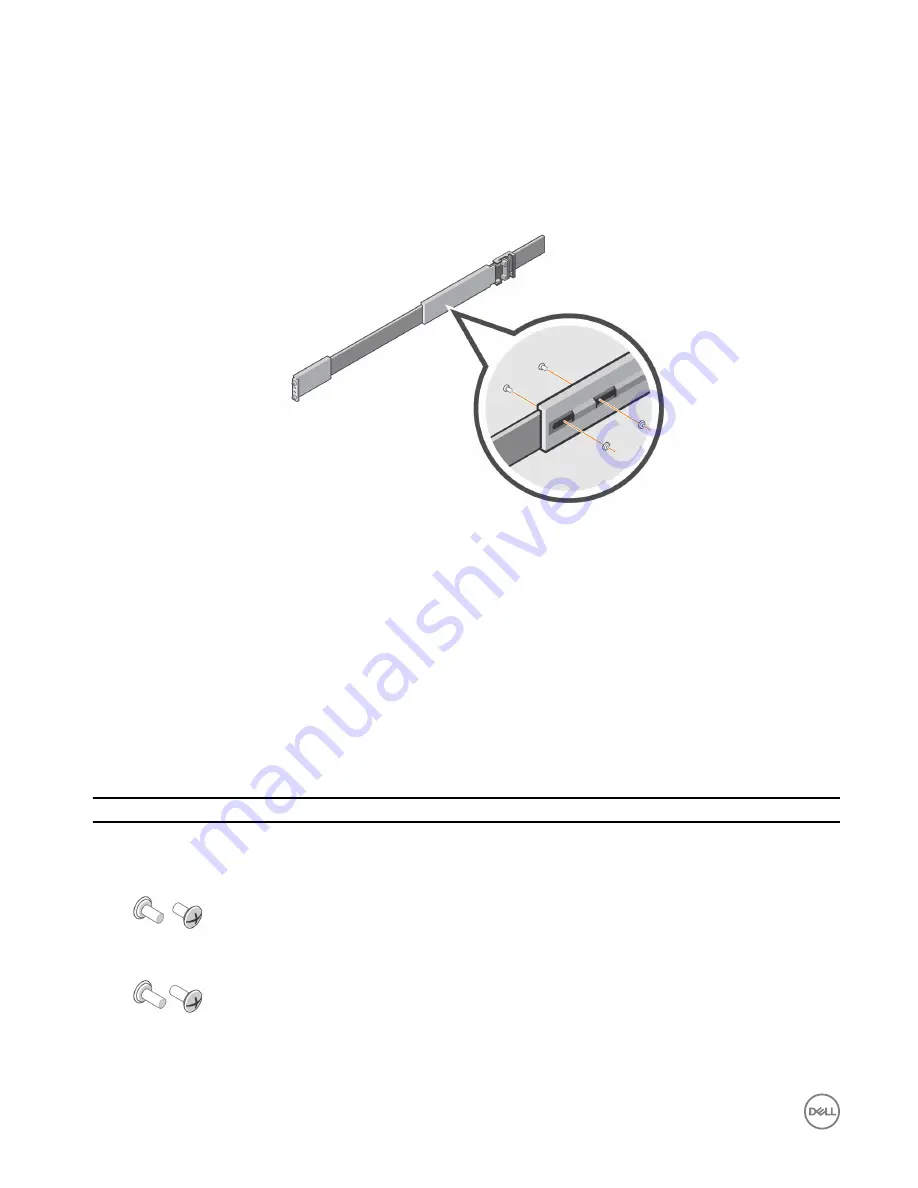
Locate the two screws and nuts which hold the length adjustment bracket in place.
3.
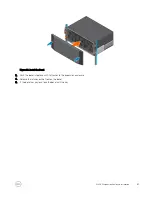
Using a screwdriver and a 10 mm socket or wrench, remove both screws and nuts.
The length adjustment bracket will be free of the rail.
Figure 16. Remove Screws and Nuts
4.
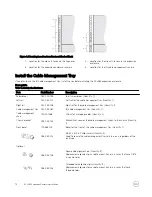
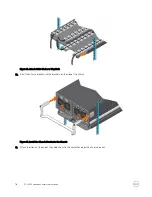
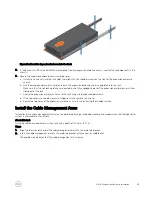
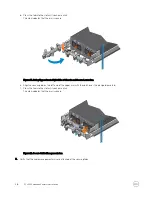
Move to the front of the rail and align the mounting slots with the mounting holes.
5.
Slide the inner rail mechanism until the 18"-22", 26"-30", or 30"-34" mark is visible.
If the inner mechanism is locked, depress the leaf spring and press the rail locking mechanism to free it.
6.
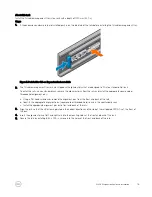
Adjust the hardware to make sure that the mounting holes are aligned with the mounting slots.
7.
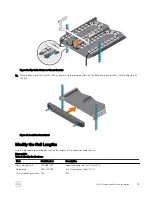
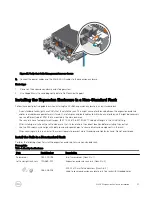
Secure the length adjustment bracket in place using both screws and nuts that were removed earlier.
8.
Repeat the previous steps for the other rail.
Install the Expansion Enclosure
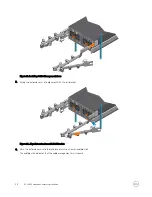
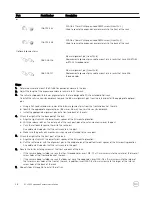
Install the rails in the rack, and mount the SCv360 expansion enclosure on the rails.
Prerequisite
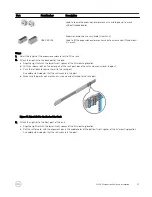
Table 3. Identify the Hardware
Part
Part Number
Description
Left and right rails
100-569-001
Expansion enclosure rails (Quantity: 2)
Screwdriver
034-000-193
6-in-1 screwdriver (Quantity: 1)
106-002-452
M5-0.8 x 10 mm Phillips pan-head SEMS screw (Quantity: 2)
Used to secure the expansion enclosure rails to the front of the rack
106-002-453
M5-0.8 x 16 mm Phillips pan-head SEMS screw (Quantity: 2)
Used to secure the expansion enclosure rails to the back of the rack
106-569-307
M5-0.8 clip nut (Quantity: 6)
20
SCv360 Expansion Enclosure Installation


