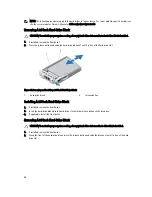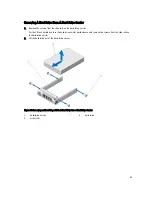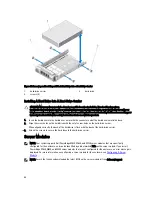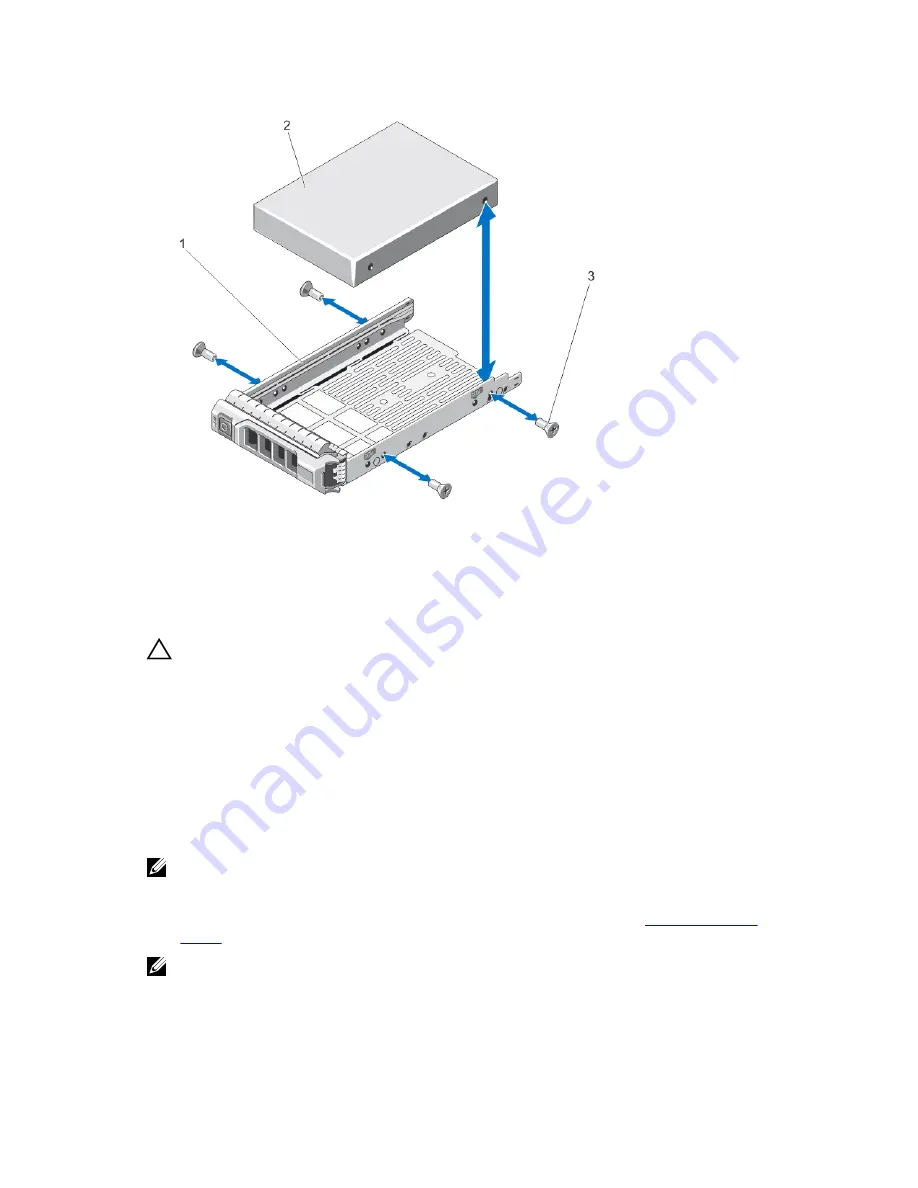
Figure 35. Removing and Installing a 3.5 Inch Hard Drive Into a Hard-Drive Carrier
1.
hard-drive carrier
2.
hard drive
3.
screws (4)
Installing A Hard Drive Into A Hard-Drive Carrier
CAUTION: Many repairs may only be done by a certified service technician. You should only perform
troubleshooting and simple repairs as authorized in your product documentation, or as directed by the online or
telephone service and support team. Damage due to servicing that is not authorized by Dell is not covered by your
warranty. Read and follow the safety instructions that came with the product.
1.
Insert the hard drive into the hard-drive carrier with the connector end of the hard drive toward the back.
2.
Align the screw holes on the hard drive with the set of screw holes on the hard-drive carrier.
When aligned correctly, the back of the hard drive is flush with the back of the hard-drive carrier.
3.
Attach the screws to secure the hard drive to the hard-drive carrier.
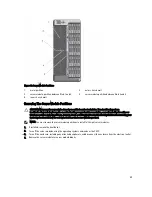
Server Modules
NOTE: Your system supports Dell PowerEdge M520, M620, and M820 server modules that are specifically
configured for the enclosure, and can be identified by a label marked PCIe on the server module. If you install
PowerEdge M520, M620, and M820 server modules that are not configured for the enclosure, an error message is
displayed. For more information on configuring a server module for the enclosure, see
Configuring A Server
Module
.
NOTE: Ensure that you have downloaded the latest BIOS on the server module(s) from dell.com/support.
54
Содержание PowerEdge M520
Страница 1: ...Dell PowerEdge VRTX Enclosure Owner s Manual Regulatory Model E22S Regulatory Type E22S001 ...
Страница 8: ...8 ...
Страница 34: ...34 ...
Страница 66: ...Figure 45 Securing the Power Cable Without Wheel Assembly 1 power cable 2 strap 66 ...
Страница 148: ...148 ...
Страница 151: ...Figure 94 System Board Connectors Back 1 midplane planar connectors 3 151 ...
Страница 152: ...152 ...
Страница 158: ...158 ...


