


8-4
Dell PowerEdge 6350 Systems Installation and Troubleshooting Guide
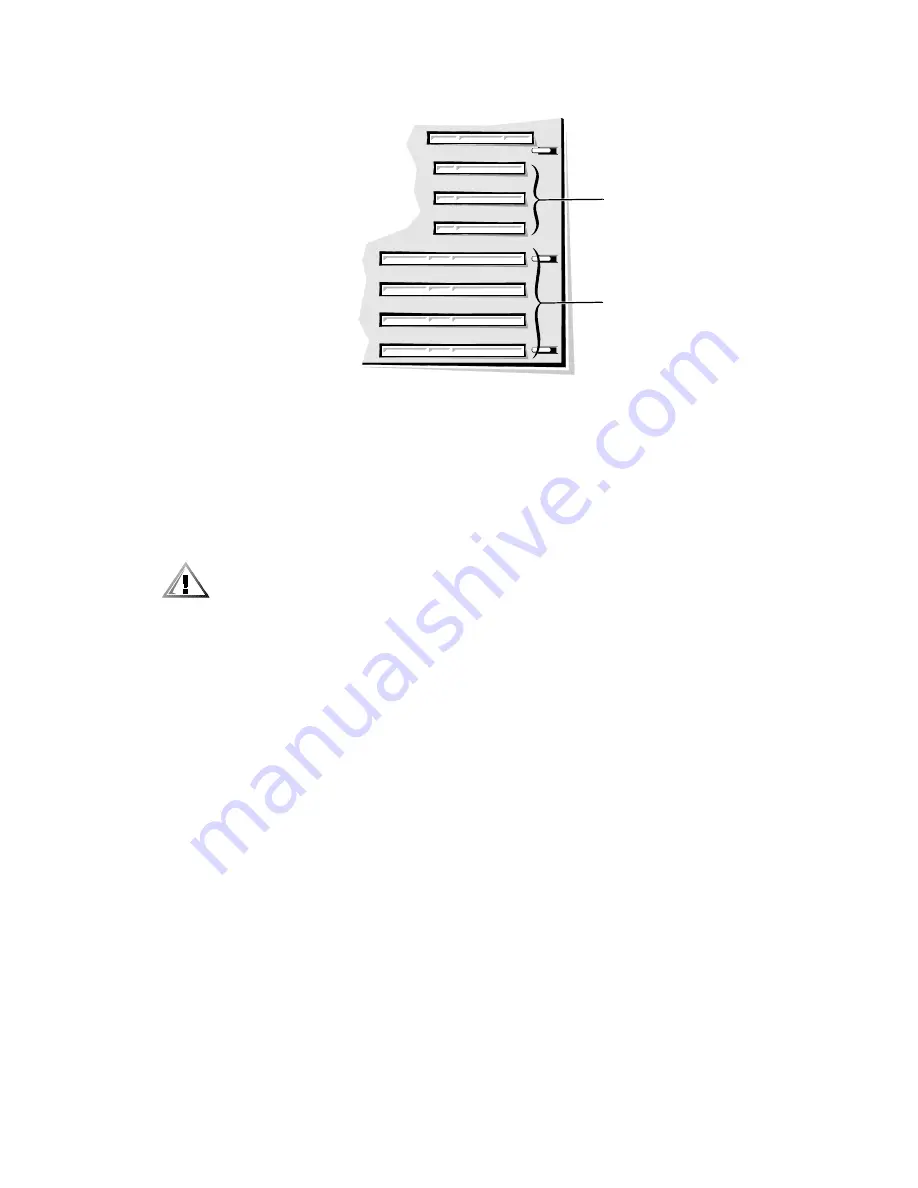
)LJXUH ([SDQVLRQ&DUG &RQQHFWRUV
,QVWDOOLQJDQ([SDQVLRQ&DUG
Follow this general installation procedure:
1.
Turn off the system, including any attached peripherals, and disconnect the sys-
tem from its AC power source.
&$87,21 6HH ´3URWHFWLQJ $JDLQVW (OHFWURVWDWLF 'LVFKDUJHµ LQ WKH VDIHW\
LQVWUXFWLRQV DW WKH IURQW RI WKLV JXLGH
2.
Prepare the expansion card for installation, and open the panel doors on top of
the computer
See the documentation that came with the expansion card for information on
configuring the card, making internal connections, or otherwise customizing the
card for the system.
3.
Select the expansion slot in which you will install the new expansion card.
4.
Open the plastic expansion card clip and remove the expansion slot filler bracket:
a.
Press and hold the plastic tab on the outside of the system chassis (see
Figure 8-4).
b.
Press the release tab on the latch inside the system chassis.
c.
Open the expansion card latch and remove the filler bracket.
32-bit PCI connectors
(PCI1 [top] through PCI3)
64-bit PCI connectors
(PCI4 [top] through
PCI7)
Содержание PowerEdge 6350
Страница 1: ... ZZZ GHOO FRP HOO 3RZHU GJH 6 VWHPV 167 7 21 1 7528 6 227 1 8 ...
Страница 20: ...1 2 Dell PowerEdge 6350 Systems Installation and Troubleshooting Guide ...
Страница 50: ...4 4 Dell PowerEdge 6350 Systems Installation and Troubleshooting Guide ...
Страница 84: ...6 8 Dell PowerEdge 6350 Systems Installation and Troubleshooting Guide ...
Страница 128: ...8 18 Dell PowerEdge 6350 Systems Installation and Troubleshooting Guide ...
Страница 136: ...9 8 Dell PowerEdge 6350 Systems Installation and Troubleshooting Guide ...
Страница 182: ...A 8 Dell PowerEdge 6350 Systems Installation and Troubleshooting Guide ...
Страница 185: ...Jumpers Switches and Connectors B 3 LJXUH 6 VWHP RDUG XPSHUV jumpered unjumpered ...
Страница 192: ...B 10 Dell PowerEdge 6350 Systems Installation and Troubleshooting Guide ...


