NOTE:
The display assembly is a Hinge-Up Design (HUD) assembly and cannot be further disassembled once it is
removed from the bottom chassis. If any components of the HUD assembly are malfunctioning and need to be
replaced, replace the entire display assembly.
Installing the display assembly
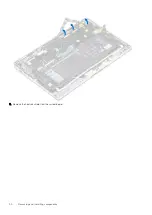
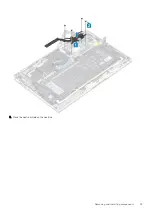
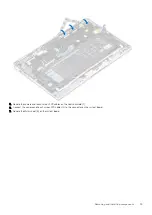
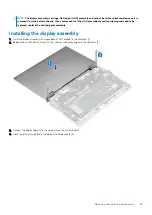
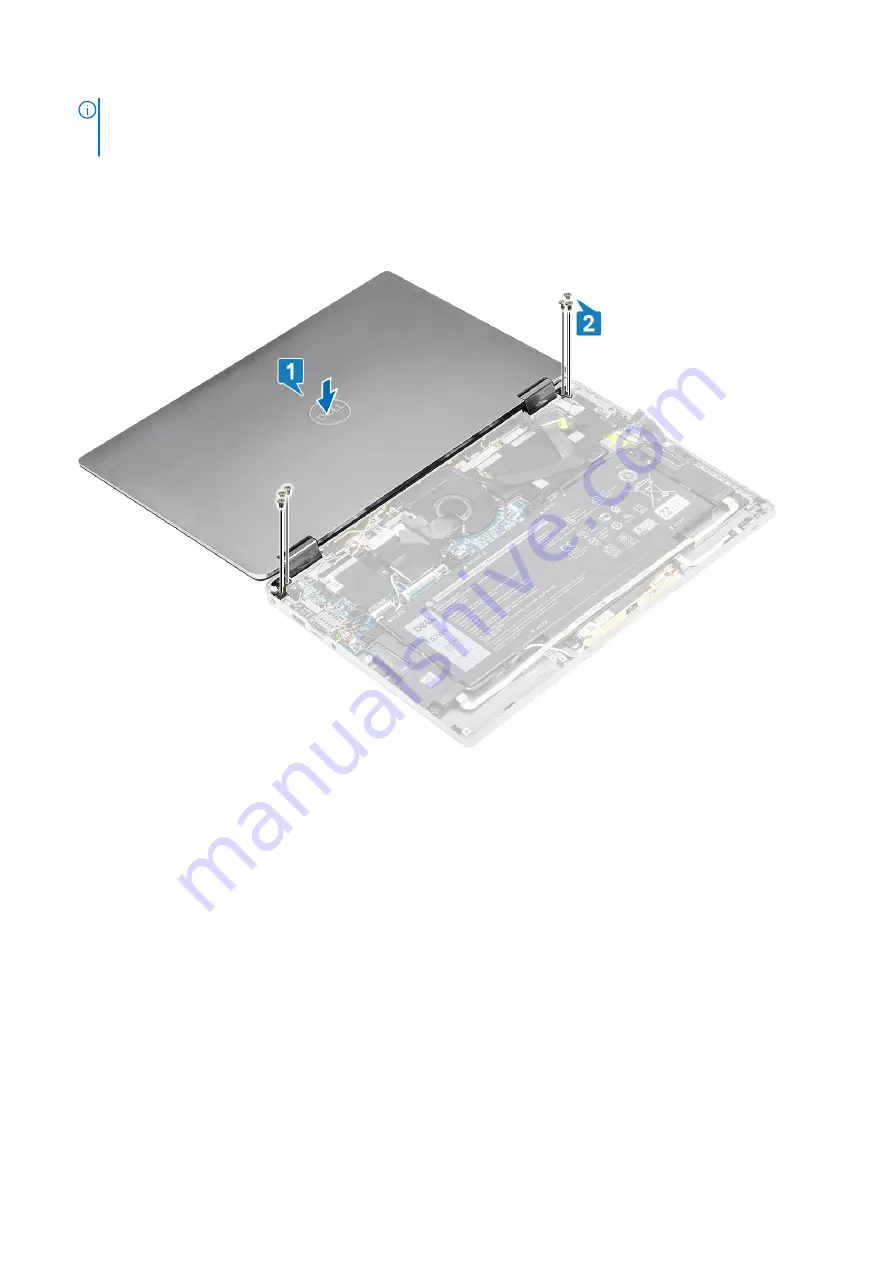
1. Install the display assembly with hinges open at 180º aligned to the computer [1].
2. Replace the six (M2.5x3.5) screws [1] that secures the display hinges to the computer [2].
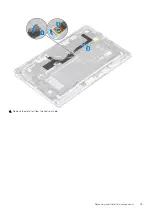
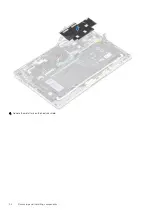
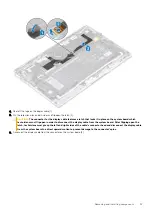
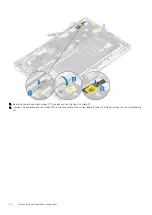
3. Connect the display cable [1] to the connector on the system board.
4. Close the latch [2] and adhere the tape on the display cable [3].
Removing and installing components
59
Содержание Latitude 9410
Страница 1: ...Dell Latitude 9410 Service Manual Regulatory Model P110G Regulatory Type P110G001 ...
Страница 12: ...Major components of your system 1 Base cover 2 Heatsink shield 3 12 Major components of your system ...
Страница 22: ...2 Press along the edges of the base cover until it clicks into place 22 Removing and installing components ...
Страница 23: ...3 Tighten the 10 captive screws to secure the base cover to the computer Removing and installing components 23 ...
Страница 36: ...5 Place the metal shield on the WWAN card 36 Removing and installing components ...
Страница 44: ...8 Adhere the Mylar sheet on the system board 1 Connect the battery cable 44 Removing and installing components ...
Страница 49: ...4 Remove the metal foil from the heatsink shield Removing and installing components 49 ...
Страница 50: ...5 Remove the heatsink shield from the system board 50 Removing and installing components ...
Страница 53: ...3 Place the heatsink shield on the heatsink Removing and installing components 53 ...
Страница 54: ...4 Adhere the metal foils on the heatsink shield 54 Removing and installing components ...
Страница 80: ...8 Lift the keyboard off the palmrest assembly 80 Removing and installing components ...
Страница 81: ...Installing the keyboard 1 Place the keyboard on the palmrest assembly Removing and installing components 81 ...

