Installing the Display Panel
1.
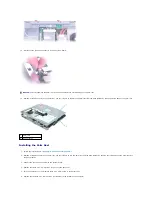
Connect the top flex-cable connector to the display panel connector.
2.
Connect the bottom flex-cable connector to the inverter connector.
3.
Lay the display panel in the top cover.
4.
Route the display-feed flex cable so that it rests in the notch located in the bottom edge of the top cover.
5.
For 15-inch display panels, replace the eight M2 x 3-mm screws that secure the display panel to the top cover.
6.
For 14-inch display panels, replace the four M2 x3-mm screws that secure the display panel to the top cover.
7.
Replace the
Display Latch Assembly
Removing the Display Latch Assembly
1.
Follow the instructions in "
Preparing to Work Inside the Computer
."
2.
.
3.
4.
5.
6.
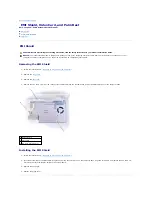
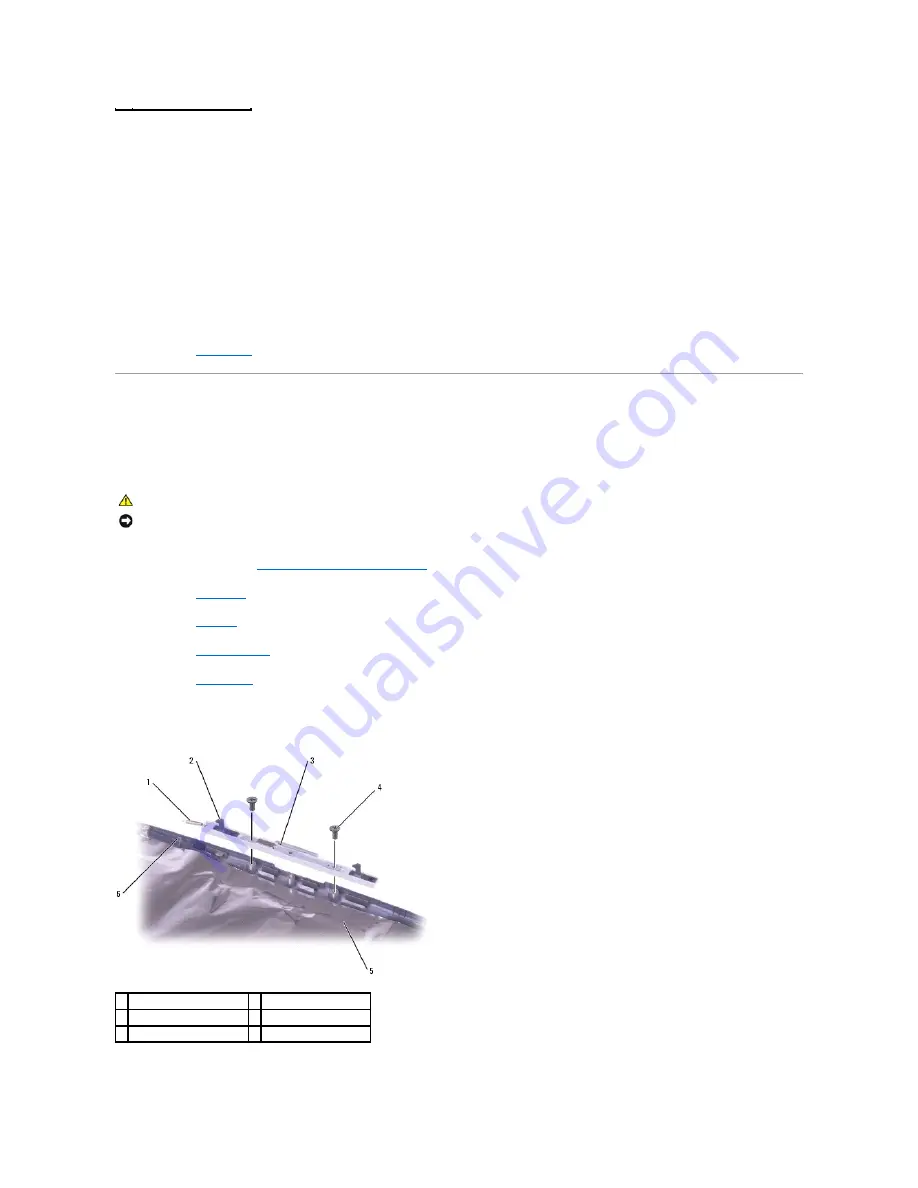
Remove the two M2.5 x 5-mm screws that secure the display latch assembly to the top cover.
7.
Lift the display latch assembly up and out of the top cover.
CAUTION:
Before performing the following procedures, read the safety instructions in your
Product Information Guide
.
NOTICE:
To prevent static damage to components inside your computer, discharge static electricity from your body before you touch any of your
computer's electronic components. You can do so by touching an unpainted metal surface.
1 spring
4 M2.5 x 5-mm screws (2)
2 spring hook (display latch) 5 top cover
3 display latch assembly
6 spring hook (top cover)
Содержание Inspiron 5160
Страница 19: ...Back to Contents Page ...


