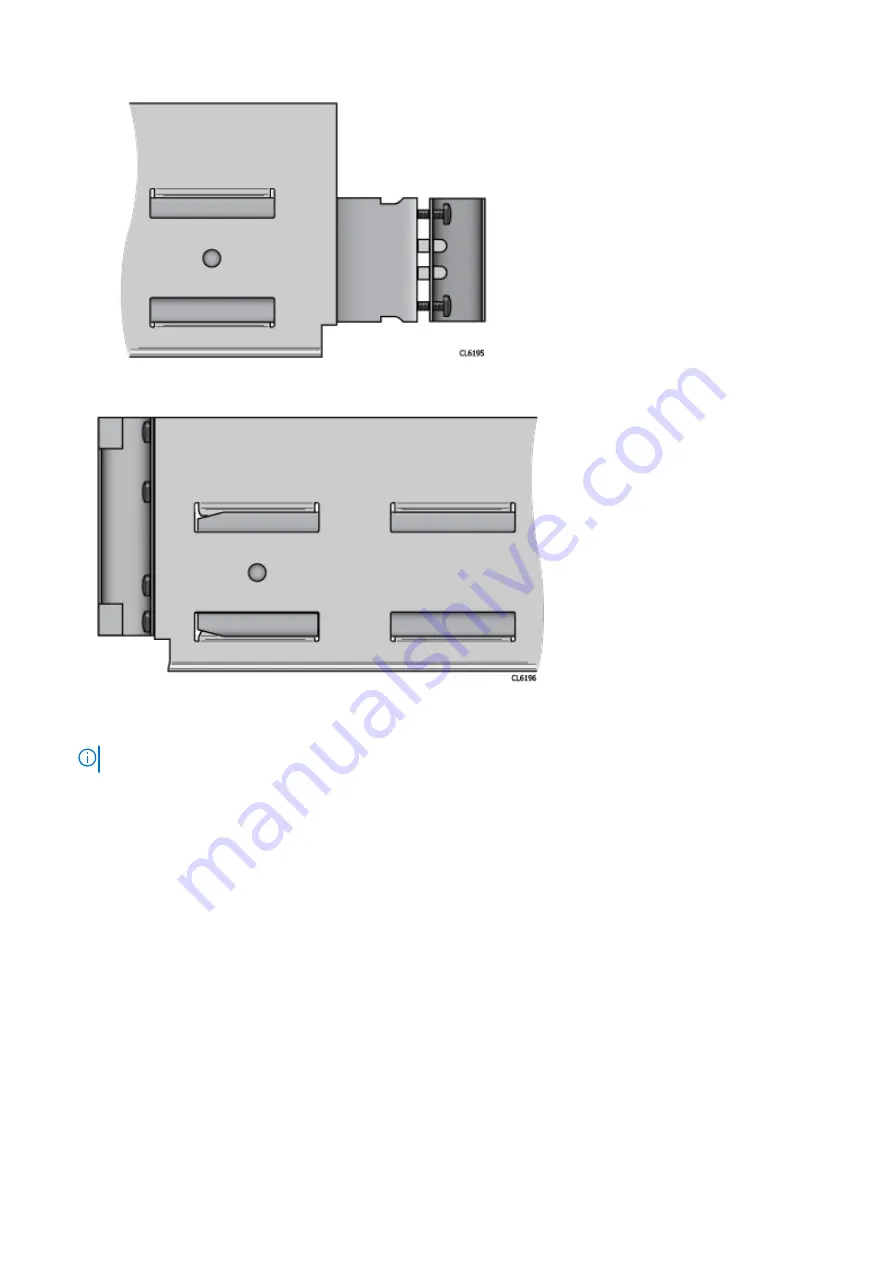
3. (M6 or 12/24 tapped holes racks only) Attach clip nuts.
Slide two clip nuts onto the front bracket assembly at the top and bottom positions.
4. Determine the vertical position in the rack at each rack post where the rails are to be installed.
The top-most mounting hole for a particular rack unit (RU) mounting position is typically identified by a mark or hole. Racks
may also be screen-printed to show the positions of the rack units.
NOTE:
Two people may be required to attach the rail/bracket assembly to the rack.
5. Attach the first rail to the rack as follows:
a. Hold the rail against the inside of the rack, with the rear bracket aligned with the rear of the rack.
b. Pull the front of the rail until it is aligned with the inside of the rack front.
c. Attach the front of the rail/bracket assembly to the front of the rack.
For M6 or 12/24 tapped rack holes: insert M5 screws through the rack hole positions as shown in
on page 28. Secure the screws using the furnished nuts.
For M5 or 10/32 tapped rack holes: partially screw in the screws into the rack hole positions as shown in
on page 28. Slide the rail kit over the exposed threads. These threads temporarily hold the rail kit in position
while the kit length is being adjusted. Once the rail kit is set to the correct length, thread the mating nuts onto the exposed
screws and tighten with a wrench.
Install the Disk Shelves in the Rack
27
Содержание Data Domain DD9500
Страница 1: ...Dell EMC Data Domain DD9500 System Installation and Storage Expansion Guide November 2021 Rev 02 ...
Страница 65: ...Figure 66 DD9500 with ES30 shelves ERSO Connect Cables and Power On 65 ...
Страница 68: ...Figure 68 DD9500 with DS60 shelves DD9500 with HA For an HA DD9500 pair 68 Connect Cables and Power On ...
Страница 70: ...Figure 69 DD9500 with DS60 shelves HA 70 Connect Cables and Power On ...


