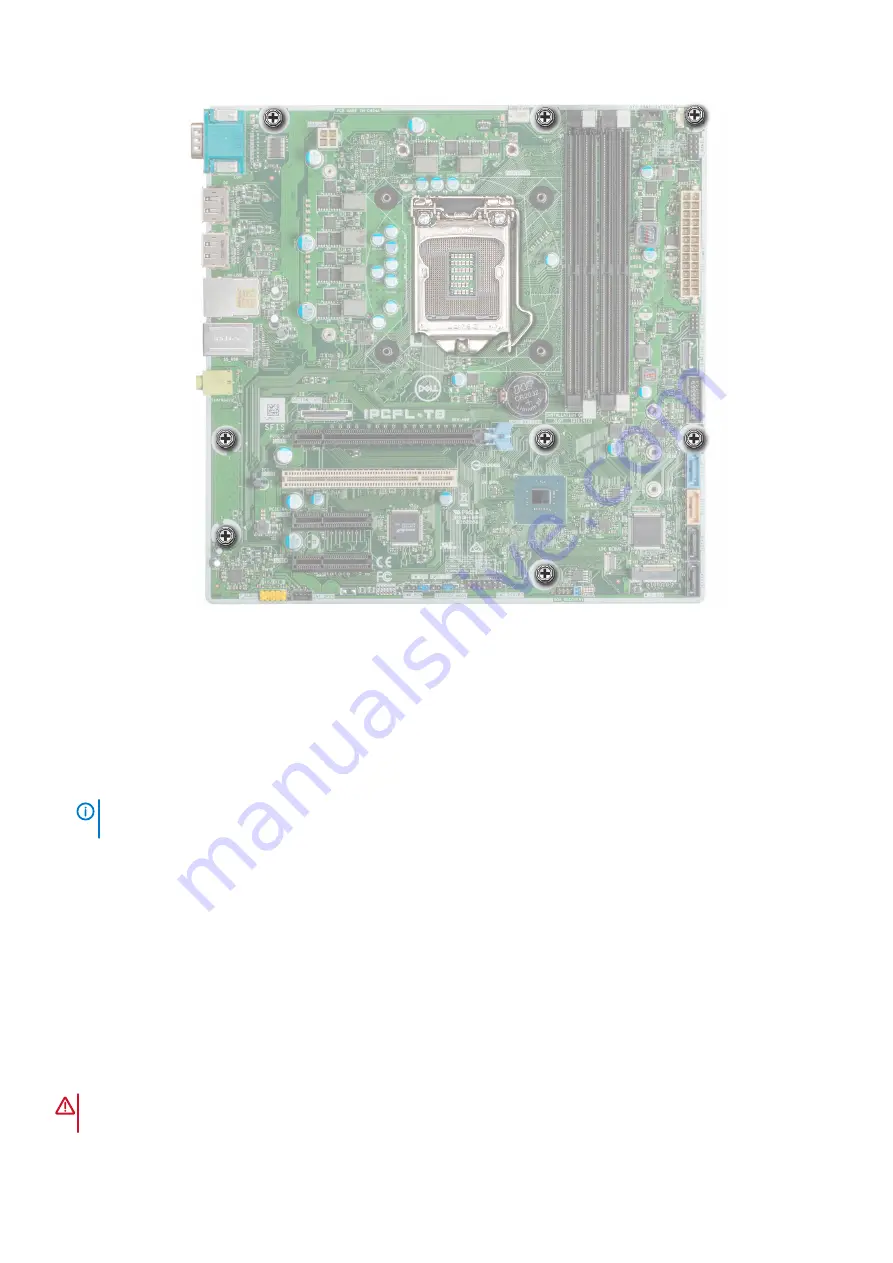
Figure 51. System board screw location
Next steps
1. Replace the following:
a.
.
b.
c.
d.
2. Reconnect all cables to the system board.
NOTE:
Ensure that the cables inside the system are routed along the chassis wall and secured by using the cable
securing bracket.
3.
.
4. Follow the procedure listed in
After working inside your system
5. Let the system boot.
6. Ensure that you:
a. Update the BIOS firmware.
b. Enter the system service tag after you install the system board. For more information see
Entering the System Service Tag by using the Service
Menu
Prerequisites
WARNING:
Service Menu only appears once after a new system board is replaced. The setting in Service Menu cannot
be undone once you apply the changes.
Installing and removing system components
71
Содержание PowerEdge T40
Страница 11: ...System Information Label Figure 4 Service Information PowerEdge T40 system overview 11 ...
Страница 12: ...Figure 5 Memory information Figure 6 Jumper Settings 12 PowerEdge T40 system overview ...
Страница 13: ...Figure 7 System task PowerEdge T40 system overview 13 ...
Страница 14: ...Figure 8 Quick resource locator 14 PowerEdge T40 system overview ...
Страница 26: ...3 The Bios flash menu will open then click the browse button 26 Pre operating system management applications ...
Страница 28: ...6 Click the Begin Flash Update button 28 Pre operating system management applications ...


