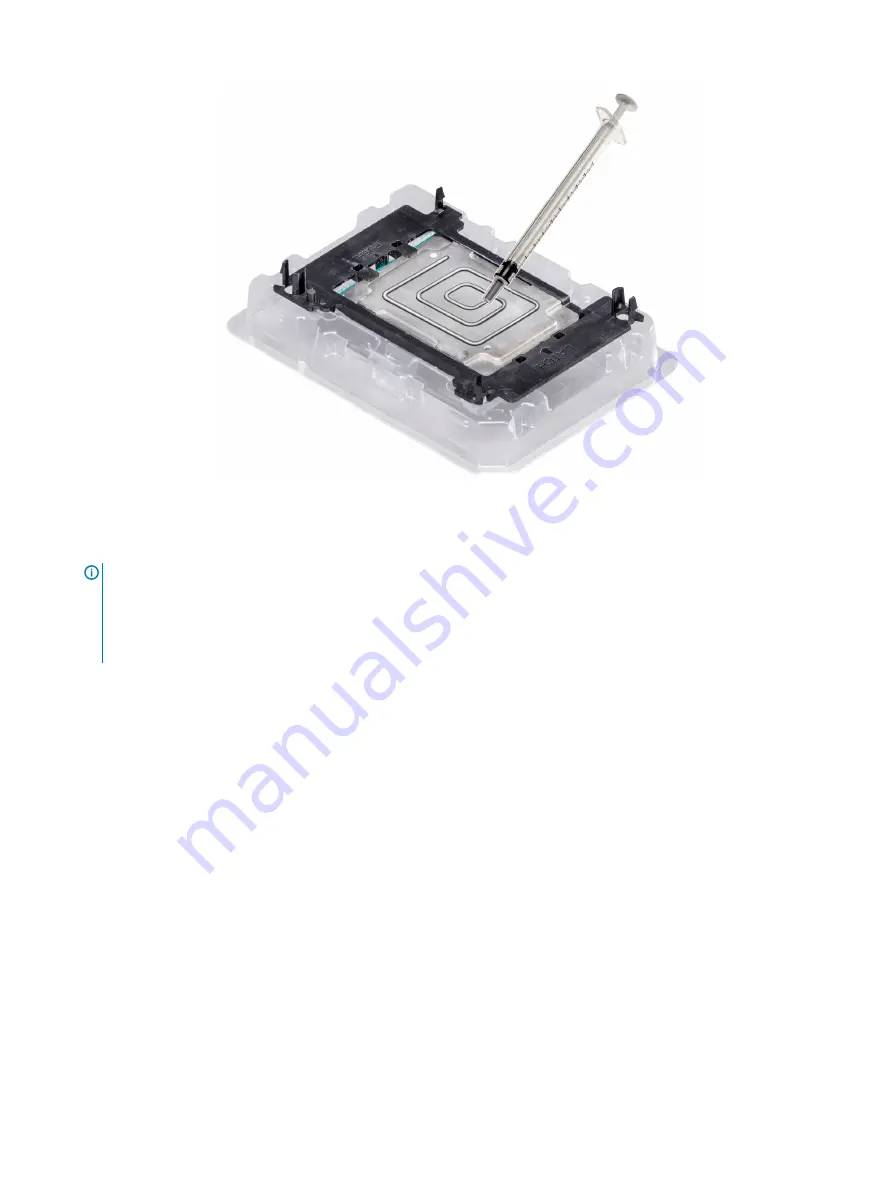
Figure 62. Applying thermal grease on top of the processor
5
Place the heat sink on the processor and push down on the base of the heat sink until the bracket locks onto the heat sink.
NOTE:
•
Ensure that the two guide pin holes on the bracket match the guide holes on the heat sink.
•
Do not press on the heat sink fins.
•
Ensure that the pin 1 indicator on the heat sink is aligned with the pin 1 indicator on the bracket before placing the heat sink
onto the processor and bracket.
Installing and removing system components
113
Содержание PowerEdge R740
Страница 9: ...Figure 1 Supported configurations PowerEdge R740 system overview 9 ...
Страница 27: ...Figure 20 Jumper setting and memory information Figure 21 system task PowerEdge R740 system overview 27 ...
Страница 28: ...Figure 22 NVDIMM battery and mid tray hard drives 28 PowerEdge R740 system overview ...
Страница 141: ...Figure 94 Securing GPU 1 Installing and removing system components 141 ...
Страница 142: ...Figure 95 Installing GPU 2 and 3 142 Installing and removing system components ...


