proxSafe flexx
V08/09/09
ps_flexx_wi_en
33
3.16
Install further flexx housings
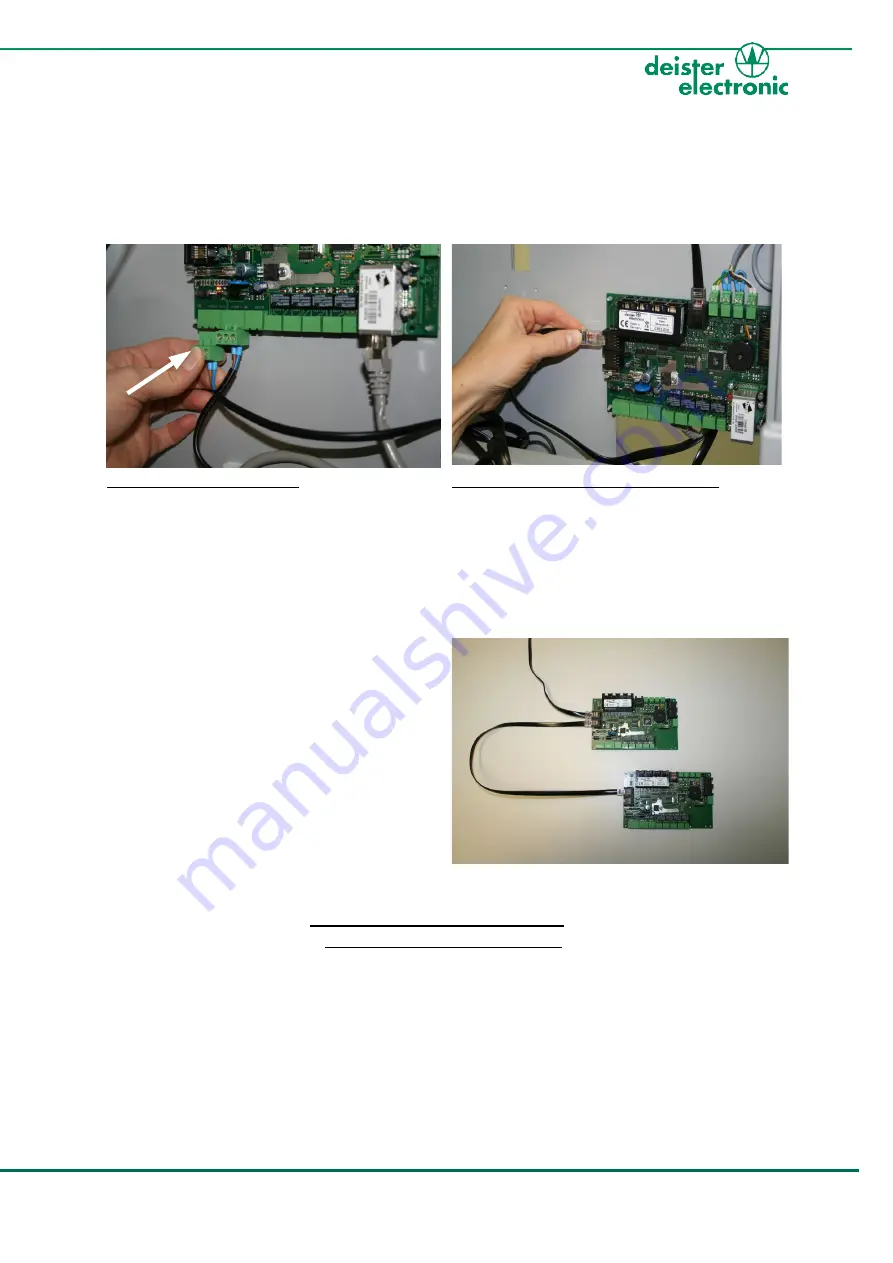
If you wish to install further flexx housings, connect both flexx backplane PCBs as follows:
(A = this flexx, B = next flexx)
1.
For power supply connect:
backplane A “Power Out” (see above) <->
backplane B “Power In” (3 pin connectors)
2. (a)
For data transfer connect as follows:
RJ45 connector on backplane A (see in
picture above) <-> RJ45 connector on
backplane B (as shown exemplary with the
two isolated backplanes in picture 2. (b))
2. (b)
Important:
If you plan to connect more than two flexx housings (i.e. more than two flexx
backplanes), you will need additional power supply units. For sufficient power supply
in this case contact your local sales and service partner.
3.17
Close flexx doors
After closing the service door with one of the service keys and pushing the front door back
into place until clicking you can operate your new flexx.
Содержание proxSafe flexx
Страница 1: ...flexx Wiring Installation Instructions 896087...
Страница 42: ...proxSafe flexx 42 ps_flexx_wi_en V08 09 09 Notes...
Страница 43: ...proxSafe flexx V08 09 09 ps_flexx_wi_en 43 Notes...


