Leak Testing
13
GENERAL
Although all gas connections on the grill are leak tested at the factory prior to shipment, a complete
gas tightness check must be performed at the installation site due to possible mishandling in shipment,
or excessive pressure unknowingly being applied to the unit. Periodically check the whole system for
leaks, or immediately check if the smell of gas is detected.
BEFORE TESTING
Do not smoke while leak testing. Extinguish all open flames.
Never leak test with an open flame.
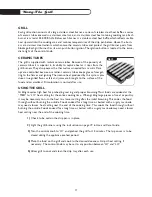
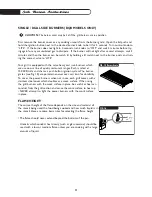
Make a soap solution of one part liquid detergent and one part water. You
will need a spray bottle, brush, or rag to apply the solution to the fittings.
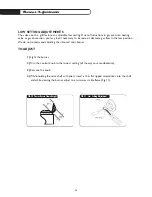
For LP units, check with a full cylinder. The valve panel must be removed to
check the valves and fittings. Remove the 4 torx head screws (fig.05) which
fasten the valve panel to the unit. Pull the valve panel outward be careful not
to pull on the igniter wires. The valve panel can be unplugged if needed and
set aside.
Bottom Of Unit
Leak Test Points
LP Tank
Check Hose
For Signs Of
Abrasions,
Cracks, or leaks
Bottom Of Unit
Leak Test Points
Shut-Off
Valve
FIG.05 LP Gas (36E Model Shown)
FIG.07 Nat. Gas (36E
Model Shown)
FIG.05
Torx Head
Screws
Valve Panel


