Appendix B – Wireless and Wired LAN Setup
78
Once the printer has restarted the
icon will be displayed
signifying that an IP address has been obtained. Allow up to 90
seconds for the printer to retrieve an IP address.
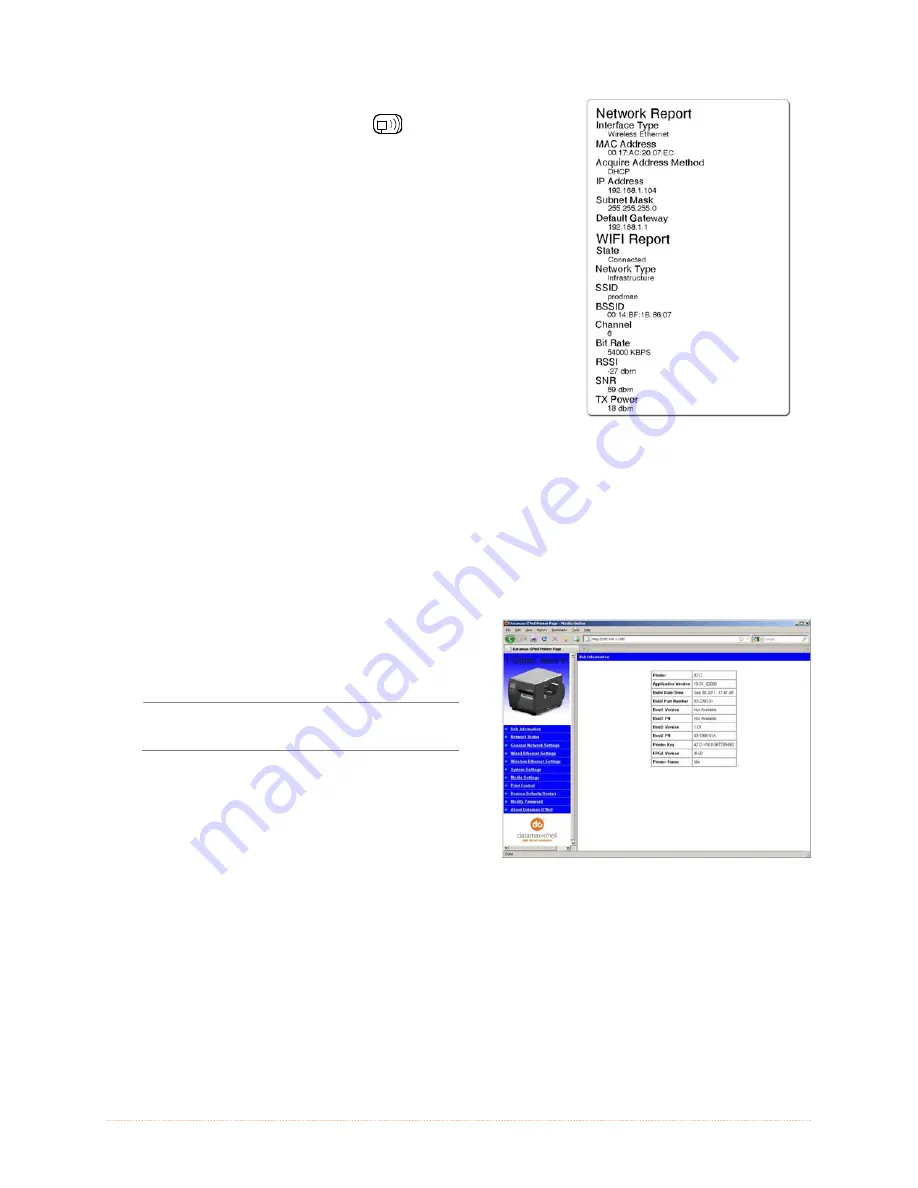
At this point it is recommended to print a Network Report. This
Network Report is generated by the printer and lists important
default information such as the IP and MAC Addresses as well
as SSID for wireless connections. To print the ‘Network
Report’: Press the PAUSE, FEED, CANCEL buttons at the
same time.
Once the previous steps have been successfully completed you
may now use the IP Address to install a printer driver, and
start printing from your Windows
applications. See section
B.3, Installing the Printer Driver.
The information on this label will vary depending
on your configuration and firmware version.
B.2.1 Wireless Setup – Ad-Hoc
After a successful setup is made via a wired connection, the Wireless connection (if equipped) can
now be configured in ad-hoc mode using a static IP address. To configure the wireless card in Ad-
hoc mode, you must configure your host computer to match the IP settings of the printer. Refer to
your operating system’s or your wireless network card documentation for information on how to
configure your computer.
1. Open your web browser. Type in the IP
Address of the printer. The Default IP is:
192.168.10.26.
If a different IP Address has been
assigned to the printer, make sure to
enter the correct IP address.
A page similar to the right will appear:
2. Click on the “Wireless Ethernet Settings” menu item on the left side of the screen. Locate and
set the following items:
In the “Acquire Address Method” section, select the “Use Static Addresses” radio
button.
In the “Static IP Addresses” section, enter valid static IP addresses for Printer IP
Address, Printer Subnet Mask, and Printer Gateway.
3. Scroll down the page to “Network Type”, select “Ad-hoc” from the drop down box.
Содержание I-Class Mark II I-4212E/203
Страница 1: ...Operator s Manual...
Страница 2: ......
Страница 8: ...Chapter 1 Getting Started 2...
Страница 20: ...Chapter 2 Printer Setup 14...
Страница 38: ...Chapter 3 Printer Operation 32...
Страница 62: ...Chapter 4 Menu System 56...
Страница 76: ...Chapter 6 Troubleshooting 70...
Страница 80: ...Appendix A Specifications 74...
Страница 88: ...Appendix B Wireless and Wired LAN Setup 82...
Страница 94: ......


