81
current copy setup. Click the OK button in the Encode interface, the copy function succeeded.
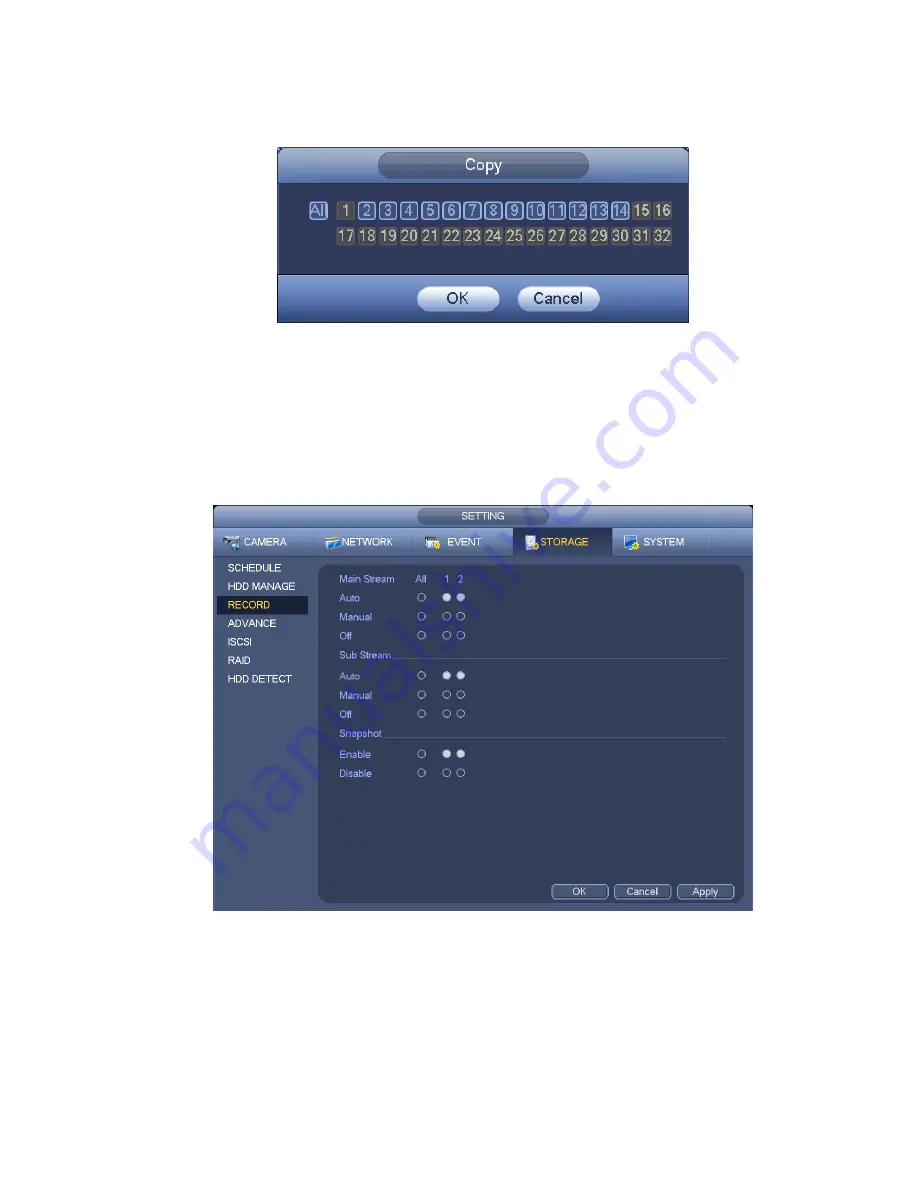
Please note, if you select ALL in Figure 3-65, the record setup of all channels are the same and the Copy
button becomes hidden.
Figure 3-65
Click OK button to save current setup.
3.11.2.2 Schedule Snapshot
From Main menu->Setting->Storage->Record or on the preview interface, right click mouse and then
select record item, user may see Figure 3-66.
Select snapshot channel and enable snapshot function. Click Save button.
Figure 3-66
From Main menu->Setting->Camera->Encode->Snapshot, user may go to snapshot interface. See Figure
3-67.
Select the snapshot channel from the dropdown list and then select snapshot mode as Timing (Schedule)
from the dropdown list and then set picture size, quality and snapshot frequency.
Содержание DNA3500 Series
Страница 2: ...DNA Network Video Recorder User s Manual V 5 2 0...
Страница 123: ...110 Figure 3 98 Figure 3 99 Figure 3 100...
Страница 135: ...122 Figure 3 116 Click draw button to draw the zone See Figure 3 117...
Страница 139: ...126 Figure 3 120 Click Draw button to draw a zone See Figure 3 121 Figure 3 121...
Страница 144: ...131 Figure 3 126 Click draw button to draw the zone See Figure 3 127...
Страница 158: ...145 Figure 3 139 Figure 3 140...
Страница 159: ...146 Figure 3 141 Figure 3 142...
Страница 160: ...147 Figure 3 143 Figure 3 144...
Страница 162: ...149 Figure 3 146 Figure 3 147...
Страница 187: ...174 Figure 3 173 Figure 3 174...
Страница 255: ...242 Figure 4 53 Figure 4 54...
Страница 256: ...243 Figure 4 55 Figure 4 56...
Страница 279: ...266 Figure 4 90 Figure 4 91...
Страница 286: ...273 Figure 4 100 Figure 4 101...


