76
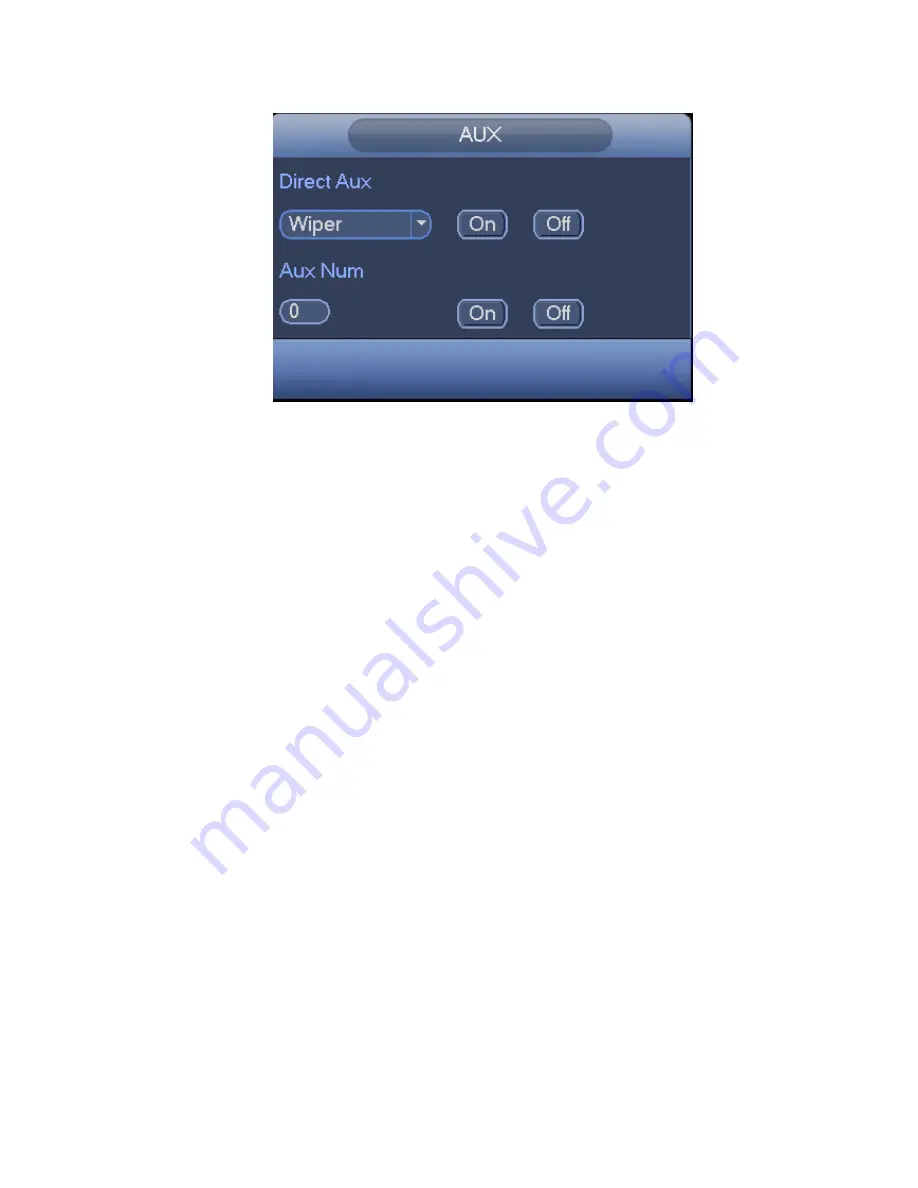
number is corresponding to the aux on-off button of the decoder. See Figure 3-57.
Figure 3-57
3.11 Record and Snapshot
The record/snapshot priority is: Alarm->Motion detect->Schedule.
3.11.1
Encode
3.11.1.1 Encode
Encode setting is to set IPC encode mode, resolution, bit stream type and etc.
From Main menu->Setting->System->Encode, user may see the following interface. See Figure 3-58.
Channel: Select the channel you want.
Type: Please select from the dropdown list. There are three options: regular/motion detect/alarm.
User may set the various encode parameters for different record types.
Compression: System supports H.264, MPEG4, MJPEG and etc.
Resolution: The mainstream resolution type is IPC’s encoding config. Generally there is
D1/720P/1080P.
Frame rate: It ranges from 1f/s to 25f/s in NTSC mode and 1f/s to 30f/s in PAL mode.
Bit rate type: System supports two types: CBR and VBR. In VBR mode, user may set video quality.
Video/audio: User may enable or disable the video/audio. Please note, once you enable audio
function for one channel, system may enable audio function of the rest channels by default.
Audio encode: Please select audio encode mode from the dropdown list. It includes:
PCM/G711A/G711Mu/AAC.
Audio sampling: It is the audio sampling rate in one second. The higher the sampling rate is, the
more nature the audio is. There are two options: 8000(default)/16000.
Copy
:
After you complete the setup, user may click Copy button to copy current setup to other
channel(s). User may see an interface is shown as in Figure 3-65. User may see current channel
number is grey. Please check the number to select the channel or user may check the box ALL.
Please click the OK button in Figure 3-65 and Figure 3-59 respectively to complete the setup. Please
note, once you check the All box, you set same encode setup for all channels. Audio/video enable
box, overlay button and the copy button is shield.
Содержание DNA3500 Series
Страница 2: ...DNA Network Video Recorder User s Manual V 5 2 0...
Страница 123: ...110 Figure 3 98 Figure 3 99 Figure 3 100...
Страница 135: ...122 Figure 3 116 Click draw button to draw the zone See Figure 3 117...
Страница 139: ...126 Figure 3 120 Click Draw button to draw a zone See Figure 3 121 Figure 3 121...
Страница 144: ...131 Figure 3 126 Click draw button to draw the zone See Figure 3 127...
Страница 158: ...145 Figure 3 139 Figure 3 140...
Страница 159: ...146 Figure 3 141 Figure 3 142...
Страница 160: ...147 Figure 3 143 Figure 3 144...
Страница 162: ...149 Figure 3 146 Figure 3 147...
Страница 187: ...174 Figure 3 173 Figure 3 174...
Страница 255: ...242 Figure 4 53 Figure 4 54...
Страница 256: ...243 Figure 4 55 Figure 4 56...
Страница 279: ...266 Figure 4 90 Figure 4 91...
Страница 286: ...273 Figure 4 100 Figure 4 101...


