46
•
Camera Performance and Features
Linea Lite GigE Series Camera
PRNU Correction
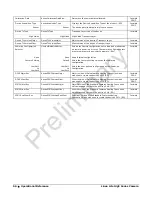
Step 1:
Apply illumination and place a white flat target in the location where the real object will be.
Ideally, you would use a professional target. For convenience, you can use white paper as the
target. The result of using paper may produce grain effect
—
where visible vertical lines show up in
grabbed images.
Two common ways to correct the grain effect are:
1) Target in motion while PRNU Correction is performed.
2) Defocus lens while PRNU Correction is performed.
Set the
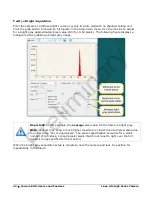
to Off and check the bare image line profile.
Step 2.
to Calibration and select the required user set from
Field Correction Current Active Set
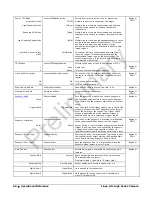
Step 3:
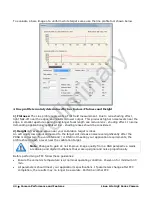
Adjust the calibration target in the Flat Field Calibration Target (in DN) if necessary.
Note:
200 DN is commonly used target in 8-bit output format.
Step 4.
Flat Field Calibration Sample Size
Step 5.
In the Calibrate PRNU feature, click
Press…
to perform the calibration.
Step 6:
Select a User Flat field set from the Flat Field Correction Current Active Set. In the
Press…
to save the FFC results to the selected current active set. If not
saved, the FFC result will be lost when the Active Set or Calibration mode is changed.
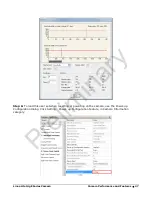
Step 7.
to Active to apply the calibrated FPN and PRNU
parameters to. Results can be checked with the line profile.
Preliminary

