User's Manual
189
No.
Function
Description
7
View Layout and
Channel Selection
● In the
Camera Name
list, select the channel(s) that
you want to play back.
● The window split is decided by how you select the
channel(s). For example, if you select one channel,
the playback is displayed in the single-channel view;
if you select two to four channels, the playback is
displayed in the four-channel view. The maximum is
eight channels.
● Click
to switch the streams.
indicates main
stream, and
indicates sub stream.
8
List Display
This area includes
Tag List
and
File List
.
Different series products have different functions. The
icons displayed may vary. The actual product shall
prevail.
●
: Click
Tag List
, the marked recorded video list is
displayed. Double-click the file to start playing.
●
: Click
File List
, the searched recorded video list
is displayed. You can lock/unlock the files. Refer
to"4.6.7 File List" for detailed information.
●
Fisheye dewarp. It is to display the dewarp
fisheye video. Refer to "4.3.6.2 Fish eye de-warp
during playback" for detailed information.
14
Time Bar Unit
You can select 24hr, 2hr, 1hr, or 30min as the unit of
time bar. The time bar display changes with the setting.
All the operations here (such as playback speed, channel, time and progress) have
relationship with hardware version. Some series NVRs do not support some functions or
playback speeds.
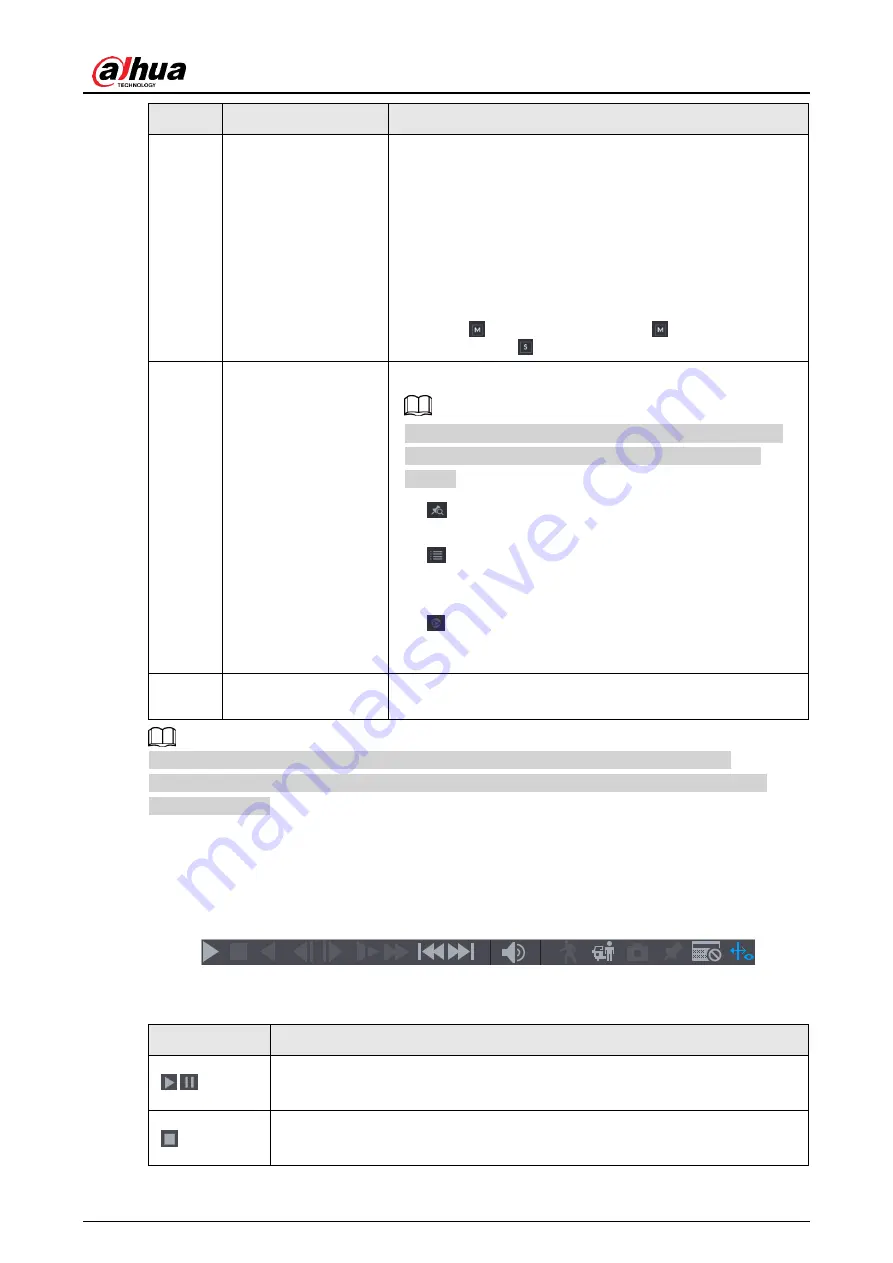
4.6.2.1 Playback Control
The playback control interface is shown as below. See Figure 4-98.
Figure 4-98
Refer to the following sheet for more information. See Table 4-29.
Table 4-29
Icon
Function
,
Play/Pause
In slow play mode, click it to switch between play/pause.
Stop
When playing back, click to stop current playback process.
Содержание NVR41 series
Страница 1: ...Dahua Network Video Recorder User s Manual ZHEJIANG DAHUA VISION TECHNOLOGY CO LTD V4 5 1...
Страница 103: ...User s Manual 89 The following figure is for reference only Figure 3 51...
Страница 122: ...User s Manual 108 Figure 4 21 Step 3 Set parameters See Table 4 5...
Страница 139: ...User s Manual 125 Figure 4 33 Step 3 Set record type See Figure 4 34...
Страница 295: ...User s Manual 281 Figure 4 182 Figure 4 183...
Страница 388: ...User s Manual 374 Figure 4 277 Step 2 Click Add The Add interface is displayed See Figure 4 278...
Страница 395: ...User s Manual 381 Figure 4 285 Figure 4 286 Remote Control Press the power button on the remote for at least 3 seconds...
Страница 416: ...User s Manual...


