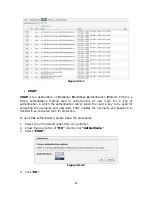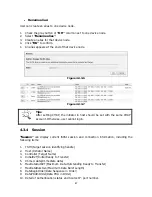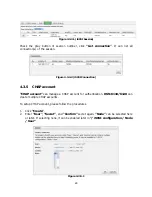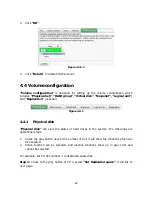
34
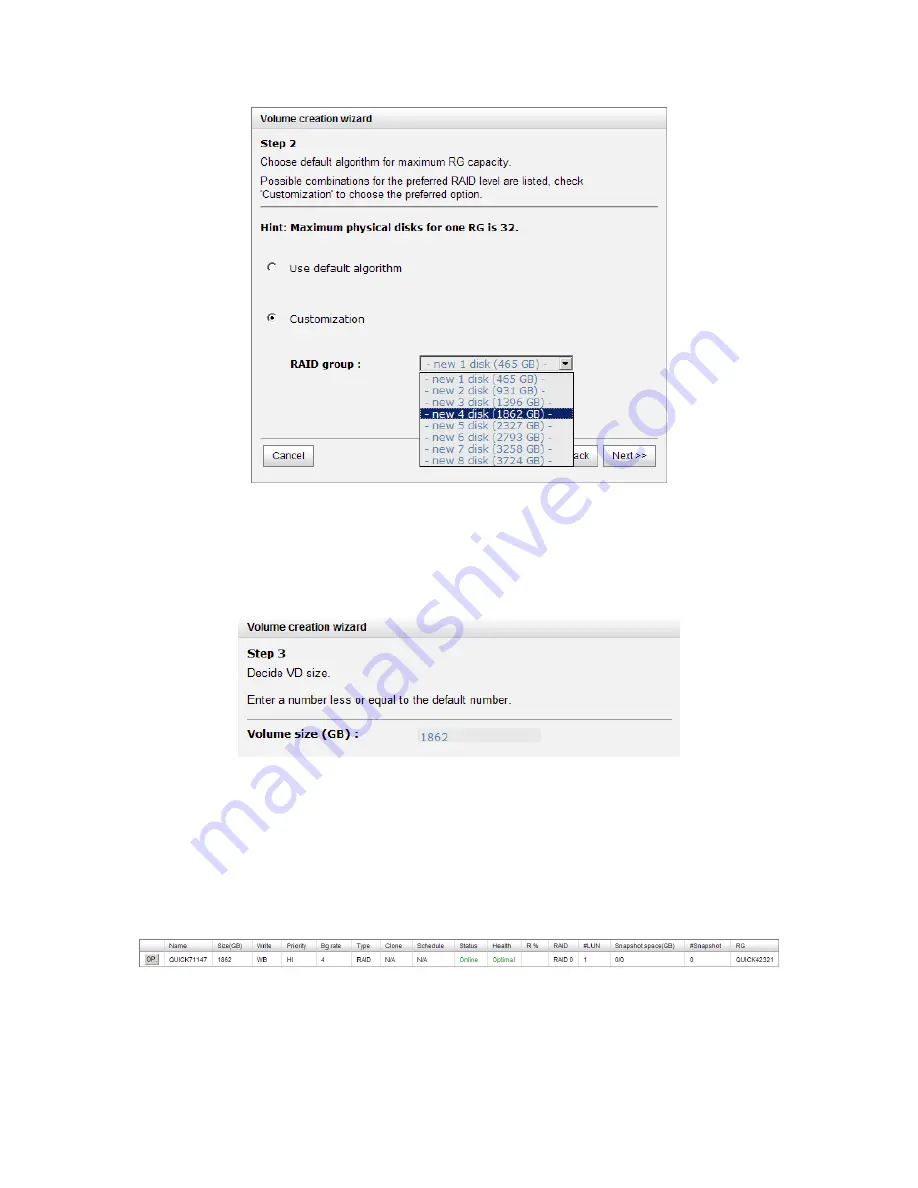
Figure 3.2.2.2
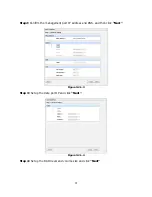
Step 3: Decide VD size. User can enter a number less or equal to the default number.
Then click “Next”.
Figure 3.2.2.3
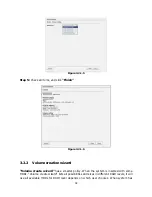
Step 4: Confirmation page. Click “Finish” if all setups are correct. Then a VD will be
created.
Step 5: Done. The system is available now.
Figure 3.2.2.4
(Figure 3.2.2.4: A virtual disk of RAID 0 is created and is named by system itself.)
Содержание DSN-6120
Страница 70: ...70 4 5 1 Hardware monitor Hardware monitor can view the information of current voltages and temperatures ...
Страница 128: ...128 Figure B 4 Figure B 5 8 Click OK Figure B 6 Figure B 7 ...
Страница 134: ...134 Step 3 Click confirm The system will ask you to shutdown Please shutdown IP SAN storage Click Ok ...

