Chapter 4. Web Interface Configuration
46
y
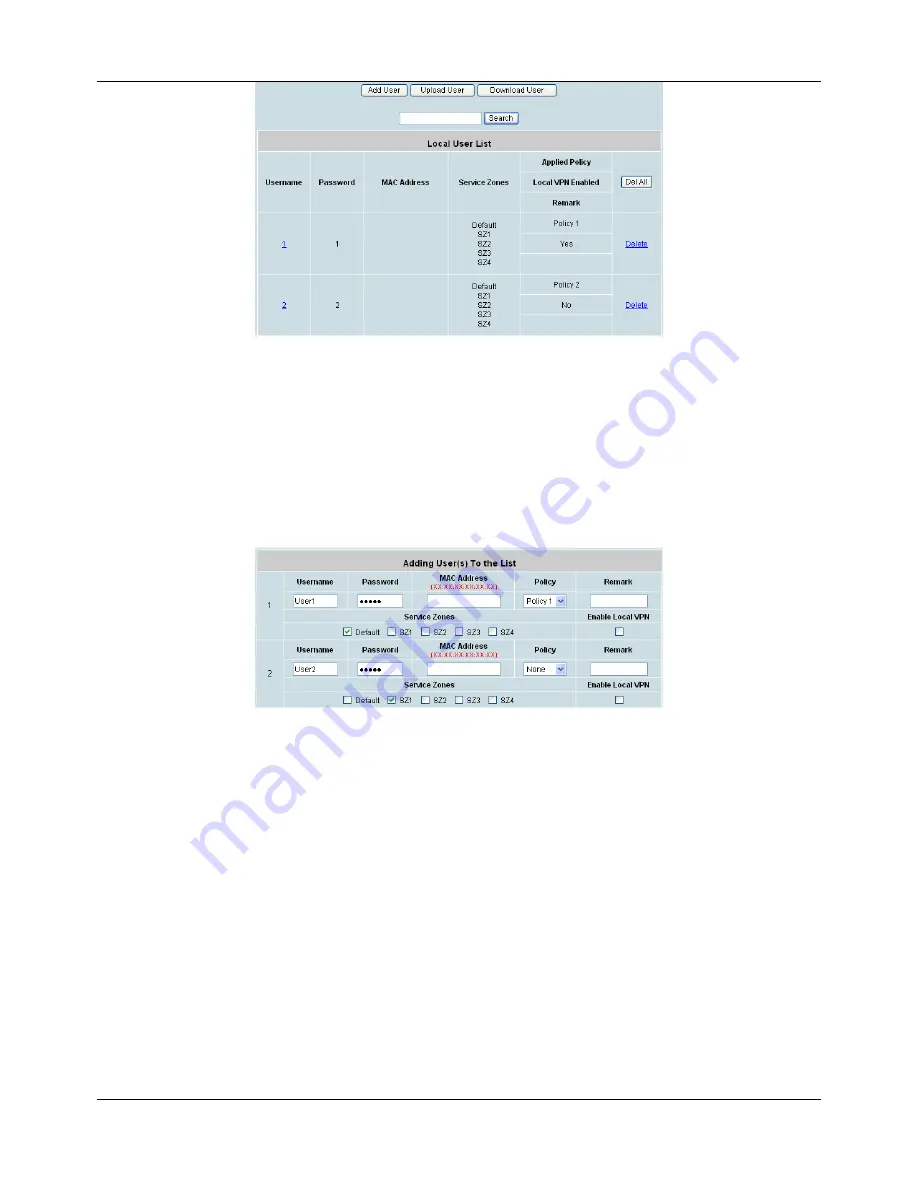
Add User:
Click this button to enter into the
Adding User(s) to the List
interface. Fill in the
necessary information such as
“Username”
,
“Password”
,
“MAC”
and
“Remark”
. Select a
desired
Policy and choose whether to enable Local VPN.
Only
“Username”
and
“Password”
are required information. Check the desired service zone(s) in
Service Zones
area; it means that the client is able to log in the system via the checked service zone(s). The
rest are optional.
For the Policy configuration, please check section on Policy Configuration.
Click
Apply
to complete adding the user or users.
y
Upload User:
Click this to enter the
Upload User from File
interface. Click the
Browse
button to select the text file for uploading user account, then click
Upload
to execute the
upload process.
The file for uploading should be a text file containing in each line the following information:
Username, Password, MAC Address, Applied Policy, Remark, Local VPN enabled
. There
must be no spaces between the fields and commas. The MAC field can be omitted, but the
trailing comma must be retained. When adding user accounts by uploading a file, the existing
accounts in the embedded database will not be replaced by the new.
Содержание DSA-3600
Страница 1: ...DSA 3600 User Guide Version DSA 3600 3 00 December 2007 ...
Страница 6: ......
Страница 22: ...Chapter 4 Web Interface Configuration 16 ...
Страница 24: ...Chapter 4 Web Interface Configuration 18 ...
Страница 39: ...Chapter 4 1 System 33 An example of Template Login Page ...
Страница 121: ...Chapter 4 4 Network 115 ...
Страница 123: ...Chapter 4 5 Status 117 4 5 1 System This section provides an overview of the system administration ...
Страница 143: ...Chapter 4 6 Tools 137 Figure 4 6 1a An example using Tag Based service zones ...
Страница 162: ...Appendix C Proxy Configuration 156 setting ...


