71
D-Link DNR-326 User Manual
Section 3 - Configuration
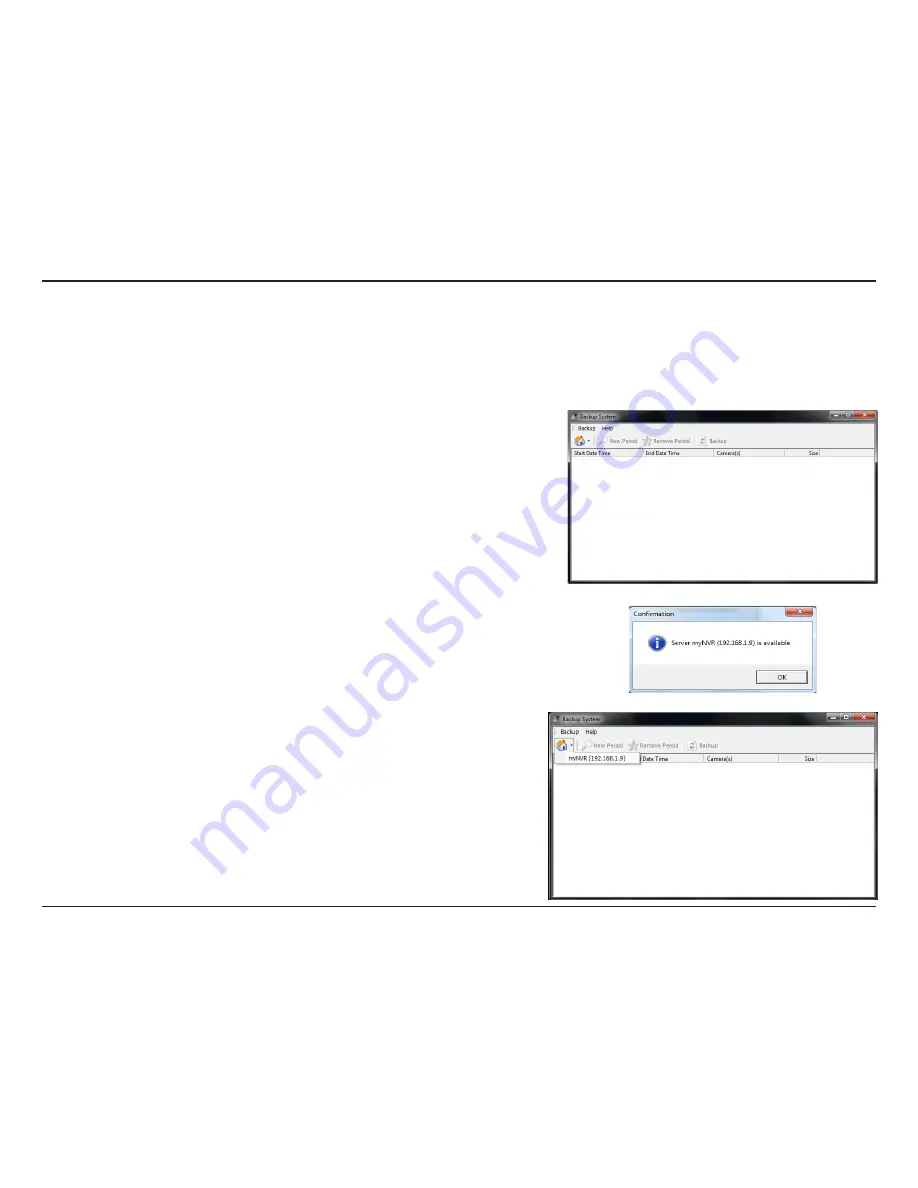
Backup and File Manager Application
Step 1:
Input the IP address of your unit.
Step 2:
Input the user name.
Step 3:
Input the password.
Step 4:
Click the
OK
button.
Step 5:
Click the
New Period
button.
Step 6:
Select the record date.
Step 7:
Set the
Start Time
and
End Time
you would like to backup (or
highlight the video records that you would like to backup).
Step 8:
Select the cameras you would like to backup.
Step 9:
Click the
OK
button.
Step 10:
Select the time slot which you would like to backup.
Step 11:
Click the
Backup
button.
Step 12:
Select the location where you would like to save the backup
data.
In addition to the ways mentioned in the previous chapters, you can apply the application to backup your files.
Run the Backup and File Manager application from the
Start
->
Programs
->
D-Link
->
D-ViewCam NVR Pro
->
Backup and
File Manager


