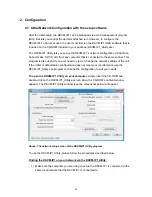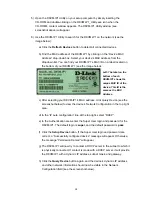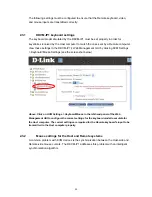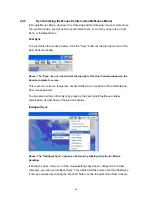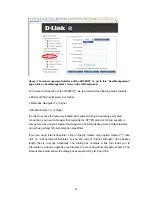
2) Open the DKVM-IP1 Utility on your computer by simply inserting the CD-ROM and
double-clicking on the DKVM-IP1_Utility.exe icon when the CD-ROM’s content
window appears. The DKVM-IP1 Utility window (see the screenshot above) will
appear.
3) Use the
DKVM-IP1 Utility
to search for the DKVM-IP1 on your network:
a) Click the
Refresh Devices
button to show the MAC addresses of all
connected devices on your network.
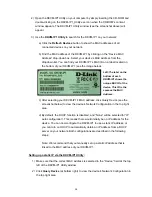
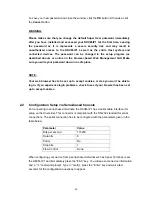
b) Find the MAC address of the DKVM-IP1 by clicking on the “Device MAC
Address” drop-down box. Select your device’s MAC address from the
dropdown list. You can find your DKVM-IP1’s MAC ID on a label located on
the bottom of your DKVM-IP1 (see the image below).
Left: The label on the
bottom of each
DKVM-IP1 shows the
unique MAC ID of the
device. This ID is the
same as the MAC
Address.
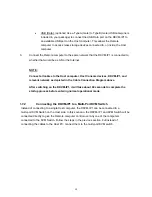
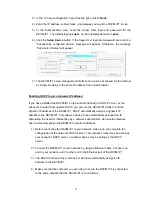
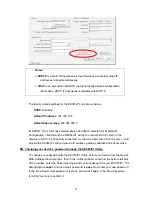
c) After selecting your DKVM-IP1’s MAC address, click Query Device (see the
screenshot below) to view the device’s Network Configuration in the top right
area.
d) By default, the DHCP function is disabled, and “None” will be selected for “IP
auto configuration”. This means there would initially be no IP address for the
device. You can now configure the DKVM-IP1 to use a static IP address, or
you can turn on DHCP to automatically obtain an IP address from a DHCP
server on your network. Both configurations are described in the following
steps.
Note: We recommend that you manually set up a static IP address that is
linked to the MAC address of your DKVM-IP1.
Setting up a static IP via the DKVM-IP1 Utility:
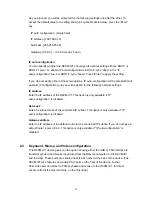
1) Make sure that the correct MAC address is selected in the “Device” field at the top
left of the DKVM-IP1 Utility window.
2) Click
Query Device
(at bottom right) to view the device’s Network Configuration in
the top right area.
16
Содержание DKVM-IP1
Страница 1: ...D Link DKVM IP1 1 port COMBO KVM Over IP User Manual v 1 00 ...
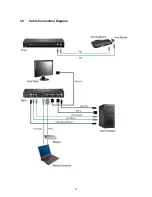
Страница 11: ...1 6 Cable Connection Diagram 10 ...
Страница 59: ...G Click the OK button to save your changes 58 ...


