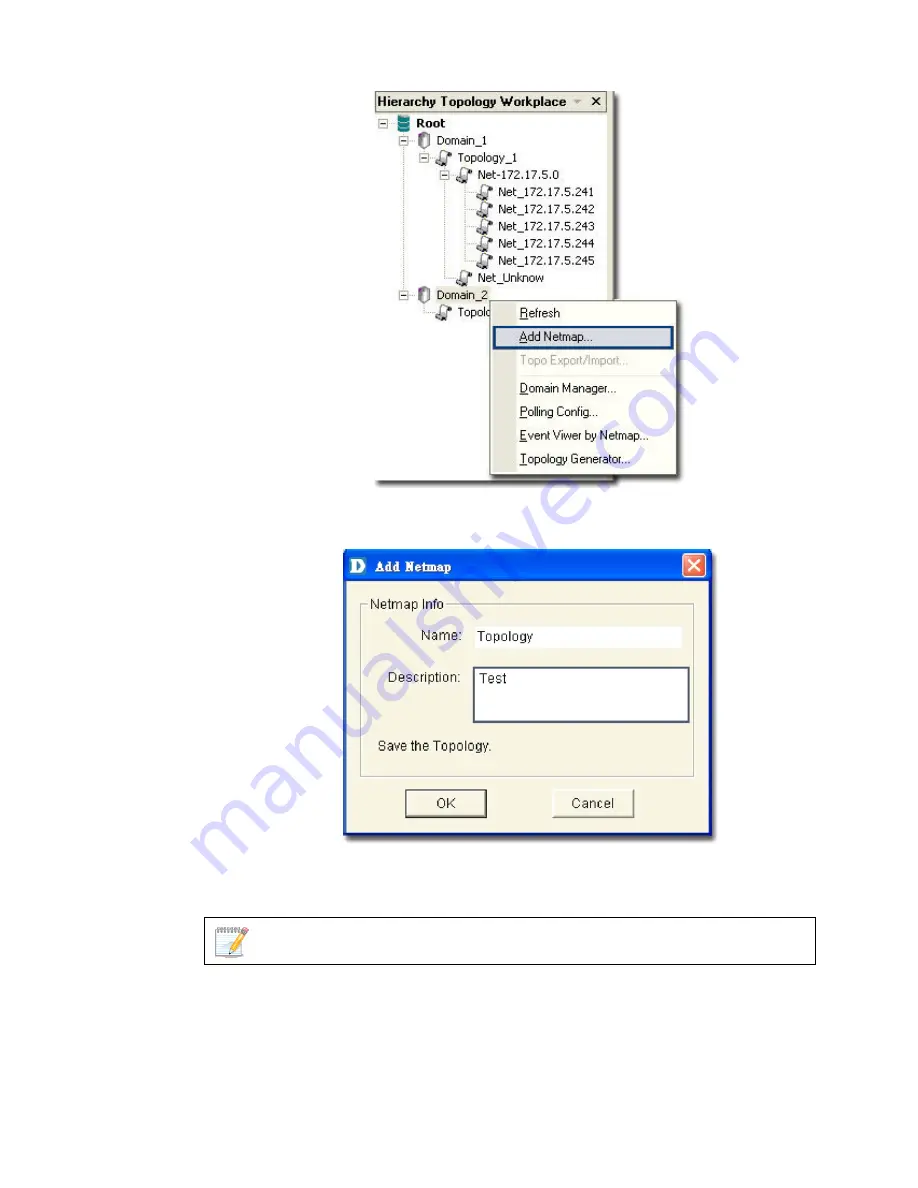
Figure 37:
Hierarchy Topology Workplace screen
3.
The
Add Netmap
screen displays.
Figure 38:
Add Netmap screen
4.
Enter the
Name
and
Description
for the Netmap.
5.
Click
OK
.
the database before you proceed.
Make sure to save the changes made to
6.
•
een the devices.
Refer to
Device Discovery
for more information.
There are three ways to accomplish the next task. They are:
Go to
NetTools > Device Discovery
to search for and add devices
into the Netmap manually. Then create links betw
Содержание D-View 6 Professional
Страница 1: ...NETWORK MANAGEMENT SYSTEM VER 1 00 Standard Professional User Manual ...
Страница 8: ...Introducing D View 7 ...
Страница 14: ...Installing D View 13 ...
Страница 28: ...Understanding the Architecture 27 ...
Страница 32: ...Understanding the Interface 31 ...
Страница 41: ...Using D View ...
Страница 48: ...Working with Topologies 47 ...
Страница 54: ...Figure 43 Login screen 7 This administrator can view only the Domain_1 topology Figure 44 Domain_1 window ...
Страница 62: ...Figure 51 Sequence of steps displaying the Topology Rollback function ...
Страница 63: ...Managing and Monitoring Devices 62 ...
Страница 102: ...Figure 99 Device Statistic screen 2 View the devices in the domain You can sort them by Vendor Buyer or Buy Date ...
Страница 103: ...Basic Operations 102 ...
Страница 106: ......
Страница 107: ...Figure 103 Sequence of steps navigating from the topology level to the domain ...
Страница 124: ...Index ...
Страница 126: ...Technical Support ...


