15
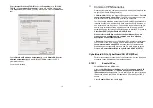
STEP 2
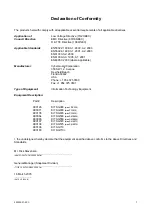
Add a New IPSec Connection
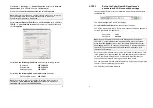
Select the
Add New Tunnel
tab at the top of the window.
Enter a descriptive name for the connection in
Tunnel name
.
Select
This tunnel will be using Aggressive mode Automatic Keying
(IKE)
.
Select
The remote party has a static IP address
or
The remote party
has a dynamic IP address
as appropriate. This is referring to the
public (Internet) IP address of the other CyberGuard SG appliance.
Check with your ISP if unsure.
Click
Continue
.
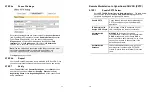
STEP 3
Local Endpoint Settings
If you selected
This end has a dynamic IP address IPSec endpoint
,
enter
snap@branch
as the
Required Endpoint ID
.
Click
Continue
.
16
STEP 4
Remote Endpoint Settings
If you selected
The remote party has a static IP address
, enter the
other CyberGuard SG appliance's public (Internet) IP address in
The
remote party's IP address
.
If you selected
The remote party has a dynamic IP address
, enter
snap@branch
as the
Required Endpoint ID
.
Note:
Please note again that this example is not suitable for setting up a
connection where both ends have dynamic IP address, for this scenario
please refer to the IPSec section of the User Manual.
Click
Continue
.
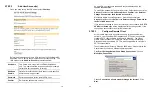
STEP 5
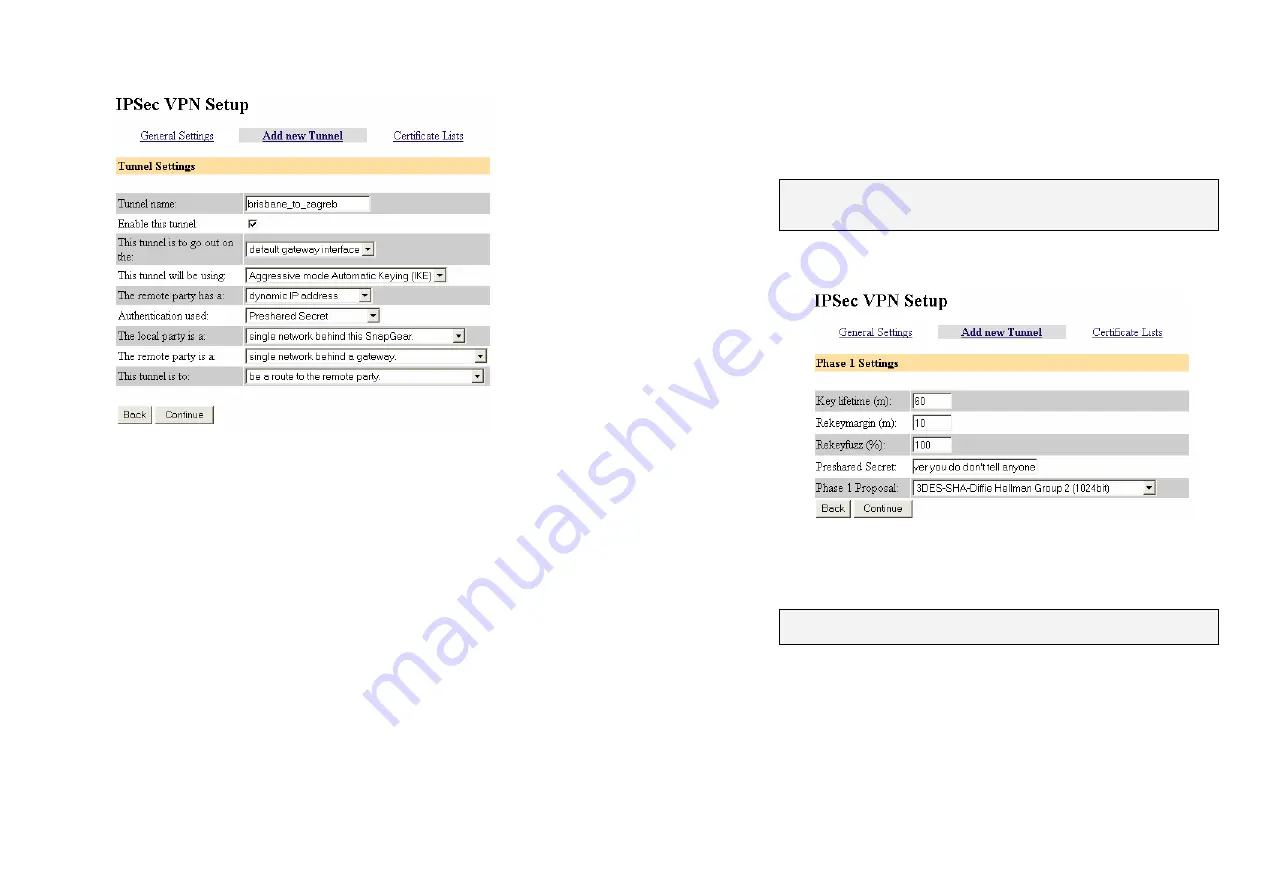
Phase 1 Settings
You must choose a
Preshared Secret
to authenticate the connection.
This passphrase can be any character string you like (recommended at
least 24 characters), it may contain spaces,
and must be entered
identically on both CyberGuard SG appliances
.
Note:
It is important that you keep this information secret, much like a
password. The preshared secret is fundamental to IPSec encryption.
Click
Continue
.
Содержание SG565
Страница 16: ...520055 07 SPC 1 Product Compliance Information...


