Crystal Vision
Control Descriptions
7 Control Descriptions
The controls of Safire 3 are accessible from VisionPanel, the VisionWeb Control
software or the board edge. The screen grabs of controls used in this manual are from
VisionPanel but are similar to VisionWeb Control with a few minor differences. The path
to locate controls via VisionWeb Control or board edge follows similar logic. For
instance, in the VisionPanel display, an ‘Input Frozen’ indicator is accessed via the
‘
General’
panel,
‘Signal Status’
tab and ‘
FG Input’
group where it can also be found
in VisionWeb Control. To find the same control using the card edge follow the path
General->Signal Status->FG Input
to the
Input Frozen
indicator.
VisionWeb GUI controls are located in a number of tabs each containing panels which
mostly contain the controls. Some controls are LEDs that are used to show status,
others are check boxes, buttons or sliders which change various Safire 3 settings.
(
Note: Slider controls in VisionWeb Control, once selected, can be moved by the
keyboard up and down arrow keys to give finer control than possible with a mouse.
)
The description of the tabs are in the order shown in the GUI i.e.
AUTO SETUP, GAIN & SPILL, EDGES & KEY REMOVE, HUE & BALANCE,
LIGHTING COMPENSATION, BRIGHTNESS & CONTRAST, FG COLOUR
CORRECT, FILTERS & RE-SPILL, OUTPUT SIGNAL, KEYS & MASKS, INTERNAL
FG/BG MASK, FG/BG SOURCE & MATTE, FG/BG MASK SOFTNESS, SIGNAL
STATUS, KEY STATUS, KEY FADE, PRESETS, DELAY & TIMING, ENGINEERING.
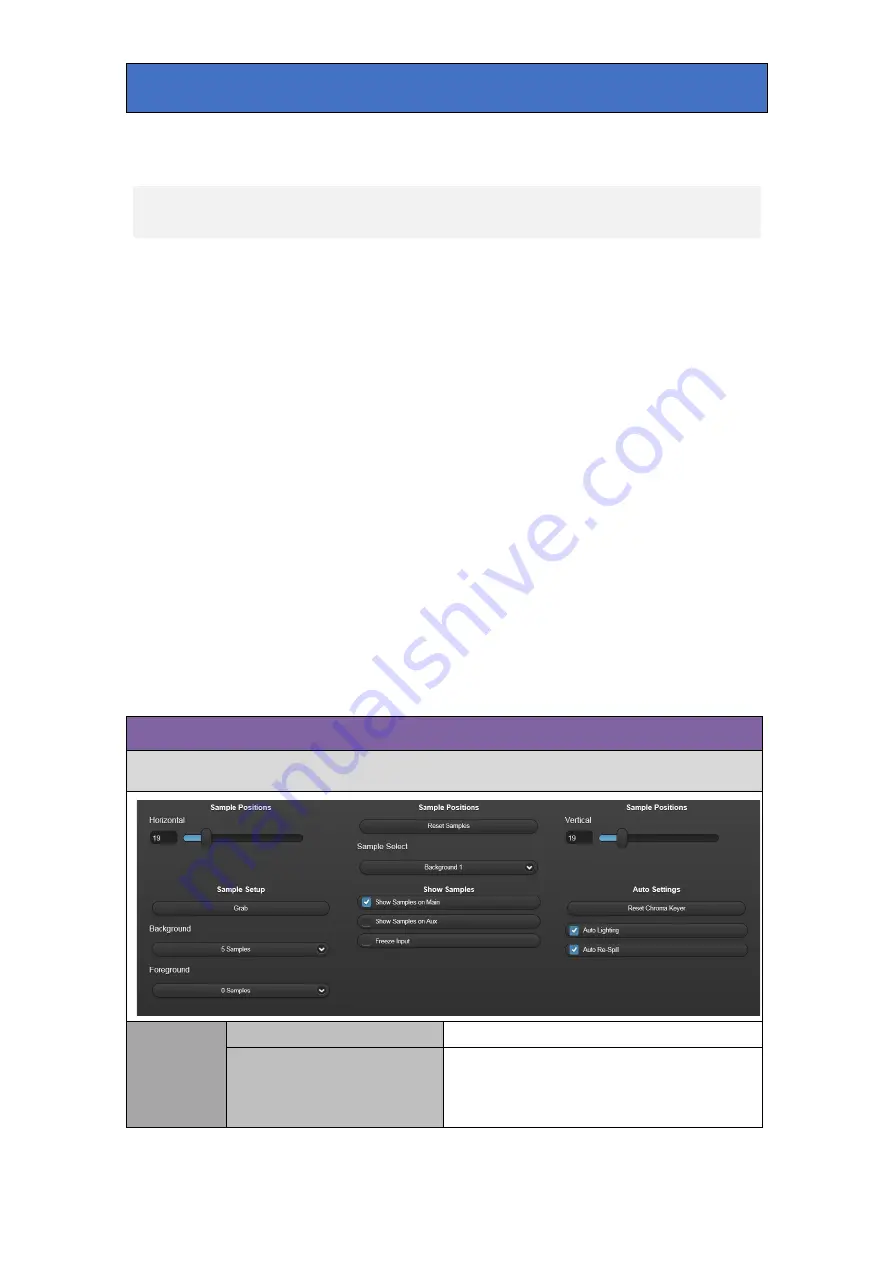
Each tab is shown with a screen grab and description of each control’s function:
Auto Setup
Set up chroma key auto-sampling. Enable Auto Lighting and Re-Spill. Select the
number and position of samples and grab samples to create a composite image.
Auto
Settings
Reset Chroma Keyer
Return Safire 3 to its calibrated settings.
Auto Lighting
Select to automatically compensate for
lighting fade-off towards the edges when
grab samples is selected. See 'Lighting
Compensation'.
Safire 3 User Manual R1.3
29
24 March 2017


