100
Chapter 5—Hardware and Maintenance Repairs
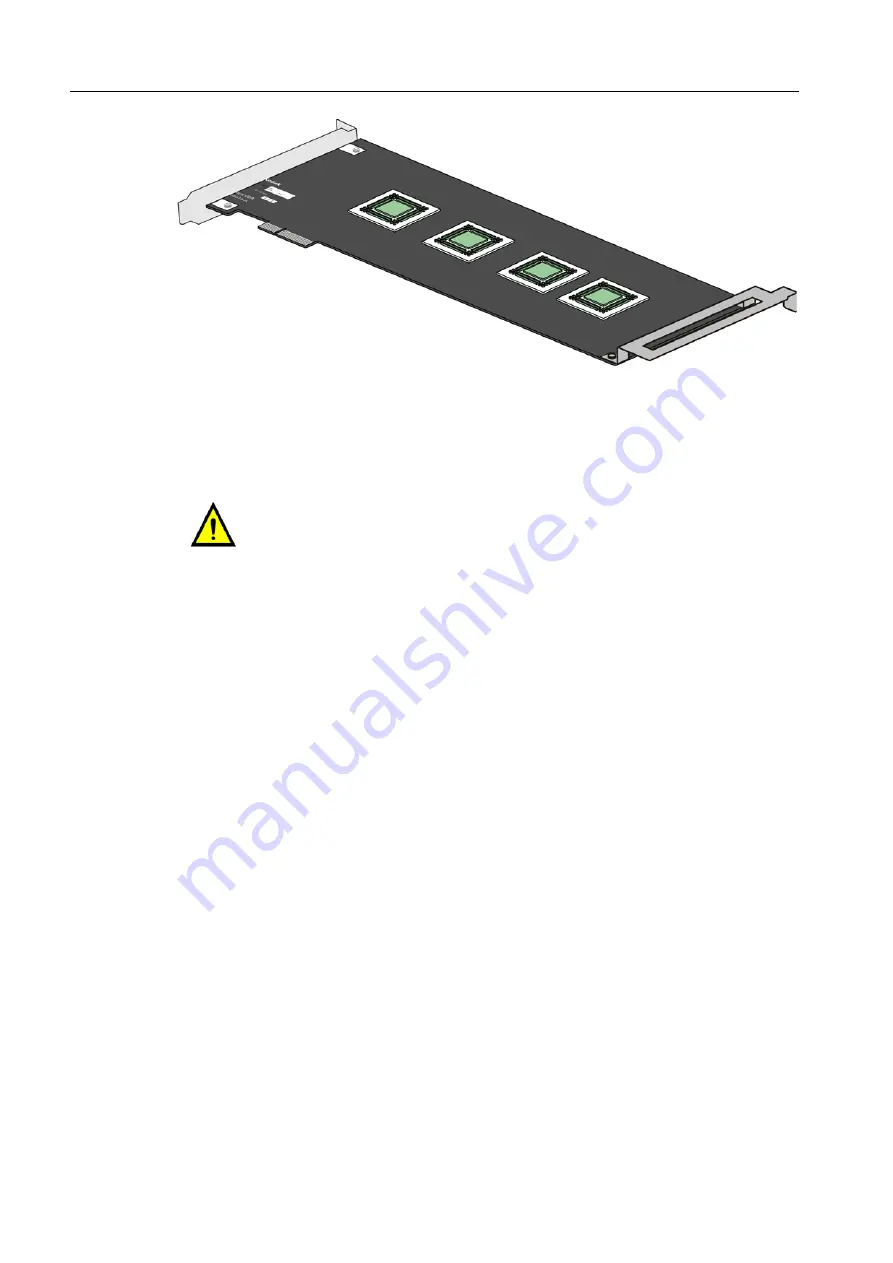
Figure 14: FusionRA board
Preparing the FusionRA Board
1. Touch the sides of the new board’s antistatic packet to an unpainted area of the
server chassis, and then remove the new board from the packet.
2. Place the board, component-side up, on a flat, antistatic surface.
Installing the FusionRA Board
1. Carefully grasp the board by its top edge or upper corners, and align it with the
expansion slot on the system board.
2. Press the board firmly into the expansion slot. Verify that the board fits securely
in the expansion slot and is locked in position.
3. If you have other options to remove or replace, do so now.
4. Insert the hexagonal screw that holds the board at the rear of the chassis and
tighten it.
5. Insert the hexagonal screws that hold the board at the left and right of the
chassis and tighten the screws.
6. Return the side cover. See
7. Reconnect all external cables and power cords, and turn on the server.
WARNING:
Avoid touching the components and gold-plated connectors on
the adapter.
Attention:
When you replace a board in the server, ensure that it is
completely and correctly seated in the system board expansion slot before
applying power. Incorrect seating might cause damage to the system board
or any other board.
Содержание Color Controller C-80
Страница 2: ......
Страница 8: ...vi Color Controller C 80 1 0 Technical Manual...
Страница 17: ...1 Product Overview Introduction 2 Product Configuration 4...
Страница 22: ...6 Chapter 1 Product Overview...
Страница 52: ...36 Chapter 2 First Time Setup and Configuration...
Страница 103: ...87 5 Click Yes 6 Click OK 7 To enable the changes to take effect restart your computer...
Страница 104: ...88 Chapter 4 Diagnostics and Troubleshooting...
Страница 142: ...126 Chapter 5 Hardware and Maintenance Repairs...
Страница 149: ......
Страница 150: ......


