


Get Started
5
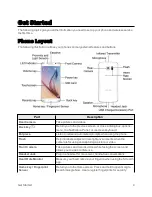
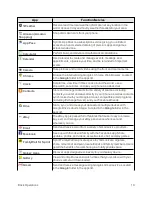
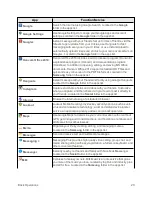
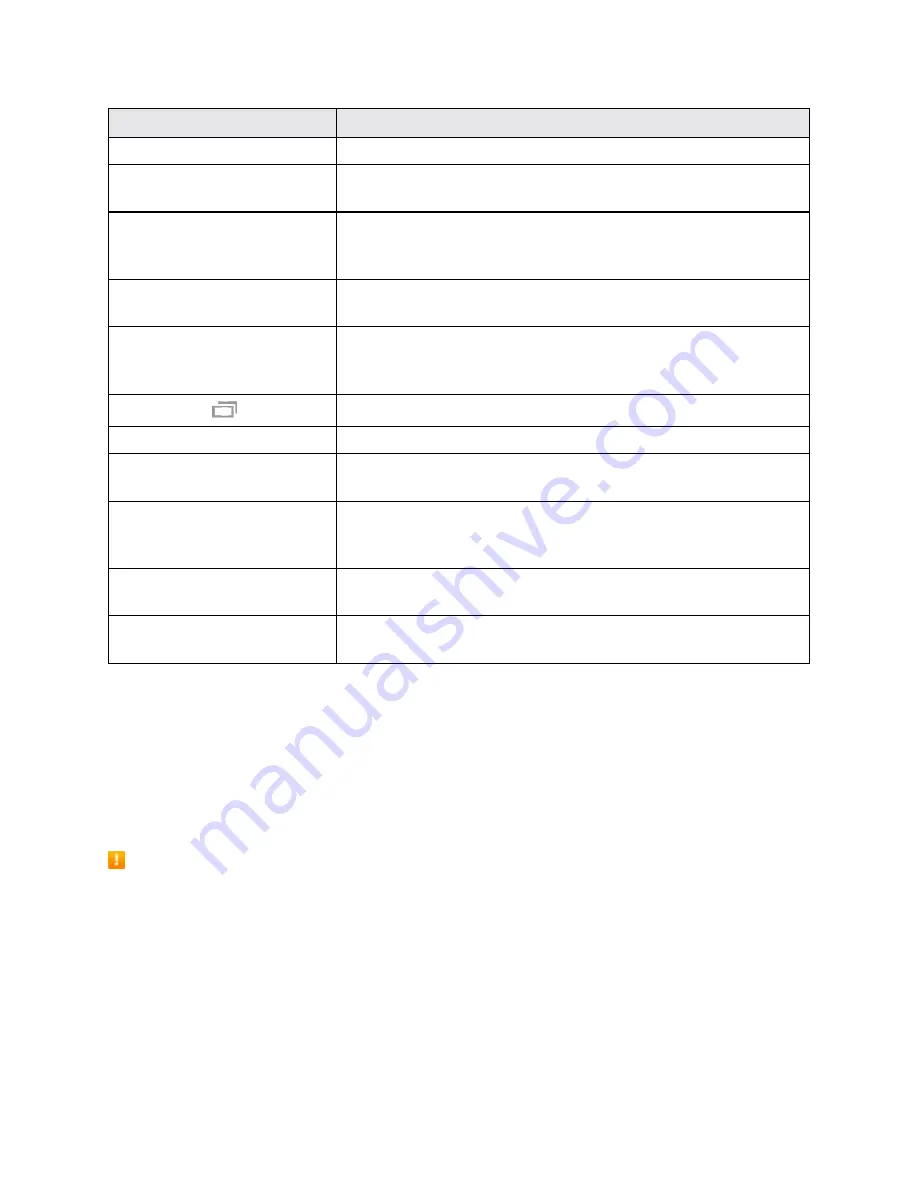
Part
Description
Infrared Transmitter
Control other devices using infrared light.
LED Indicator
The LED indicator blinks or glows when charging, to indicate low
battery, to announce new notifications, and when voice recording.
Microphone
Transmit your voice for phone calls or record your voice or
ambient sounds for voice recordings and videos. There are two
microphones, one on the top and one on the bottom.
Power key
Turn the phone or screen on or off, or switch your phone to silent
mode, vibration mode, or airplane mode.
Proximity and Light Sensor
Detect when objects are close to the screen. For example, when
you hold the phone to your ear while on a phone call, the sensor
temporarily locks the screen to prevent accidental screen touches.
Recents key
Access recently used apps.
SIM Card
Location of the SIM card.
Speaker
Play ringtones and sounds. The speaker also lets you hear the
caller’s voice in speakerphone mode.
Touchscreen
Display information needed to operate your phone, such as the
call status, the Contacts list, and the date and time. Also provides
one-tap access to all of your features and applications.
USB Charger/Accessory
Port
Connect the phone to the charger via a USB cable.
Volume key
Adjust the ringtone or media volume or adjust the voice volume
during a call.
CAUTION!
Inserting an accessory into the incorrect jack may damage the phone.
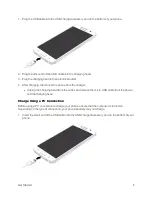
Charge the Battery
Follow these instructions to charge your phone’s battery using either the included charging head and
USB cable or via a USB connection on your computer.
Note
: This phone has an integrated battery that cannot be removed by the user.
Battery Cautions
Storage
: Avoid storing or leaving the phone with no battery charge remaining. Saved
information and settings may become lost or changed, or the phone may become unusable.
Charge once every six months before storing or leaving unused for a long period.
Charge Using the AC Adapter
For fastest charging times, use the Adaptive Fast Charging charger that came with your phone. This
charger provides faster charging only when connected to devices that have Adaptive Fast Charging.
Содержание Samsung Galaxy S6
Страница 10: ...ix Manage Your Account 377 Sprint Support Services 378 Index 379 ...
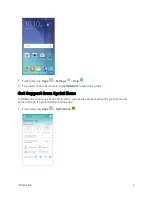
Страница 13: ...Introduction 3 2 From the Sprint Zone main page tap Support 3 Tap a topic to view its contents ...
Страница 40: ...Basic Operations 30 2 Tap Add account 3 Tap Google OR CREATE A NEW ACCOUNT ...
Страница 46: ...Basic Operations 36 2 Tap Add account 3 Tap Google ...
Страница 55: ...Basic Operations 45 2 Tap Menu My apps ...
Страница 88: ...Phone App 78 2 Tap CONTACTS to display the Contacts list The Contacts list appears 3 Tap a contact ...
Страница 121: ...Phone App 111 5 Follow the onscreen instructions to complete the export The contacts are exported ...
Страница 145: ...Messaging and Internet 135 2 Tap Google ...
Страница 150: ...Messaging and Internet 140 2 Tap Add account Email ...
Страница 159: ...Messaging and Internet 149 The email inbox opens 2 Tap MORE Settings ...
Страница 162: ...Messaging and Internet 152 2 Tap MORE Settings ...
Страница 209: ...Useful Apps and Features 199 2 Tap a date and then tap an event to see its details ...
Страница 211: ...Useful Apps and Features 201 The Calendar app opens 2 Tap MORE Manage calendars ...
Страница 255: ...Connectivity 245 2 Tap Bluetooth The Bluetooth settings open 3 Tap the ON OFF switch to turn Bluetooth on ...
Страница 261: ...Connectivity 251 You will see the Contacts list 2 Tap a contact to send ...
Страница 294: ...Settings 284 2 Tap NFC 3 Tap the ON OFF switch to enable NFC ...
Страница 308: ...Settings 298 2 Tap the VPN connection to display the VPN connection window ...
Страница 357: ...Settings 347 2 Tap Location ...


