Snack / Refreshment Center Setup and Operator's Guide
Page 24
April, 1999
1670001
This merchandiser can be adjusted to vend taller products. Some guidelines must be followed:
•
Keep in mind that when you increase the product height available to a tray by lowering it, you will be
decreasing the product height available to the tray below.
•
If a tray is in the lowest position, the tray below it should not be in the highest position.
•
If a tray is in the highest position, the tray above it should not be in the lowest position.
•
You will need to experiment with various tray positions to get the best results for your products.
CAUTION
The trays in a model 764, 765, 787, 788, or 789 merchandiser should not be
positioned over an open air discharge vent.
NOTE
Tray movement is limited because the tray harness will limit the amount of
travel available to the tray guide rails.
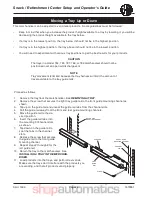
Proceed as follows:
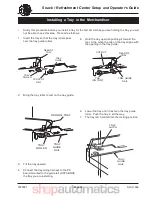
1.
Remove the tray from the merchandiser. See
REMOVING A TRAY
.
2.
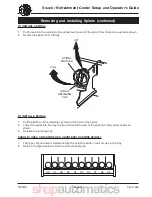
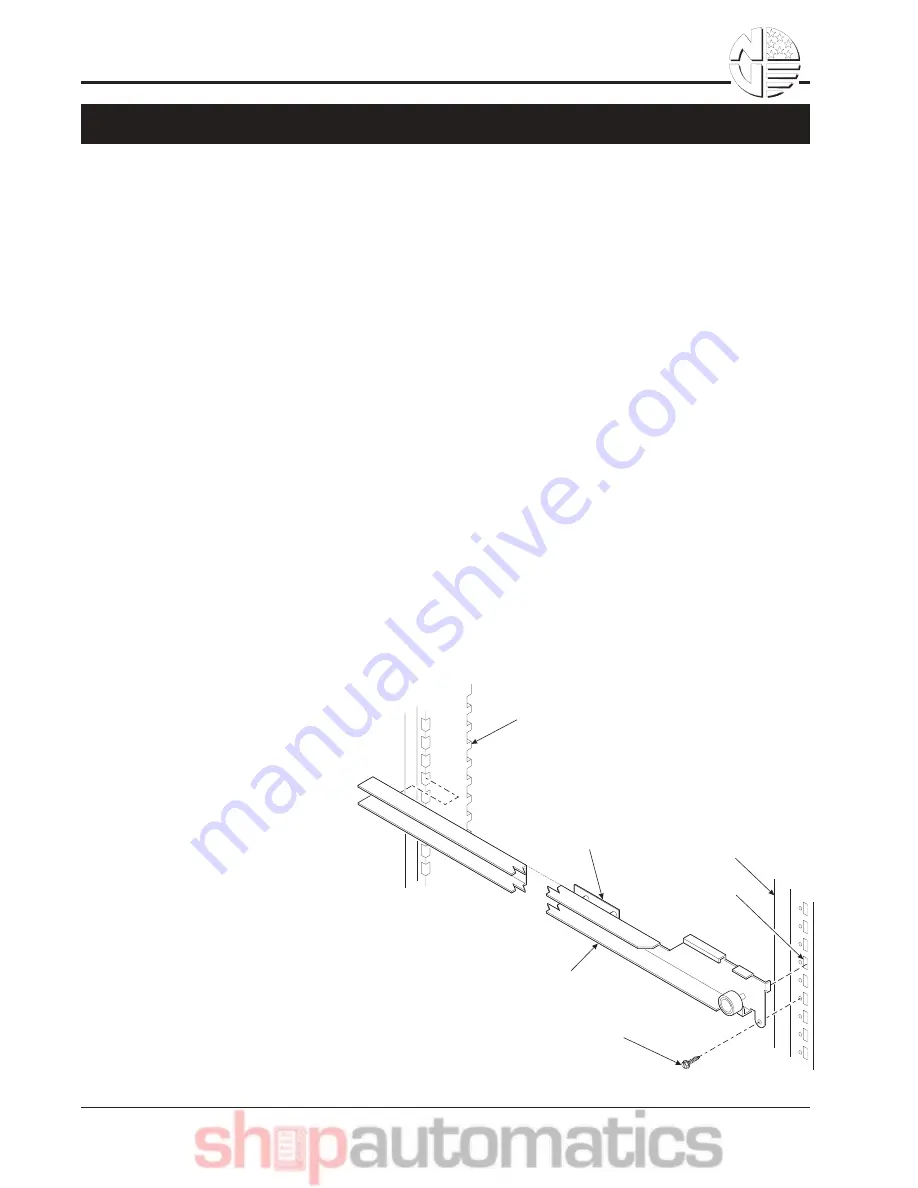
Remove the screw that secures the right tray guide rail to the front guide mounting channel as
shown.
3.
Tap up on the guide rail and unseat the guide rail tabs from the channel slots.
4.
Pull the guide rail away from the front and rear guide mounting channels.
5.
Move the guide rail to the de-
sired position.
6.
Insert the guide rail tabs into
the mounting CVchannel slots
as shown.
7.
Tap down on the guide rail to
seat the tabs in the channel
slots.
8.
Replace the screw that secures
the guide rail to the front guide
mounting channel.
9.
Repeat steps 2 through 8 for the
left guide rail.
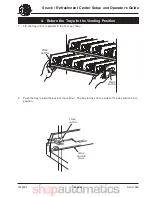
10. Return the tray to the merchandiser. See
INSTALLING A TRAY IN THE MERCHAN-
DISER
.
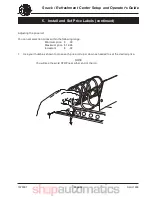
11. Load products into the trays, and perform test vends.
Make sure the trays don' t interfere with the products you
are vending, and that all products vend properly.
SCREW
CHANNEL
SLOT
FRONT GUIDE
MOUNTING CHANNEL
REAR GUIDE
MOUNTING CHANNEL
TRAY
GUIDE
RAIL
PC BOARD
5"C*,D& 1& =%1F& /0& "%& E"#,
Содержание 787E
Страница 2: ......


