64
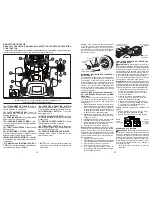
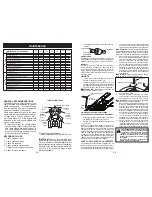
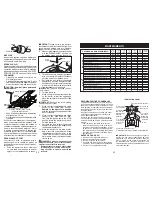
PARA NIVELAR LA SEGADORA
Asegúrese de que los neumáticos estén inflados
a la PSI que se indica en estos. Si están de-
masiado inflados o poco inflados, el césped no
le quedará bien cortado, lo cual podrá llevarlo a
pensar que la segadora no está bien regulada.
REGULACIÓN VISUAL DE LADO A LADO
1. Si todos los neumáticos están correctamente
inflados y el césped parece haber quedado
cortado desparejo, determine qué lado de la
cortadora está cortando más al ras.
NOTA:
Según lo desee, puede subir el lado más
bajo o bajar el lado más alto de la segadora.
2. Aborde el lado de la cortadora que quiera
regular.
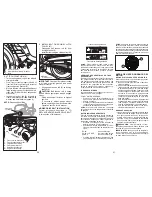
3. Con una llave inglesa de 3/4” o de calibre
regulable, haga girar hacia la izquierda la
tuerca de ajuste de la pieza de unión (A) para
bajar la cortadora, o bien hágala girar hacia la
derecha para subirla.
5. Vuelva a verificar las medidas y ajuste nueva-
mente, en caso necesario, hasta que ambos
lados queden iguales.
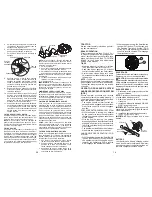
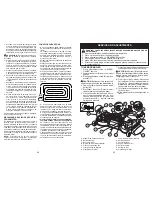
AJUSTE DE DELANTE A ATRÁS
IMPORTANTE:
El piso debe quedar bien nive-
lado de lado a lado.
Para que el césped le quede perfectamente cor-
tado, las cuchillas de la cortadora deben ajustarse
de tal manera que la punta anterior quede 3,1 a
12,7 mm (1/8 a 1/2 pulgadas) más abajo que la
punta posterior cuando la cortadora se encuentre
en su posición más alta.
CUIDADO:
Las cuchillas son afiladas. Proté-
jase las manos con guantes o envuelva las cuchil-
las con tela gruesa, o bien haga ambas cosas.
• Suba la segadora a la posición más alta.
• Ubique cualquiera de las hojas de la cuchilla
de tal manera que la punta quede apuntando
directamente hacia adelante. Mida la distancia
"B" que hay entre la punta anterior y el suelo y
entre la punta posterior y el suelo.
• Si la punta anterior de la hoja de la cuchilla no
está 3,1 a 12,7 mm (1/8 a 1/2 pulgadas) más
abajo que la punta posterior, diríjase a la parte
de adelante del tractor.
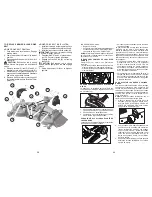
• Con una llave inglesa de 11/16” o de calibre
regulable, afloje la tuerca A, dándole varias
vueltas para despejar la tuerca de ajuste B.
• Con una llave inglesa de 3/4”, o de calibre
regulable, gire la tuerca de ajuste de eslabón
frontal "B" hacia la derecha ( ) (apriete) para
elevar, o hacia la izquierda ( ) (afloje) para
bajar el frente de la cortadora de césped.
NOTA:
Cada vuelta completa de la tuerca de
ajuste hará variar la altura de la cortadora aproxi-
madamente 4,7 mm (3/16 pulgadas).
4. Pruebe la regulación realizada cortando
césped que aún no haya cortado y observando
cómo queda. Vuelva a ajustar, en caso nece-
sario, hasta obtener resultados satisfactorios.
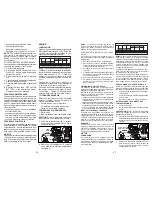
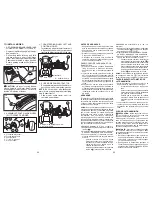
REGULACIÓN DE LA PRECISIÓN DE LADO
A LADO
1. Con todos los neumáticos correctamente
inflados, estacione el tractor a nivel del suelo
o en la entrada a la casa.
CUIDADO:
Las cuchillas son afiladas. Proté-
jase las manos con guantes o envuelva las cuchil-
las con tela gruesa, o bien haga ambas cosas.
2. Suba la segadora a la posición más alta.
3. A ambos lados de la cortadora, ubique la
cuchilla hacia un lado y mida la distancia (A)
que hay entre el borde inferior de la cuchilla
y el suelo. Dicha distancia debe ser la misma
a ambos lados.
4. En caso que sea necesario realizar un ajuste,
lea de las instrucciones de Regulación visual
que aparecen más arriba.
NOTA:
Cada vuelta completa de la tuerca de
ajuste hará variar la altura de la cortadora (3,1 mm
(1/8 pulgadas).
• Vuelva a verificar las medidas y ajuste nueva-
mente, en caso necesario, hasta que la punta
anterior de la hoja de la cuchilla quede 3,1 a
12,7 mm (1/8 a 1/2 pulgadas) más abajo que
la punta posterior.
• Mantenga en la posición la tuerca de ajuste
por medio de una llave inglesa, y apriete
bien la tuerca contra dicha tuerca de ajuste.
A
A
B
B
A
Haga girar la
tuerca hacia
la derecha
para subir la
segadora
Haga girar la
tuerca hacia
la izquierda
para bajar la
segadora
Afloje la tuerca "A" primero
B
A
Ajuste la
tuerca de
regulación de
altura "B"
para levantar
la segadora
Afloje la
tuerca de
regulación
de altura "B"
para bajar la
segadora
13
TO OPERATE MOWER
Your tractor is equipped with an operator
presence sensing switch. While engine
is running, any attempt by the op er a tor to
leave the seat without first setting the park-
ing brake will shut off the engine. You must
remain fully and centrally positioned in the
seat to prevent the engine from hesitating or
cutting off when operating your equipment
on rough, rolling terrain or hills.
1. Select desired height of cut with attach-
ment lift lever.
2. Start mower blades by engaging at tach-
ment clutch control.
TO STOP MOWER BLADES
Disengage at tach ment clutch con trol.
CAUTION:
Do not operate the mower
without either the en tire grass catcher, on
mowers so equipped, or the deflector shield
in place.
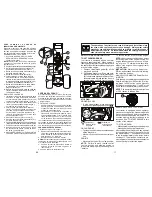
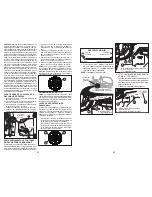
REVERSE OPERATION SYSTEM (ROS)
Your tractor is equipped with a Reverse
Operation System (ROS). Any attempt by
the operator to mow in the reverse direction
without first pressing the ROS button (G) will
shut off the engine. Restart engine before
continuing with ROS operation. (See “TO
START ENGINE” in this section of manual.)
WARNING:
Backing up with the attach-
ment clutch engaged while mowing is strong-
ly discouraged. Allowing reverse operation
with the attachment clutch engaged should
only be done when the operator decides it
is necessary to reposition the machine with
the attachment engaged.
Do not mow in
reverse unless absolutely necessary
.
G
USING THE REVERSE OPERATION
SYSTEM -
Only use if you are certain no children or
other bystanders will enter the mowing area.
1. With engine running, depress brake pedal
all the way down.
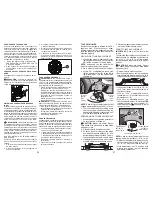
2. Press ROS button (G) and ensure the
ROS button is lit.
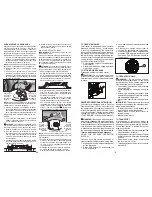
TO OPERATE ON HILLS
WARNING
: Do not drive up or down
hills with slopes greater than 15° and do not
drive across any slope. Use the slope guide
provided at the back of this manual.
• Choose the slowest speed before starting
up or down hills.
• Avoid stopping or changing speed on
hills.
• If stopping is absolutely necessary, push
clutch/brake pedal quickly to brake position
and engage parking brake.
• Move motion control lever to neutral posi-
tion.
IMPORTANT:
The motion control lever does
not return to neutral position when the clutch/
brake pedal is de pressed.
• To restart movement, slowly re lease park-
ing brake and clutch/brake ped al.
• Slowly move motion control lever to
slowest setting.
• Make all turns slowly.
3. Look down and behind before and while
backing.
4. Slowly move motion control lever to
reverse (R) po si tion to start movement.
5. When use of the ROS is no longer needed,
press the ROS button to return to normal
operation. The ROS button should no
longer be lit.
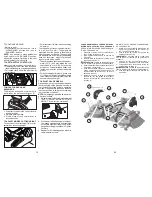
TO TRANSPORT
When pushing or towing your tractor, be
sure to disengage transmission by placing
freewheel control in free wheel ing po si tion.
Free wheel control is located at the rear
drawbar of tractor.
1. Raise attachment lift to highest position
with at tach ment lift control.
2. Pull freewheel control out and into the slot
and release so it is held in the disengaged
position.
• Do not push or tow tractor at more than
two (2) mph (3,2 km/h).
• To reengage transmission, reverse above
procedure.


