


108
Display SOAP
messages on serial
console
Enable/Disable SOAP messages on serial console. This option
is used for advanced troubleshooting of the device.
Connection Request
Authentication
Enable/Disable authentication of ACS making a Connection
Request to the CPE.
Connection Request
User Name
Username used to authenticate an ACS making a Connection
Request to the CPE.
Connection Request
Password
Password used to authenticate an ACS making a Connection
Request to the CPE.
Get RPC Methods
This may be used by a CPE or ACS to discover the set of
methods supported by the ACS or CPE it is in communication
with. This list may include both standard TR-069 methods
(those defined in this specification or a subsequent version)
and vendor-specific methods. The receiver of the response
MUST ignore any unrecognized methods. Click this button to
force the CPE to establish an immediate connection to the ACS.
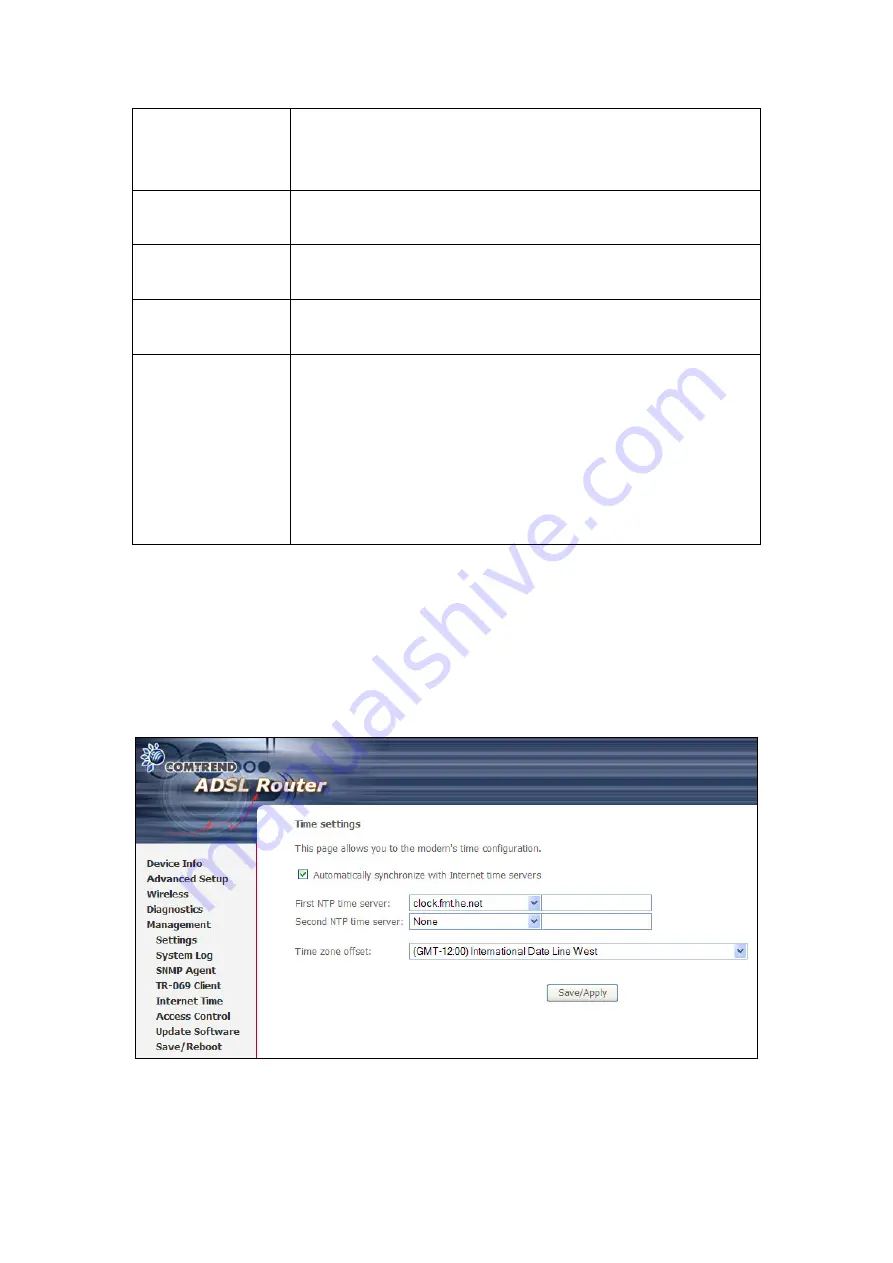
9.5 Internet Time
This option configures time settings by synchronizing with Internet time servers.
To do so, tick the checkbox and then choose NTP time servers and time zone offset.
Click
Save/Apply
to activate time synchronization.
NOTE
: This menu item is not displayed when in Bridge mode since the router
would not be able to connect to the NTP time server.
Содержание NexusLink 5631
Страница 1: ...NexusLink 5631 Wireless ADSL2 Bonded Router User Manual Version C1 3 February 19 2008 261076 005...
Страница 7: ...6 1 2 Application This diagram depicts the application of the NexusLink 5631 on a wireless network...
Страница 17: ...16 STEP 6 When the window displays as below click the NEXT button and wait...
Страница 18: ...17 STEP 7 Click the Finish button when the window displays as below STEP 8 Installation is complete...
Страница 52: ...51 5 3 Route 5 4 ARP...
Страница 53: ...52 5 5 DHCP...
Страница 101: ...100 If router mode is PPPoE the following screen will be displayed for your reference...
Страница 118: ...117 Step 6 Click Have Disk and insert the printer driver CD Step 7 Select driver file directory on CD ROM and click OK...
Страница 119: ...118 Step 8 Once the printer name appears click OK Step 9 Choose Yes or No for default printer setting and click Next...


