


99
Chapter 8 Diagnostics
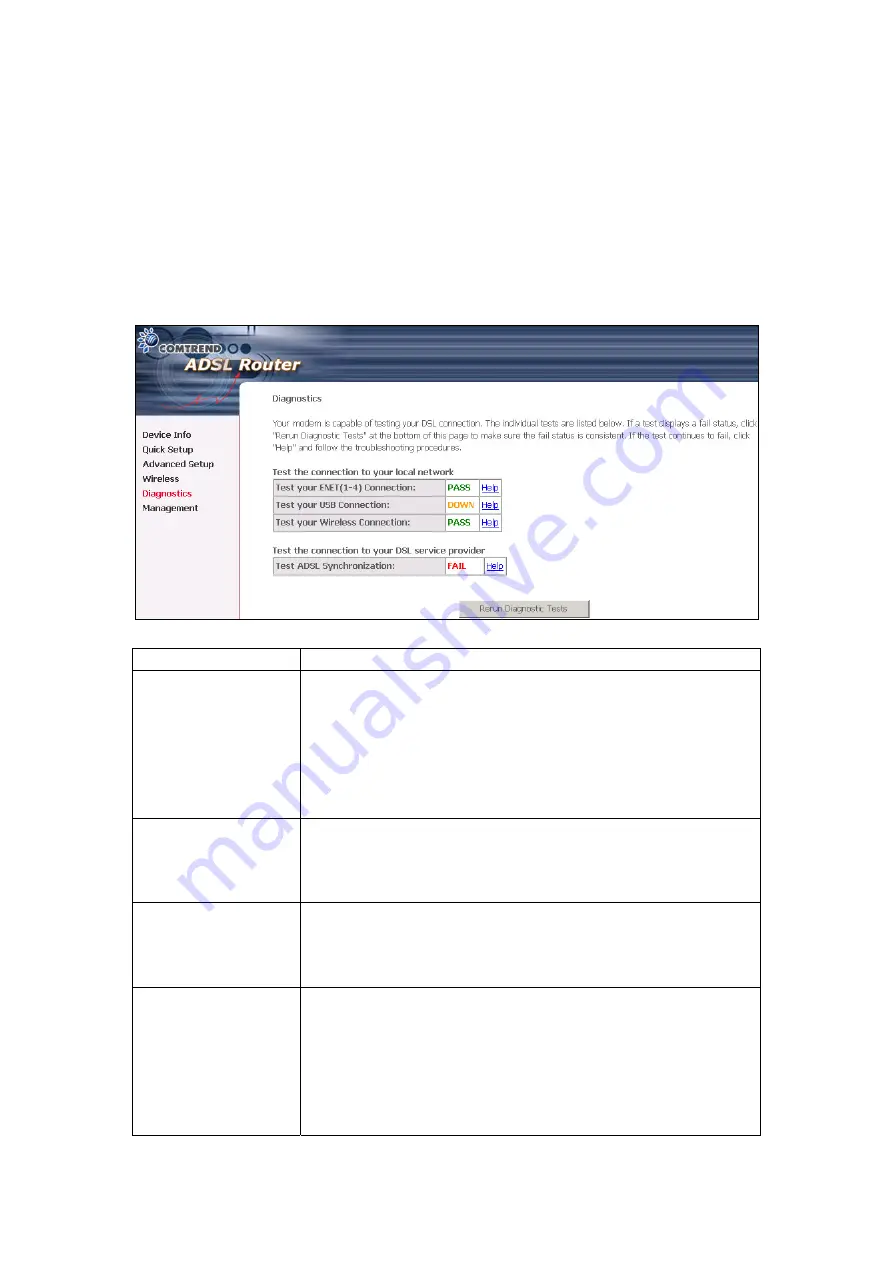
The Diagnostics screen provides feedback on the connection status of the router and
the ADSL link. The individual tests are listed below. If a test displays a fail status,
click the
Test
button, to determine whether the fail status is consistent. If the test
continues to fail, click
Help
and follow the troubleshooting procedures.
Test Description
Ethernet Connection
Pass:
indicates that the Ethernet interface from your
computer is connected to the LAN port of your router. A
flashing or solid green LAN LED on the router also signifies
that an Ethernet connection is present and that this test is
successful.
Fail:
Indicates that the router does not detect the Ethernet
interface on your computer.
USB Connection
Pass:
Indicates that the USB interface from your computer is
connected to router properly.
Down:
Indicates that the router does not detect the signal
from USB interface.
Wireless Connection
Pass:
Indicates that the Wireless interface from your
computer is connected to the wireless network.
Down:
Indicates that the ADSL router does not detect the
wireless network.
ADSL
Synchronization
Pass:
Indicates that the router has detected an ADSL signal
from the telephone company. A solid WAN LED on the router
also indicates the detection of an ADSL signal from the
telephone company.
Fail:
Indicates that the router does not detect a signal from
the telephone company’s DSL network. The WAN LED will
continue to flash green.
Содержание NexusLink 5631
Страница 1: ...NexusLink 5631 Wireless ADSL2 Bonded Router User Manual Version C1 3 February 19 2008 261076 005...
Страница 7: ...6 1 2 Application This diagram depicts the application of the NexusLink 5631 on a wireless network...
Страница 17: ...16 STEP 6 When the window displays as below click the NEXT button and wait...
Страница 18: ...17 STEP 7 Click the Finish button when the window displays as below STEP 8 Installation is complete...
Страница 52: ...51 5 3 Route 5 4 ARP...
Страница 53: ...52 5 5 DHCP...
Страница 101: ...100 If router mode is PPPoE the following screen will be displayed for your reference...
Страница 118: ...117 Step 6 Click Have Disk and insert the printer driver CD Step 7 Select driver file directory on CD ROM and click OK...
Страница 119: ...118 Step 8 Once the printer name appears click OK Step 9 Choose Yes or No for default printer setting and click Next...


