background image


Page 

5

 of 

50


SOFTJET GRAND 

 2. Safety Precautions 

Before  operating  the  printer  and  Printer  Manager  software  for  the  first  time,  please  read  the 
document carefully and follow all the usage instructions. While using the printer, kindly follow all the 
safety instructions which are given below:   

Fire Prevention 

Inks and solvents must be enclosed in a special storage cabinet for inflammable liquids or within a 
separate storage room and must be clearly identified to meet the professional requirements of safety 
regulations.  Ink  storage  must  be  strictly  in  compliance  with  local  fire  regulations  for  the  use  and 
storage of combustibles.  

Ventilation 

In  order  to  prevent  the  danger  caused  by  volatile  gas  accumulation,  the  storage  room  must  have 
sufficient ventilation.  

Note

:  Solvent  gas  specific  gravity  is  greater  than  the  air,  it  would  accumulate  near  the  floor. 

Installation work in the vicinity of electrical equipment  must  confirm  the  GB/T standards, national 
electrical regulation requirements for level II sites, and installation by a corresponding qualification of 
the professional electrical contractor.  

Emergency Stop Button 

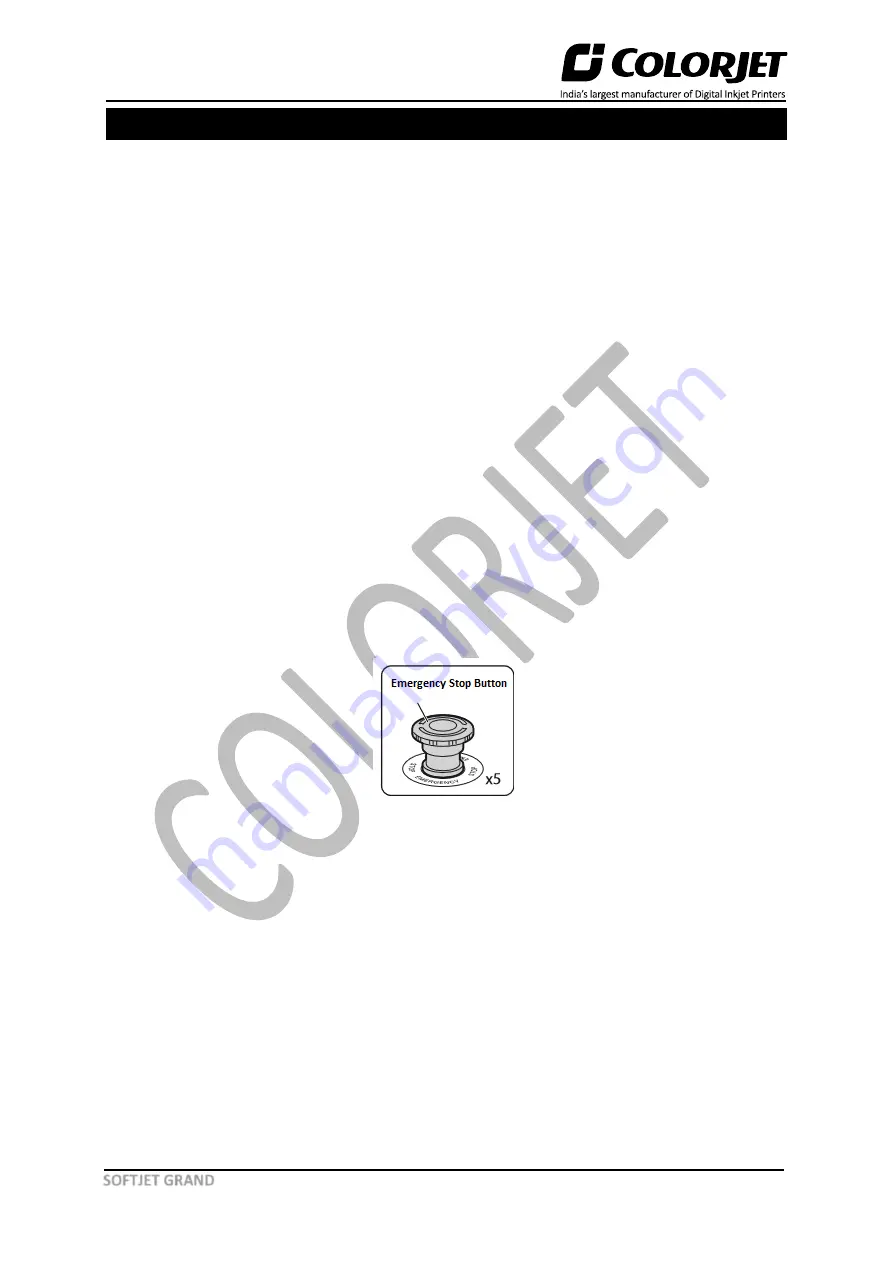
Sometimes, it may possible that machine behaves unusually. In such situations, immediately press the 

Emergency Stop

 button and shut off the machine using the main power button. Try to resolve the 

problem and after confirming it’s safe to restart, gain start the machine and resume operations. The 

Emergency Stop

 button is shown in the image below: 


Fig 2: Displaying the Emergency Stop Button 

Precautions for Use 

Carefully  read  the  instructions  given  below  for  the  safe  use  of  the  machine.  Neglecting  them  can 
damage or malfunction the machine or lower down the print quality.  


Avoid direct wind coming from an air blower or air conditioner onto the machine. It can dry 
ink in the printer head nozzles, clogging injection ports, lowering print quality, and more. 


Clean the print head, if the printer has not been used for more than a weak to avoid print 
head nozzle blockage.  


Don’t apply more pressure while installing the main or sub ink tanks as it can cause ink leakage, 

damage the machine, or contaminating the surroundings. 


Use  the  machine  within  the  specified  temperature  and  humidity  range  to  avoid  halt  in 
operations. 


Use gloves while working with the internal parts of the machine to avoid damage. 

Содержание SOFTJET GRAND

Страница 1: ......

Страница 2: ...OFTJET GRAND machine without anyone else assistance The information provided in this document ensures its uniqueness and language quality For safe and proper use of the product please read this docume...

Страница 3: ...ommended requirement 7 Environment Requirements 8 4 Preparation before Installation 9 5 Handling Precautions 9 6 Unloading and Unpacking 10 Packing Details 10 Tool Requirements 10 Unloading the Machin...

Страница 4: ...ation Wizard 31 Mechanical Checks 33 Vertical Check 34 Horizontal Calibration 34 Step Calibration 37 Save to Printer 38 11 Do s and Don t 39 12 Maintenance 40 Print Head Maintenance 40 13 Troubleshoot...

Страница 5: ...hown as below Fig 1 Displaying the Site Layout The Machine Details are given as below Machine Dimensions 5300 x 1450 x 1650 mm LxWxH Packing Dimension 5450 x 1650 x 2020 mm LxWxH Room Dimension 7000 X...

Страница 6: ...n of the professional electrical contractor Emergency Stop Button Sometimes it may possible that machine behaves unusually In such situations immediately press the Emergency Stop button and shut off t...

Страница 7: ...osition Remove the fabric roll from the printer after use Rewind unused part and wrap the roll into the bag that came with it for storage Printed Fabric Roll Follow the instructions for the printed fa...

Страница 8: ...Thus one should provide the proper earth connection before using the printer Precautions A separate earth connection should be provided to the machine The earth resistance should be in the range of 4...

Страница 9: ...28 Degree Celsius with humidity 35 80 RH Note Printer is equipped with dryers it may raise the room temperature A 10 additional load should be considered when designing the AC There should not be air...

Страница 10: ...ation While placing the machine check the labels on the box right and left and front and rear 5 Handling Precautions While handing the printer the below mentioned instructions should strictly be follo...

Страница 11: ...for making a perfect balance for lifting Step 2 Unload the machine using the container or lorry Step 3 Machine should be kept on leveled and cleaned surface or floor Now the machine gets unloaded Unp...

Страница 12: ...ure and make the adjustment accordingly Step 2 Place the machine in an even place as per given Site Layout Step 3 Unwrap the machine and check the machine internal parts as well as accessories box Ste...

Страница 13: ...tc Step 11 Install the Printer Manager software and RIP software for printing Please refer to the Installing the Printer Manager section for more details Step 12 Issue a dry print command to check whe...

Страница 14: ...erify whether DotNet framework is installed in your computer system or not If not then first install the framework using the CD or download the installer from the below mentioned link http www microso...

Страница 15: ...stalled then the status is Offline To open the Printer Manager click on the Printer Manager icon The Printer Manager window appears on the screen as shown below Fig 7 Displaying the Printer Manager Wi...

Страница 16: ...expanded on the middle pane of the Computer Management window as shown below Fig 9 Displaying the Device Manager Screen Step 7 Select the Wide Format Printer option under Other devices and right click...

Страница 17: ...the Update Driver Software Window Step 9 Select the Browse my computer for driver software option from the Update Driver Software window Refer to Fig 11 Step 10 Select the location where the driver s...

Страница 18: ...s started for updating the driver software and the process progress screen appears as shown below Fig 13 Displaying the Process Progress Now the driver updating process gets completed successfully as...

Страница 19: ...f an image according to the passes The available options are Default Double and More Color Bar o Space Specify the distance of the color bar from the image o Width Set width of the color bar o Placeme...

Страница 20: ...n in the image below Fig 17 Displaying the Preference Tab Using the Preference tab the measuring unit can be set or changed Save to Printer After making the desire changes in the printer settings save...

Страница 21: ...ing is an independent process which converts a raw image file into the machine readable format and get the file ready for printing The Rip software supports the tiff jpeg eps psd bmp file formats Afte...

Страница 22: ...ks of each color as shown below Fig 19 Displaying the Ink Tank Step 3 Fix the sub ink tank connectors to the ink refilling pins on the Head Board as shown below Fig 20 Displaying the Mapping with Head...

Страница 23: ...ck position as shown in the image below Fig 21 Displaying the Unlock Position Step 2 Push the Safety Chuk to remove the shaft Step 3 Insert the shaft into the fabric roll Step 4 After inserting the fa...

Страница 24: ...Adjusting the Dancing Bar Pressure Note The dancing roller pressure must be in between 1 to 3 bars After adjusting the dancing bar pressure adjusting the pinching roller pressure which must be 7 bars...

Страница 25: ...SOFTJET GRAND Step 6 Load the fabric as per the path given below Fig 25 Defining the Fabric Path The loaded fabric from supply side is shown in the image below Fig 26 Displaying the Laded Fabric From...

Страница 26: ...s shown below Fig 27 Opening the Print Dryer Heater Step 8 Stick the fabric on the take up and move the take up roller to the reverse direction Step 9 Set take up in the Auto Mode The loaded fabric fr...

Страница 27: ...ollow these steps to install the Print Head Step 1 Remove the Ink Inlet caps gently to avoid damage to the Print Head as shown below Fig 29 Removing the Ink Inlet Caps Step 2 Fix the Air Releasing pip...

Страница 28: ...below Fig 32 Connecting the Ink Sub Tank Pipe Step 7 Remove the cap of the Air Releasing Pipe Step 8 Hold the pipe down and press the Purging button of a particular color Note Carefully perform the ab...

Страница 29: ...ch OFF Step 11 Similarly insert the second end of the head cable on the Head Board as shown below Fig 34 Inserting Head Cable to the Head Board To verify the head cable orientation please carefully vi...

Страница 30: ...ig 35 Selecting the Real Setting Option The Temperature window appears on the screen Step 2 Enter the left and right base voltage values of each color Print Head under the Base Voltage section as show...

Страница 31: ...oltage click on the Apply To Board button and then on the Ok button to apply the settings Refer to Fig 36 Now the head voltage gets set Head Height Adjustment In SOFTJET GRAND head height can be adjus...

Страница 32: ...izard path as shown below Fig 39 Selecting the Calibration Wizard Option This should bring up the Calibration Wizard as shown below Fig 40 Displaying the Calibration Wizard Based on the above figure t...

Страница 33: ...hen you press the Next button you are redirected to the Calibration Wizard as shown in the below image Fig 41 Displaying the Printer Calibration Options Let s discuss each test and their result one by...

Страница 34: ...ngle Check This test checks the mounting angle of all the Print Heads Print Heads should be mounted at exactly 90 degrees to the carriage scan direction In the figure below when the Print Heads are mo...

Страница 35: ...t will disturb the angle check or vertical check Thus repeat the mechanical check until the perfect alignment condition is achieved After performing the above mechanical checks please verify the resul...

Страница 36: ...o Left Calibrations Left to Right Calibration is performed to achieve dot placement accuracy of all colors Black Cyan and Yellow with respect to Magenta during the carriage s left to right print sweep...

Страница 37: ...36 of 50 SOFTJET GRAND The Left Calibration Result is shown in the image below Fig 46 The Horizontal Left Check The Right Calibration Result is shown in the image below Fig 47 The Horizontal Right Ch...

Страница 38: ...om the above figure you get the accurate step adjust correction value The correction value is either positive or negative If the value is positive then add it in the current step adjust value for the...

Страница 39: ...ve the settings to the printer click on the Main Menu Setting Save To Printer path as shown below Fig 50 Selecting the Save To Printer Option On clicking the Save To Printer option all the previously...

Страница 40: ...decimal places Don t Avoid ink spilling on the Print Head and head cables Don t use expiry ink and store the ink at favorable environment Avoid printing without Color bar Don t allow the Capping stat...

Страница 41: ...Heads is to be soaked using the Head Cleaning Wiper The Head Wiping option is shown in the image below Fig 51 Performing the Automatic Head Wiping Process On cleaning the above option the Manual Clea...

Страница 42: ...t your dealer for tissue paper Always use wet tissue paper to absorb the residue ink Don t wipe hard just absorb the residue inks on nozzle plate Softly touch with a lint free bloating tissue paper du...

Страница 43: ...lace it if required Case 2 Servo Driver not ON or faulty a Check the Red LED on Servo Driver if LED is not glow then check the power connection and trace the fault b In case machine is not initialized...

Страница 44: ...to the system Case 4 Check and Replace Encoder Scale Case 5 Replace the Pulley or carriage Belt Case 6 Correct the ripped file error if any Case 7 Replace the power supply if voltage drop is found an...

Страница 45: ...in nozzles Refer to Issuing the TEST PRINT Command section Case 2 Perform the step calibration and correct the step value Refer to Feed Calibration section Case 3 Tighten the Conveyor Belt coupling R...

Страница 46: ...anager Case 2 Check the Head cable and connect it properly Case 3 Check the connectors and connect them properly Case 4 Inform to the Head Office Case 5 Replace the Head or Head Board or Main Board by...

Страница 47: ...ft against current time limit password Request for a new time password from the dealer 0402000D Second Warning 50 hours left against current time limit password Request for a new time password from th...

Страница 48: ...e software language or input the new language matching password again 4002001C PINCONF writing FPGA errors Main Board is faulty 40030000 USB communication error Kindly refer to the error code 4002001A...

Страница 49: ...3 ALE d Emergency Stop Activated Emergency stop is activated ALE 14 ALE E Reverse Limit Switch Error Reverse Limit Switch is activated ALE 15 ALE F Forward Limit Switch Error Forward Limit Switch is a...

Страница 50: ......

Страница 51: ...For Any Query Please Contact Us www colorjetgroup com Call us on 91 120 4548195 Email on info colorjetgroup com For Ink Enquiry sales colorjetgroup com For Support support colorjetgroup com...

Отзывы: