BBG-1002-2UDX-OM (V1.3)
BBG-1002-2UDX PRODUCT MANUAL
3-3
Operating Instructions
Connecting BBG-1002-2UDX To Your Network
Connecting BBG-1002-2UDX To Your Network
BBG-1002-2UDX ships with network protocol set to DHCP and populates its
address with an addressed allocated by your DHCP server. If your network
does not have a DHCP server, the BBG-1002-2UDX address field will be
blank, and a static address must then be assigned. All initial network settings
are performed using the Front Panel Display menu-accessed control (as
described on the previous page). Refer to this page for instructions of using
the front-panel menu navigation.
Access the Network Settings menu and configure network settings as follows:
1. Power-up BBG-1002 and connect Ethernet cable connection to media. Wait for BBG-1002 to complete booting.
When
Product: BBG-1002
... is displayed, device is ready for configuration.
2. Press
and access the
Network Settings
menu. Current network settings are displayed (as configured by host DHCP
server).
Note: It is recommended to now change the settings to use a static IP address of your choice. The following steps describe using
a static IP address.
3. In
Network Settings > Mode
, change setting to
Mode: Static
.
4. Configure the following fields as desired and appropriate for your network connection (examples shown below).
Connecting BBG-1002 To Network
Menu: Network Settings
IP: 10.99.16.105
Netmask: 255.255.255.0
Gateway: 10.99.16.1
Mode: Static
5. Press
to commit changes and exit the setup menu.
Note: Current IP address of BBG-1002 can now be checked from the front panel by accessing this at any point.
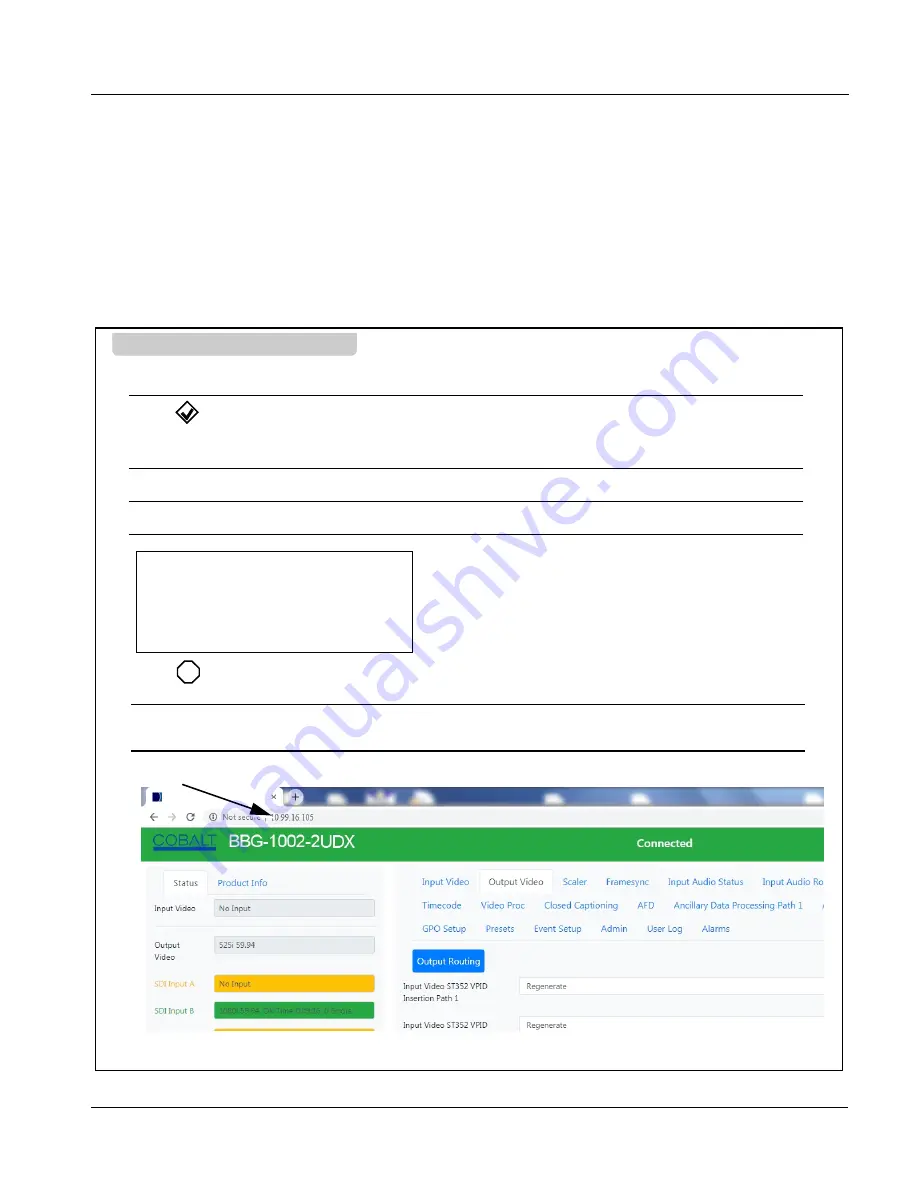
6. At this point, BBG-1002 can now be accessed with a web browser pointing to the configured address. Browse to the configured
address and check connectivity.
X
Web browser pointing to configured address displays BBG-1002
Содержание BBG-1002-2UDX
Страница 112: ...3 82 BBG 1002 2UDX PRODUCT MANUAL BBG 1002 2UDX OM V1 3 This page intentionally blank...
Страница 113: ......


