


iGate2.0 User Manual
C r e a t e d : D e c e m b e r 3 , 2 0 2 1
G e o t h e r m a l H e a t i n g a n d Co o l i n g
2
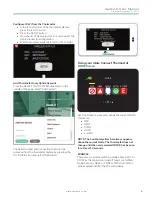
Getting Started
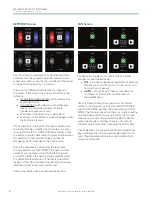
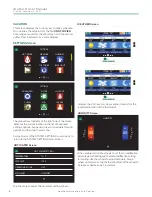
iGate Connect Thermostat Basics
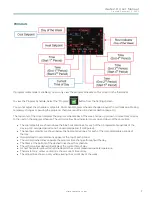
72
º
COOL 75º
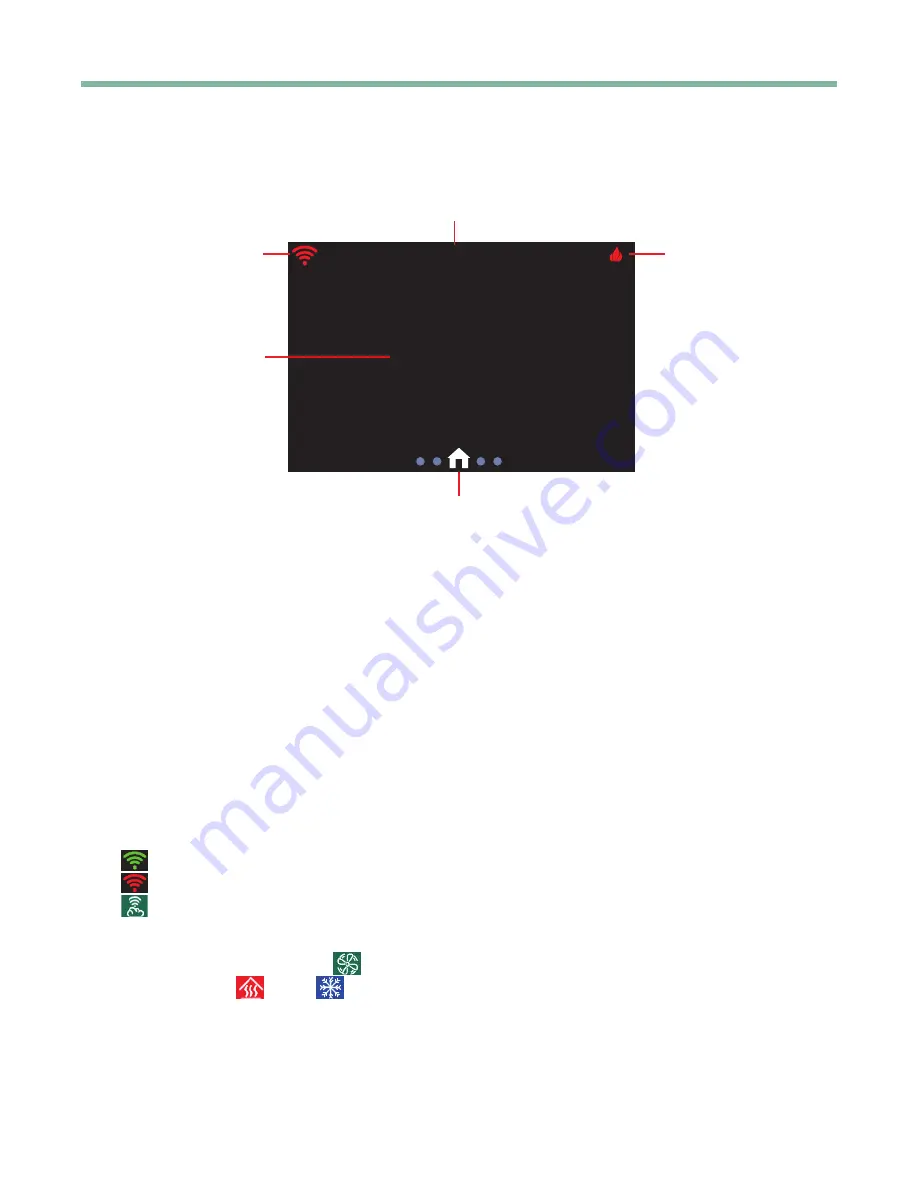
Equipment Status
Banner
Wi-Fi Signal
Space Temperature
Page Indicator
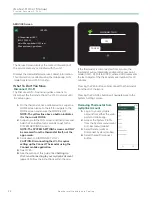
Home Screen
Page Indicator
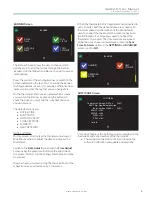
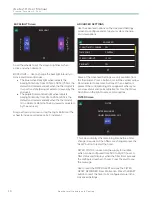
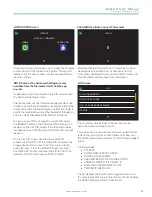
— Either swipe left or right or tap the dots to navigate between HOME screen, SETPOINT screen,
MODE screen, FAN screen or SETTINGS screen. The white dot indicates the page you are on.
• Pressing anywhere on the screen, other than the active icons described below, will activate an animated SWIPE
indicator on the screen .
Space Temperature
— The center portion of the screen displays the sensed space temperature, in whole numbers
only. Default temperature units is Fahrenheit. Navigate to the SETTINGS screen to change to Celsius.
Banner
— Press the center of the scrolling Banner to switch to the screen indicated by the displayed text. The Banner
scrolls through the screen options every 3 seconds. The Banner may also be swiped left or right to navigate through
the options .
NOTE: On the thermostat itself, you can select those screen options on the SYSTEM SETTINGS > BANNER screen.
Wi-Fi Signal
•
The number of green bars indicate the signal strength.
•
Red indicates it is not connected to a router .
•
Pressing the Wi-Fi icon displays a screen with connectivity details.
Equipment Status
— The equipment status icon flashes when there is a call for heating or cooling.
• Tapping the Fan mode/operation
icon will display the FAN screen.
• Tapping the Heat
or Cool
icons displays the MODE screen.


