Using Directories
Operator User Guide 7-19
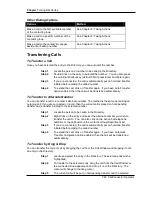
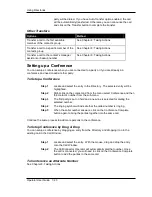
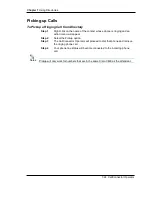
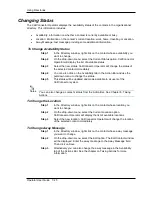
DISA and Tel passwords are available for CallConnector Users with the CallConnector Advanced
Server. Tel Password is used to access the SNR (Single Number Reach) feature of the
CallConnector Advanced Server. DISA Password is used to access the Dial-In Access feature of
the CallConnector Advanced Server. These passwords are setup by the CallConnector system
administrators.
SMS address should be under the email form where the first part is the number where the SMS
messages will be sent to and the second part depends on the mobile phone’s service carrier.
If the contact’s carrier is…
Then send SMS messages to…
T-Mobile
Sprint
Verizon
Cingular
Metro PCS
For instance, if the contact uses T-Mobile and the contact’s number is 1234567890, the SMS
Address should
In order to send email and SMS messages, you have to integrate your MS Outlook client with the
CallConnector Operator. For instructions on how to do the integration, see Chapter 3: Installation
and Configuration.
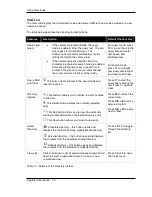
Clear button deletes all information in the contact edit window and displays the blank edit window.
Save button saves the information in the edit window to the database and closes the edit window.
Close button closes the edit window without saving the contact information.
To Add a New Contact
Step 1
Select the directory you want to add a new contact.
Step 2
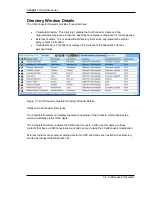
On the directory toolbar, click the Create New Contact button or press
Ctrl + N to add a new contact. A new blank entry is created, and the
Directory Detail window is displayed.
Step 3
Enter the information for each of the desired fields and click on Save.
Step 4
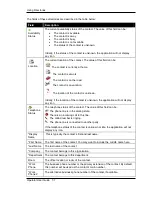
The CallConnector Operator will display the directory listing which should
include the entry you just created. If not, you may need to click on the
icon to see the updated listing.
To Edit a Contact
Step 1
Select the directory where the contact is located.
Step 2
In the directory window, select the contact you want to update.
Step 3
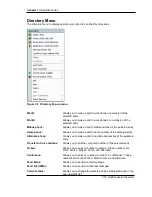
Click on the Edit Selected Contact button or press Ctrl + E. The Directory
Detail window will be opened in Edit mode with all the current information
of the selected entry.
Step 4
Make changes to the entry and click on Save.

