23
Chapter 5: Installing and Using the Internet Camera Viewer & Recorder Utility
Using the Viewer & Recorder Utility
Wireless-G PTZ Internet Camera with Audio
Using the Main Screen
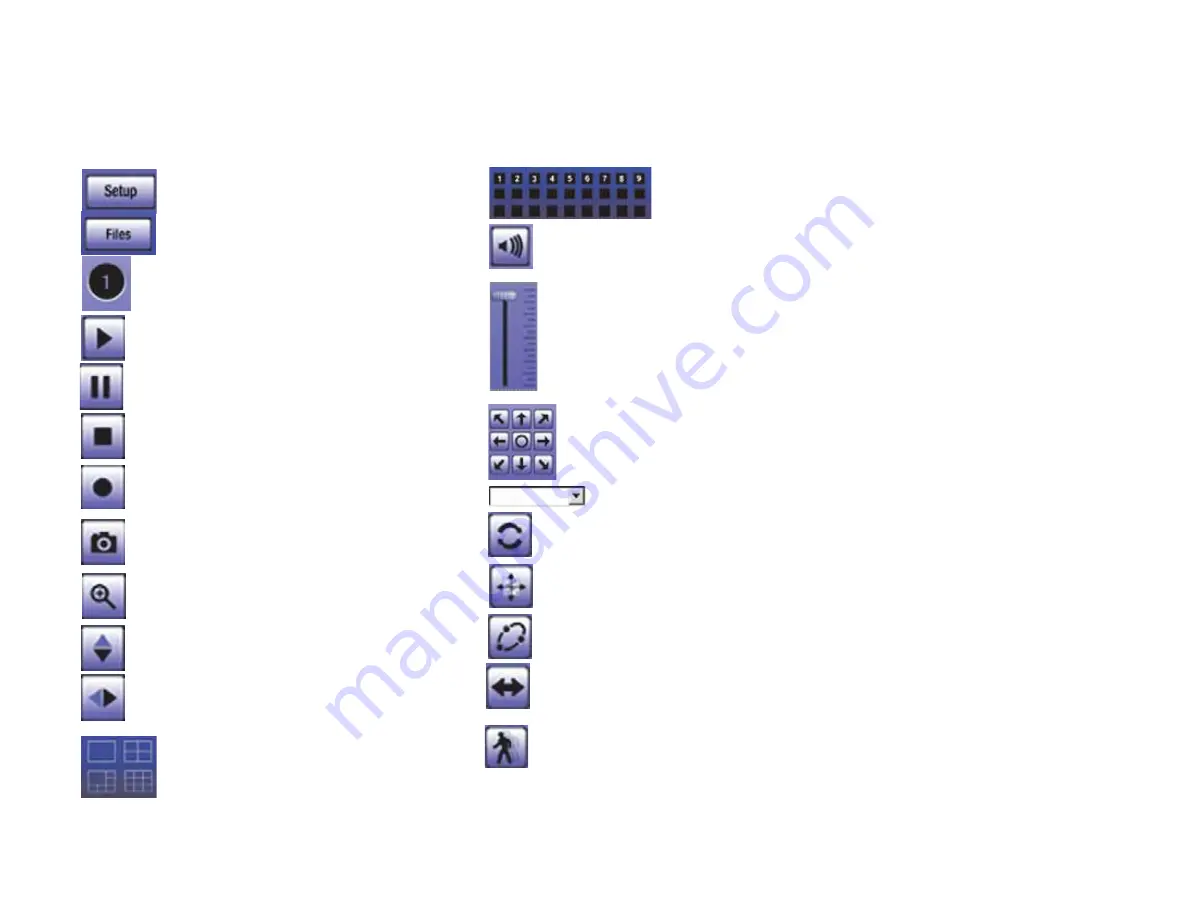
Navigation through the main screen is performed through the icons at the bottom. Here is a list of the icons and a
short explanation of each
Setup
- Clicking this button opens the Setup
Window.
Files
- Clicking this button opens File Finder, which
allows you to browse through previously saved
recordings.
Play
- Use this to re-start viewing, after using the
Stop or Pause button.
Camera Setting
- This indicates the Channel (or
Camera) setting used by the Camera within the Utility.
Pause
- Clicking this pauses the video playback.
Stop -
This will terminate the connection to the camera,
halting both the viewing and the recording (if in progress).
Record -
Clicking this begins recording a video stream.
While recording, this button will be blue. To stop
recording, click the
Stop
button.
Snapshot
- Clicking this takes a image of the current
video.
Zoom
- Clicking this magnifies a section of the window.
Click the icon and then click the portion of the screen you
want to magnify. Click the icon again to return
magnification to normal.
Flip
- Click this to have the image swapped top-to-bottom.
Mirror
- Click this to have the image swapped left-to-
right.
Screen Layout
- Select the number of Channels
(Cameras) to be displayed on screen
Speaker Volume
- When audio is available, raising or lowering this bar
will change the volume.
Mute
- When audio is available, clicking this will silence the audio.
Camera Selection
- Clicking the camera number you wish to
view on the main screen.
Position
- Clicking these arrows will position the camera, with the center
icon returning the camera to a neutral position.
Preset Position
- Select the desired preset position from the drop-down
list. Set these positions from the Set Preset Position button, below.
Refresh
- Clicking this button updates the Preset Position list, in the
event it was changed by an Administrator.
Set Preset Position
- Clicking this button sets a preset camera position,
which is explained further in
Setting Presets
.
Patrol
- Move through the Preset positions in the sequence defined by
the Camera Administrator.
Auto Pan
- Clicking this button moves the camera from left to right from
its current position then returns the camera to the same position it was in
before you clicked the Auto Pan button.
Motion Detection
- Clicking this button enables Motion Detection and
moves the camera to your preset motion detection camera position.


