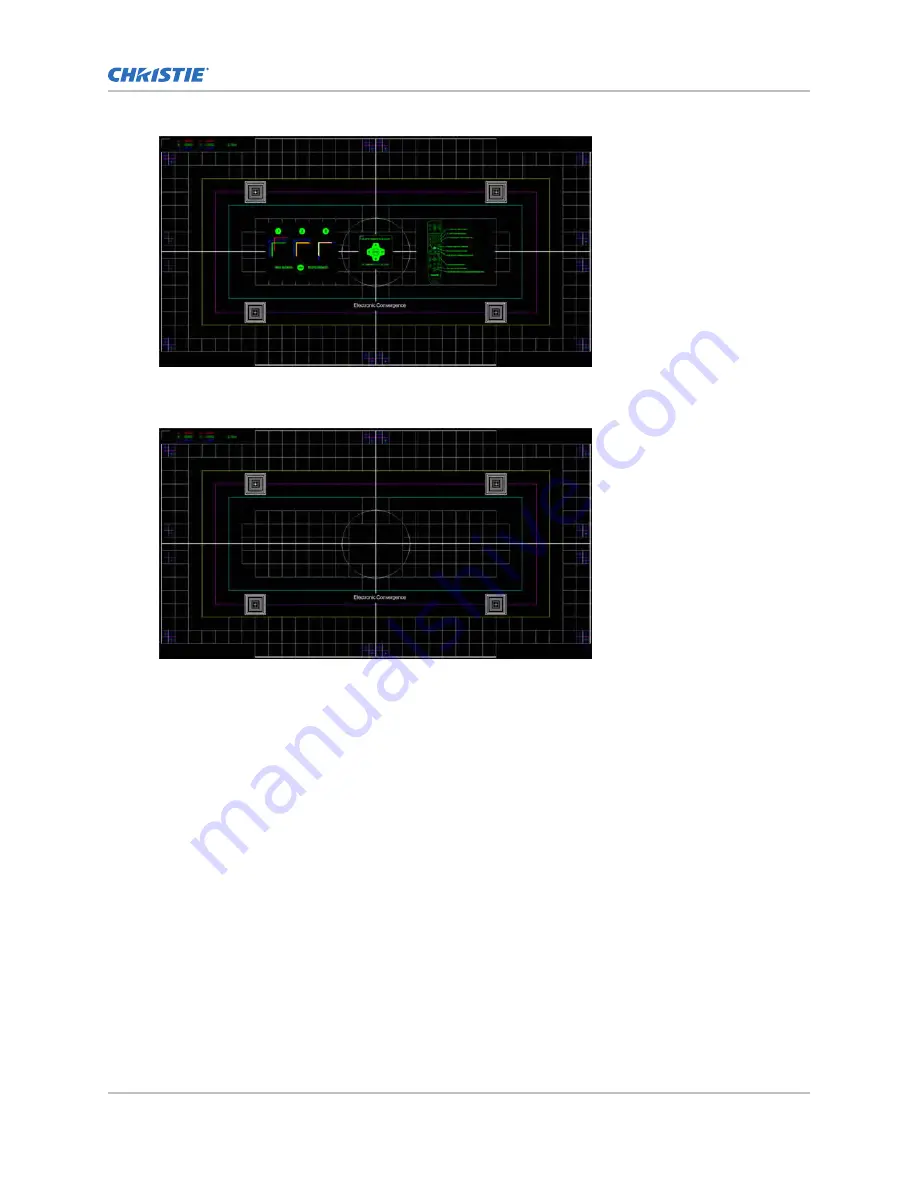
The E-Convergence test pattern is displayed, including the instructional text. To remove clutter
from the screen or if you are familiar with the electronic convergence, turn off the instructional
text. On the remote, press OSD Hide for two seconds.
Until electronic convergence is completed, the displayed image may appear to be blurred and
difficult to read, especially for white text, due to the mis-convergence of the red, green, and
blue pixels.
3. Select the corner sprite you want to adjust first.
By default the top-left position is selected.
4. Lock the color component of the sprite to align the other two color components to, and then
unlock one or both of the two remaining color components to adjust.
On the remote use keys 1 (red), 2 (green), and 3 (blue) to lock and unlock the color
components of the sprite.
Always align the color components of the sprite to the inner most line color (for each axis).
By default, all three color components (red, green, and blue) are displayed. It may be helpful
to obtain a better view of the position of a particular color component if one or two of the other
colors are deselected. On the remote, use keys 4 (red), 5 (green), and 6 (blue) to show or
hide the color components.
5. Move the red, green, and/or blue components for the selected sprite either horizontally (x-
axis) or vertically (y-axis) to align to the inner most line color.
On the remote, use the Up and Down keys to adjust vertically on the x-axis and the Left and
Right arrows to adjust horizontally on the y-axis.
To change the step size for the adjustment, on the remote select 7 (decrease) or 9 (increase).
The default is 1/8th of a pixel.
Installation and setup
Christie M RGB Series Installation and Setup Guide
38
020-103483-04 Rev. 1 (04-2022)
Copyright
©
2022 Christie Digital Systems USA, Inc. All rights reserved.
Содержание M 4K25 RGB
Страница 1: ...Installation and Setup Guide 020 103483 04 Christie M RGB Series...
Страница 76: ......


