Rev
M
F
Doc
01-20099
7
of
42
IMPORTANT NOTE
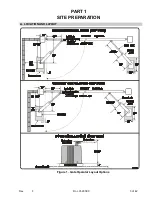
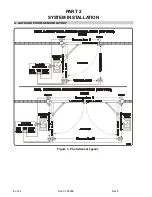
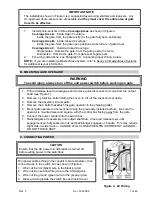
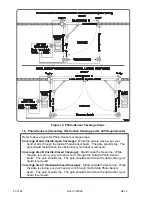
The installation shown in Figure 3 is a suggested layout using emitters and receivers. Any
UL-approved photo-sensors are acceptable,
but they must cover the entire area of gate
travel to be effective.
1.
Install photo-sensors in three
Coverage Areas
as shown in Figure 3.
Coverage Area A
- Inside-Open Coverage:
Inside the gate, from the gate post(s) to the gate fully open position(s).
Coverage Area B-
Inside-Closed Coverage:
Inside the gate, from the gate open position across full arc of gate travel.
Coverage Area C
- Outside-Closed Coverage:
Single Gates: Outside the gate, from the gate post to the fence.
Dual Gates: Outside the gate, from gate post to gate post.
2.
For wiring instructions, see Paragraph K, Connecting Input Wiring, below.
NOTE:
If you are installing a Master/Slave system, refer to Series X3 Master/Slave Systems
for additional layout information.
B. MOUNTING GATE OPERATOR
WARNING
To avoid injury, always turn off the unit power switch before working on gate.
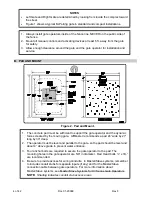
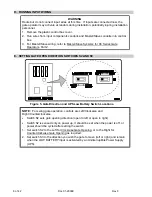
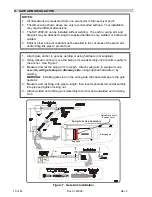
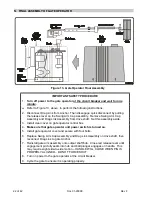
1. Pull red release lever to disengage and remove quick disconnect arm cap from the output
shaft (see Figure 7).
2. Remove 4 protective bolts holding the cover on, lift off the cover and set aside.
3. Remove the assembly kit and parts.
4. Remove the 4 bolts that attach the gate operator to the shipping pallet.
5. Mount gate operator on cement pad using the previously installed anchors. Be sure the
operator is mounted level and square, with the control box facing away from the gate.
6. Connect the power conduit into the switch box.
7. Reinstall gate arm assembly onto output shaft/hub. Close red release lever until
engagement pin fully seats into hub and ball plunger engages on handle. This may require
slight side-to-side motion – HANDLE WILL CLOSE WHEN PIN IS PROPERLY ALIGNED –
DO NOT FORCE SHUT.
C. CONNECTING POWER
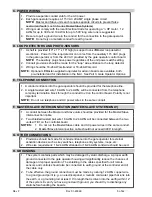
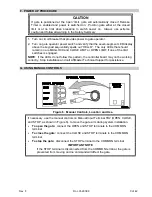
Figure 4. AC Wiring
CAUTION
Ensure that the AC power circuit breaker is turned off
before wiring power to the switchbox.
Run power cables through the conduit to Gate Operator, then
connect wires to the switch box as shown in Figure 4:
1. Wire nut the hot (black) wire to the black pig tail.
2. Wire nut the neutral (white) wire to the white pig tail.
3. Wire nut the ground (green) wire to the green pig tail.
4. Dress all wiring inside the switch box and install cover.


