Using the Integrated Tape Drive
Loading a Cartridge
88
Loading a Cartridge
Use only approved DDS-4 and DAT 72 cartridges with the tape drive. To load cartridges into the
tape drive, follow these steps:
1.
Make sure that the cartridges are write protected or write enabled, as necessary. For more
information, refer to “Write Protecting a DDS Cartridge” on page 89.
2.
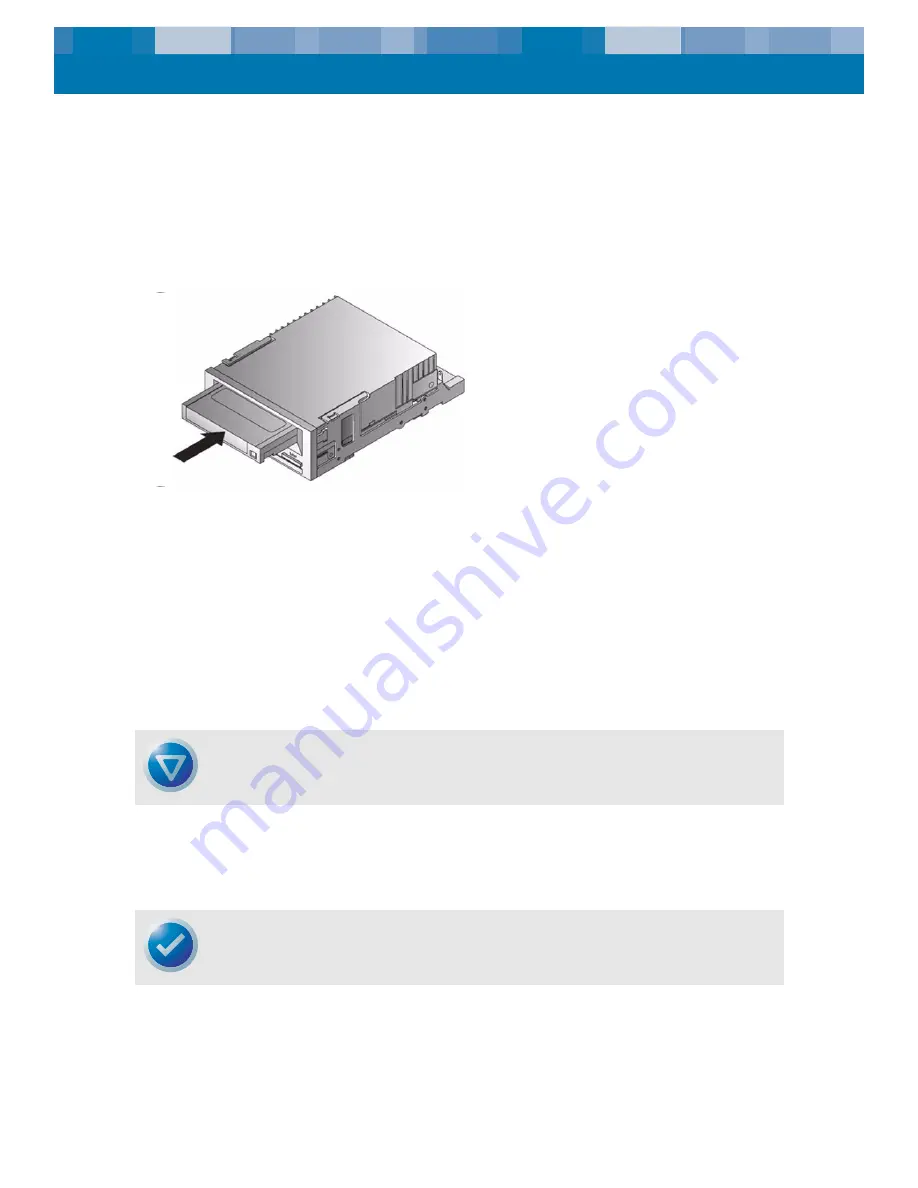
Hold the cartridge so the label is facing up and the exposed media is facing the drive.
3.
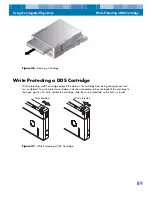
Gently insert the cartridge into the drive (see Figure 45 on page 88).
Figure 45.
Inserting a Cartridge
4.
The drive-bay door opens automatically when a cartridge is inserted. There is a brief delay
while the drive identifies the cartridge type and state, and moves the tape to the data area.
Ejecting a Cartridge
Use the following procedure to eject a cartridge.
1.
Be sure the CP 3100 Physical Tape LED is OFF.
2.
Use the RemoteAdmin tool to unload the cartridge (see “Ejecting a Physical Tape Cartridge”
on page 62).
When you eject a cartridge, the tape drive automatically flushes the drive buffer to tape,
rewinds the cartridge, updates the system log, and ejects the cartridge. This may take up to
three minutes. Do not power-down the tape drive or host computer during this time.
CAUTION: To ensure integrity of your backups and restores, do not eject a cartridge when the
CP 3100 Physical Tape Drive LED is flashing.
NOTE: CP 3100 units that contain an integrated tape drive have a front panel Eject button that
can be pressed to eject a cartridge.


