Quick Start Installation
Installing a Desktop CP 3100
21
Installing a Desktop CP 3100
Use the following procedure to get a desktop CP 3100 up and running. Print this page and check
each step as you complete it. If you need more information about a step, turn to the section refer-
enced in the step.
❑
1.
Unpack the contents of your package, and check for damaged items.
See “Unpacking and Inspection” on page 23.
❑
2.
Obtain the additional items you need to install the CP 3100.
See “Items You Must Supply” on page 36.
❑
3.
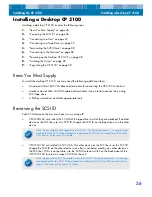
Be sure the CP 3100’s SCSI ID is not being used by another device on the SCSI chain.
See “Reviewing the SCSI ID” on page 36.
❑
4.
Shut down the computer and disconnect the computer’s AC power cord.
See the manual that came with your computer.
❑
5.
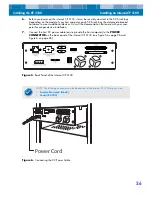
Connect the CP 3100 to a host computer.
See “Connecting to a Host” on page 37.
❑
6.
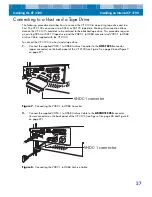
If you have the CP3100D-160, connect it to an approved DDS-4 or DAT 72 tape drive.
See “Connecting to a Tape Drive” on page 37.
❑
7.
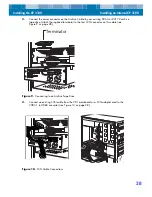
Terminate the SCSI chain appropriately for your configuration.
See “Terminating the SCSI Chain” on page 38.
❑
8.
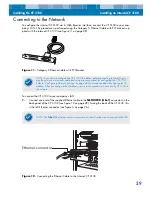
Connect the CP 3100 to your LAN.
See “Connecting to the Network” on page 38.
❑
9.
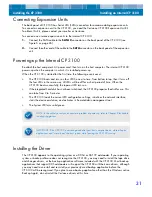
Power-up the CP 3100.
See “Powering-up the Desktop CP 3100” on page 38.
❑
10.
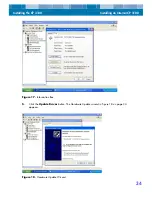
If your operating system or backup software does not recognize the CP 3100, you may
need to install drivers. See “Installing the Driver” on page 39.
❑
11.
Register the CP 3100.
See “Registering the CP 3100” on page 39.
❑
12.
Perform the initial CP 3100 setup procedures:
• Log into RemoteAdmin.
See “Logging into RemoteAdmin” on page 44.
• Set the CP 3100 clock to the current date and time.
See “Setting the CP 3100’s Internal Clock” on page 46.
• Set a RemoteAdmin password.
See “Specifying a Password” on page 47.
• Specify the CP 3100 network settings.
See “Configuring Network Settings” on page 48.
• Configure the CP 3100 email settings.
See “Configuring Email Settings” on page 50.
❑
13.
Install your backup software application.
❑
14.
Verify your installation.

