


CS 9300C User Guide (SM750)_Ed 01
4–1
Chapter 4
GETTING STARTED
Switching On the Unit
Before switching on the unit, check that:
The installation of the unit is complete.
The PC is switched ON.
IMPORTANT
You must switch On the PC and wait for it to be ready for connection
before switching ON the unit.
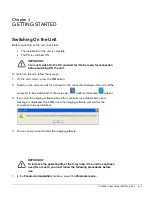
To switch on the unit, follow these steps:
1. On the unit column, press the
ON
button.
2. Switch on the unit and wait for a minute for the connection between the unit and the
computer to be established. In the status bar,
(red) must become
(green).
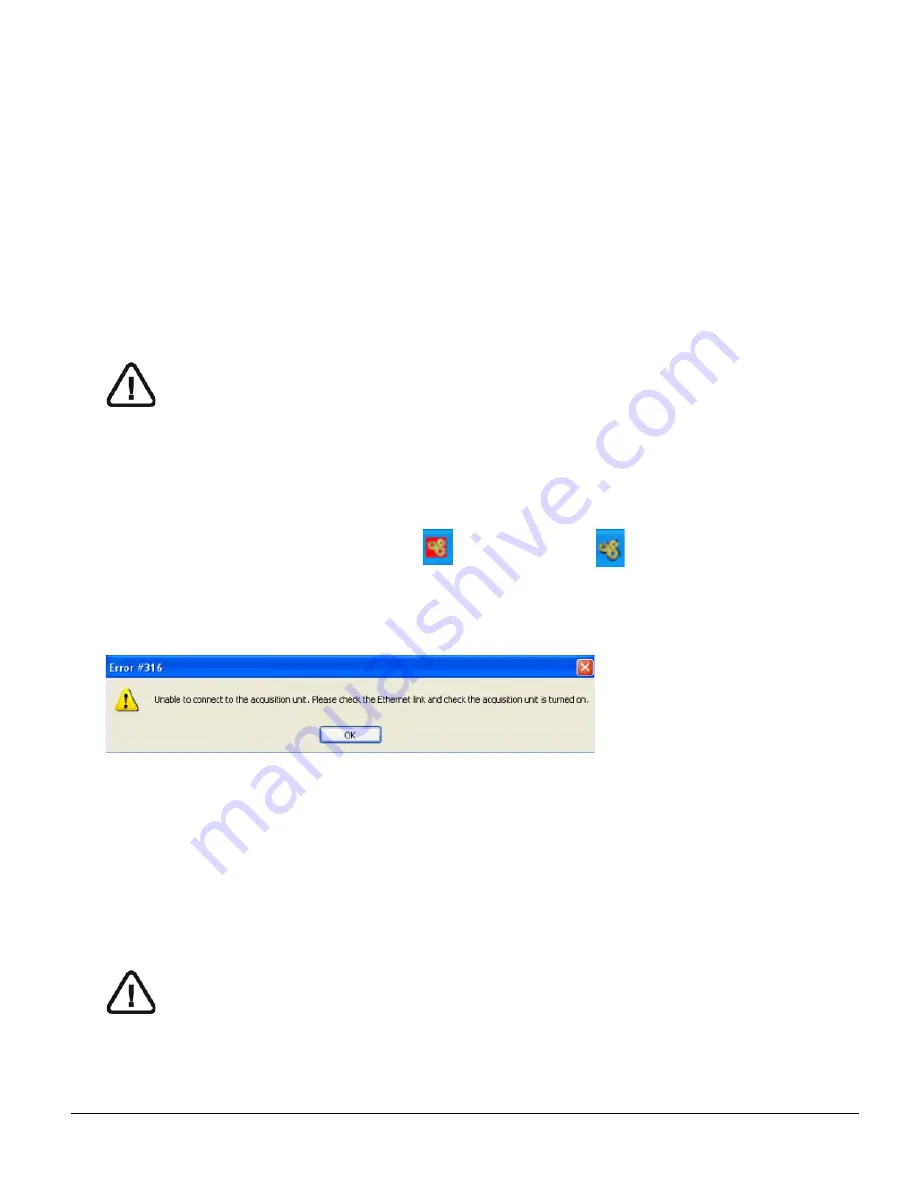
3. If you start the imaging software before the connection is established an error
message is displayed. Click
OK,
close the imaging software and wait for the
connection to be established.
4. You can now proceed to start the imaging software.
IMPORTANT
To increase the operating life of the X-ray tube, if the unit has not been
used for a month, you must follow the following procedures before
use.
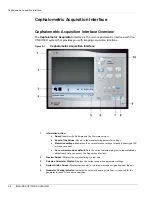
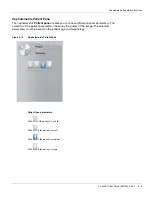
1. In the
Panoramic Acquisition
interface, select the
Parameter pane.
Содержание CS 9300C
Страница 1: ...CS 9300C User Guide...
Страница 6: ...Conventions in this Guide 1 2 About This Guide...
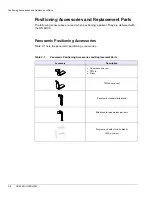
Страница 16: ...Positioning Accessories and Replacement Parts 2 10 CS 9300C OVERVIEW...
Страница 28: ...Starting the Imaging Software 4 6 GETTING STARTED...
Страница 32: ...Acquiring a Lateral Image 5 4 ACQUIRING CEPHALOMETRIC IMAGES 7 Lower the nasion support to a vertical position...
Страница 34: ...Acquiring a Lateral Image 5 6 ACQUIRING CEPHALOMETRIC IMAGES 7 Lower the nasion support to a vertical position...
Страница 53: ...Acquiring a Submento Vertex Image CS 9300C User Guide SM750 _Ed 01 5 25...
Страница 62: ...Annually 6 4 MAINTENANCE...
Страница 64: ...Quick Troubleshooting 7 2 TROUBLESHOOTING...


