8200-M554-O1 Rev C 2XX-EIP Installation and Setup Manual
5
RE-INSTALLING THE REAR PANEL
When the installation is complete:
1.
Remove the excess cable from the indicator enclosure.
2.
Make certain no cables or wires are exposed between the main housing and rear panel and
then place the rear panel onto the main housing.
3.
Secure the panel to the main housing with the acorn nuts (12 on the 205/210, 14 on the
225) removed earlier.
4.
Tighten the gland connector nut to seal the cable.
Do not over-tighten the connector but make certain they are snug.
DO NOT USE TOOLS!
Finger-tighten only!
Make sure any unused gland connectors are plugged.
5.
If required, install the lead and wire calibration seal.
205/210 INDICATOR SETUP
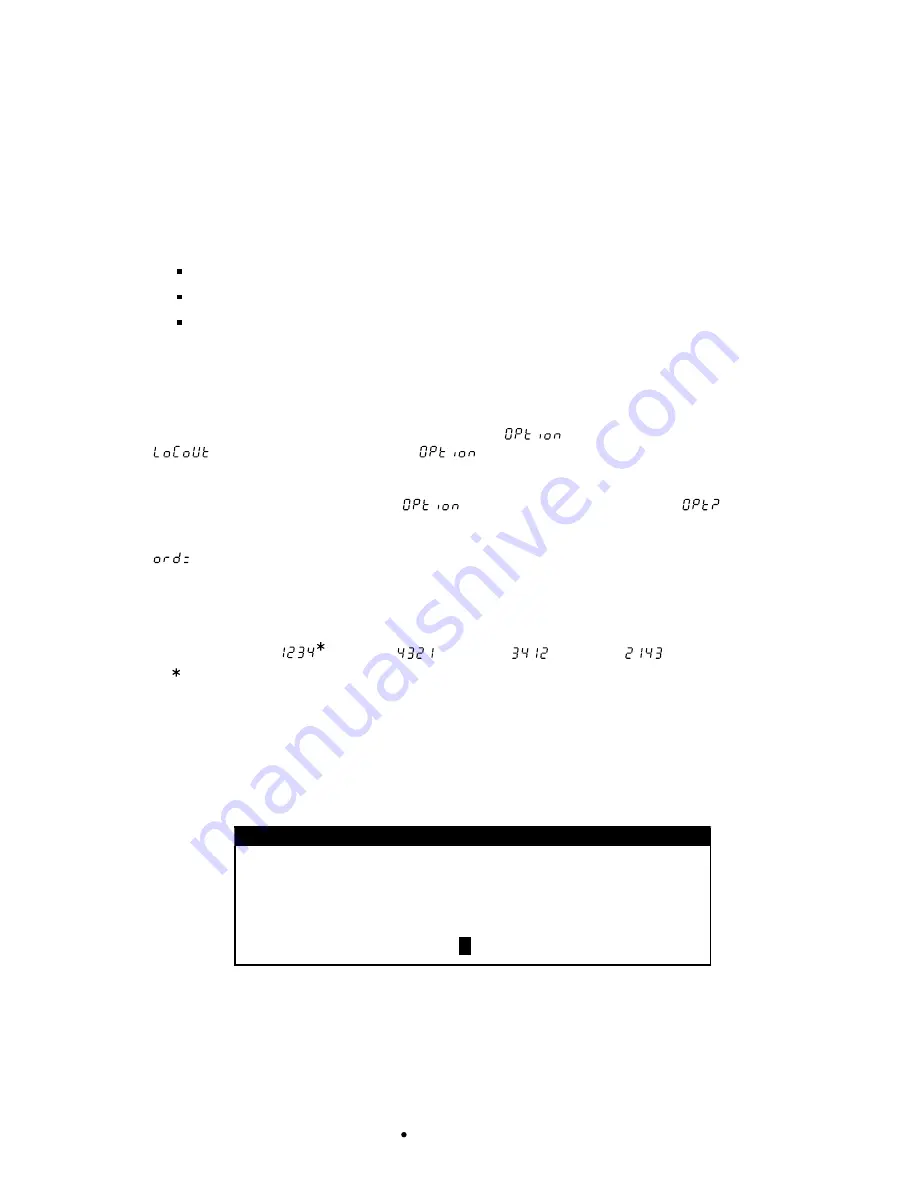
With the 2XX-EIP option card installed, a sub-menu
(Option) has been placed after
(Key Lock Out Function). The
sub-menu contains the setup selection to
change the output weight byte order.
NOTE:
The prompt will display as
when using the CAL switch and
when
using the
ENTER
key to advance through the setup prompts.
(Output Weight Byte Order)
Press the
ENTER
key to show the current setting. If the setting displayed is acceptable,
press the
ENTER
key again to save it. Otherwise, using the numeric keys (or the arrow keys
on the 205) enter the new setting, then press the
ENTER
key to save it. Allowable values
are:
Default setting.
225 INDICATOR SETUP
With the indicator ON, press the
SHIFT
key and then press the Navigation
ENTER
key (red
square key in the center of the Navigation arrows). The display will change to show the
SETUP/REVIEW MENU.
SETUP/REVIEW MENU
1.ENTER CALIBRATION AND SETUP
2.VIEW AUDIT TRAIL COUNTERS
3.CALIBRATE SCALE 1
8.SCALE ID=00
9.DEL CUSTOM TICKET
10.PRINT SETUP
Enter Selection: 1
^
EXIT
Press the
ENTER
key, and then press the
NEXT
Navigation arrow until SETUP MENU #3 is
displayed.


