


67
Initialize the Proximity Switches
1.
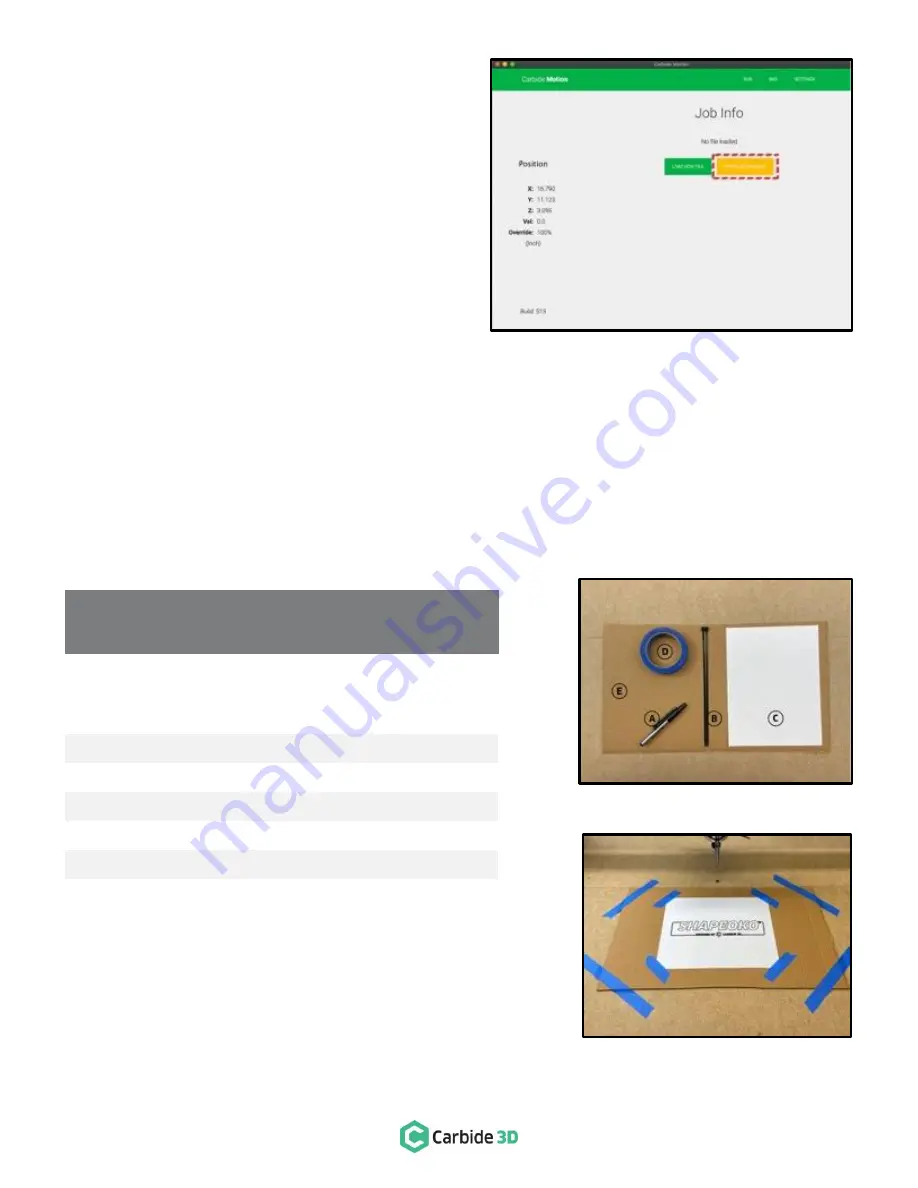
Click the yellow Initialize Machine button. See
Figure 13
-
4
. This activates the homing sequence
and your machine will do the following:
The Z-Axis will move up (the positive direction) until the
Z-Axis proximity switch is engaged. The Z-Axis will then
back off slightly before re-engaging the switch and then
backing off for a final time and setting the Z-Axis to
machine origin.
The X- and Y-Axis will begin to move. The X-Axis will move
to the right (the positive direction) and the Y-Axis will
move to the back (the positive direction).
The X- and Y-Axis will continue to move until one of their
switches is triggered, at which time they will follow the
same pattern as the Z-Axis: engage the homing switch, back off, re-engage, and then back off again.
2.
When all three axes have homed, your router will be in the back-right corner.
Troubleshooting Homing Issues:
docs.carbide3d.com/software-faq/home-switch-troubleshooting
Run the Test Project
Required Components
See
Figure 14-1
:
Item
Description
Qty
A
Permanent Marker
1
B
Large Zip Tie
2
C
Letter-Sized, A4, Paper (not included)
1
D
Masking Tape (not included)
1
E
Piece of Cardboard (not included)
1
Complete the Test Project
To complete this test project (see
Figure 14
-
2
) on your
Shapeoko XXL, follow the project instructions at:
docs.carbide3d.com/tutorials/hello-world
.
Figure 13-4
Figure 14-1
NOTE:
We recommend you use the test project as a
practice run before moving on to cutting projects.
Figure 14-2
Содержание SHAPEOKO XXL
Страница 1: ...X X L A S S E MB L Y G U I D E ...
Страница 14: ...docs carbide3d com 12 Figure 2 2 Step 2 Baseframe ...
Страница 20: ...docs carbide3d com 18 Figure 3 2 Step 3 Carriages ...
Страница 29: ...support carbide3d com 27 Figure 4 2 Step 4 Gantry ...
Страница 34: ...docs carbide3d com 32 Figure 5 2 Step 5 Belting ...
Страница 40: ...docs carbide3d com 38 Figure 6 2 Step 6 Drag Chains ...
Страница 48: ...docs carbide3d com 46 Figure 7 2 Step 7 Proximity Switches ...
Страница 52: ...docs carbide3d com 50 Figure 8 2 Step 8 Wiring ...
Страница 57: ...support carbide3d com 55 Figure 9 2 Step 9 Cleanup ...
Страница 60: ...docs carbide3d com 58 Figure 10 2 Step 10 Compact Router ...


